 Skip to main content

Written by Jess Hobbs
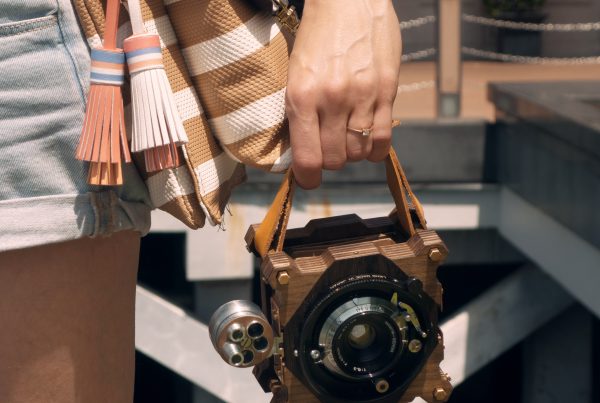
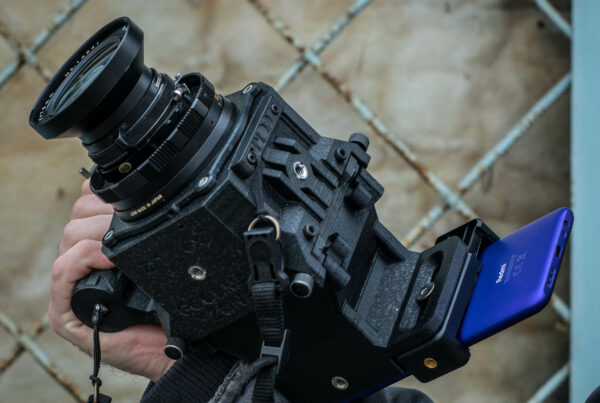
In honor of the first blog entry, I thought it would be fitting to start things off with an introduction to our flagship 3D-printed medium format camera; the Goodman Zone.
Understandably, as the Zone is still relatively new to the global market, there have been some questions coming in lately asking how to use the camera, so I thought this was the opportune time to address these. Even those of us who are used to shooting with a medium format film camera all remember the early days of silly mistakes that are easily avoidable once you get used to working with a particular system; I for one, have an embarrassing number of accidental double exposures and skipped frames when I started shooting with my Mamiya RB67.
In this article we’re going to jump right in by taking a quick walk through the basics of zone focusing (where the Goodman Zone gets its name), have a discussion on the many different focusing viewfinder options, and wrap it up with a few tips and tricks to make your journey with the Zone an exciting and enjoyable experience. All right, let’s get down to it!
The basics of zone focusing
Zone focusing is not a complicated concept, but it is one that takes some practice to get right. Also known as scale focusing, it is essentially pre-focusing your lens at a specific distance and chosen aperture to ensure a sharp image.
This technique is notably handy in fast-paced situations like sports or street photography, in moments when you need to think quickly on your feet and do not have the time to focus through your viewfinder. Famous street photographer Arthur Fellig, a.k.a. Weegee, even coined the phrase “f/8 and be there” as it was more important for him to concentrate on getting the shot, rather than worry about setting focus.
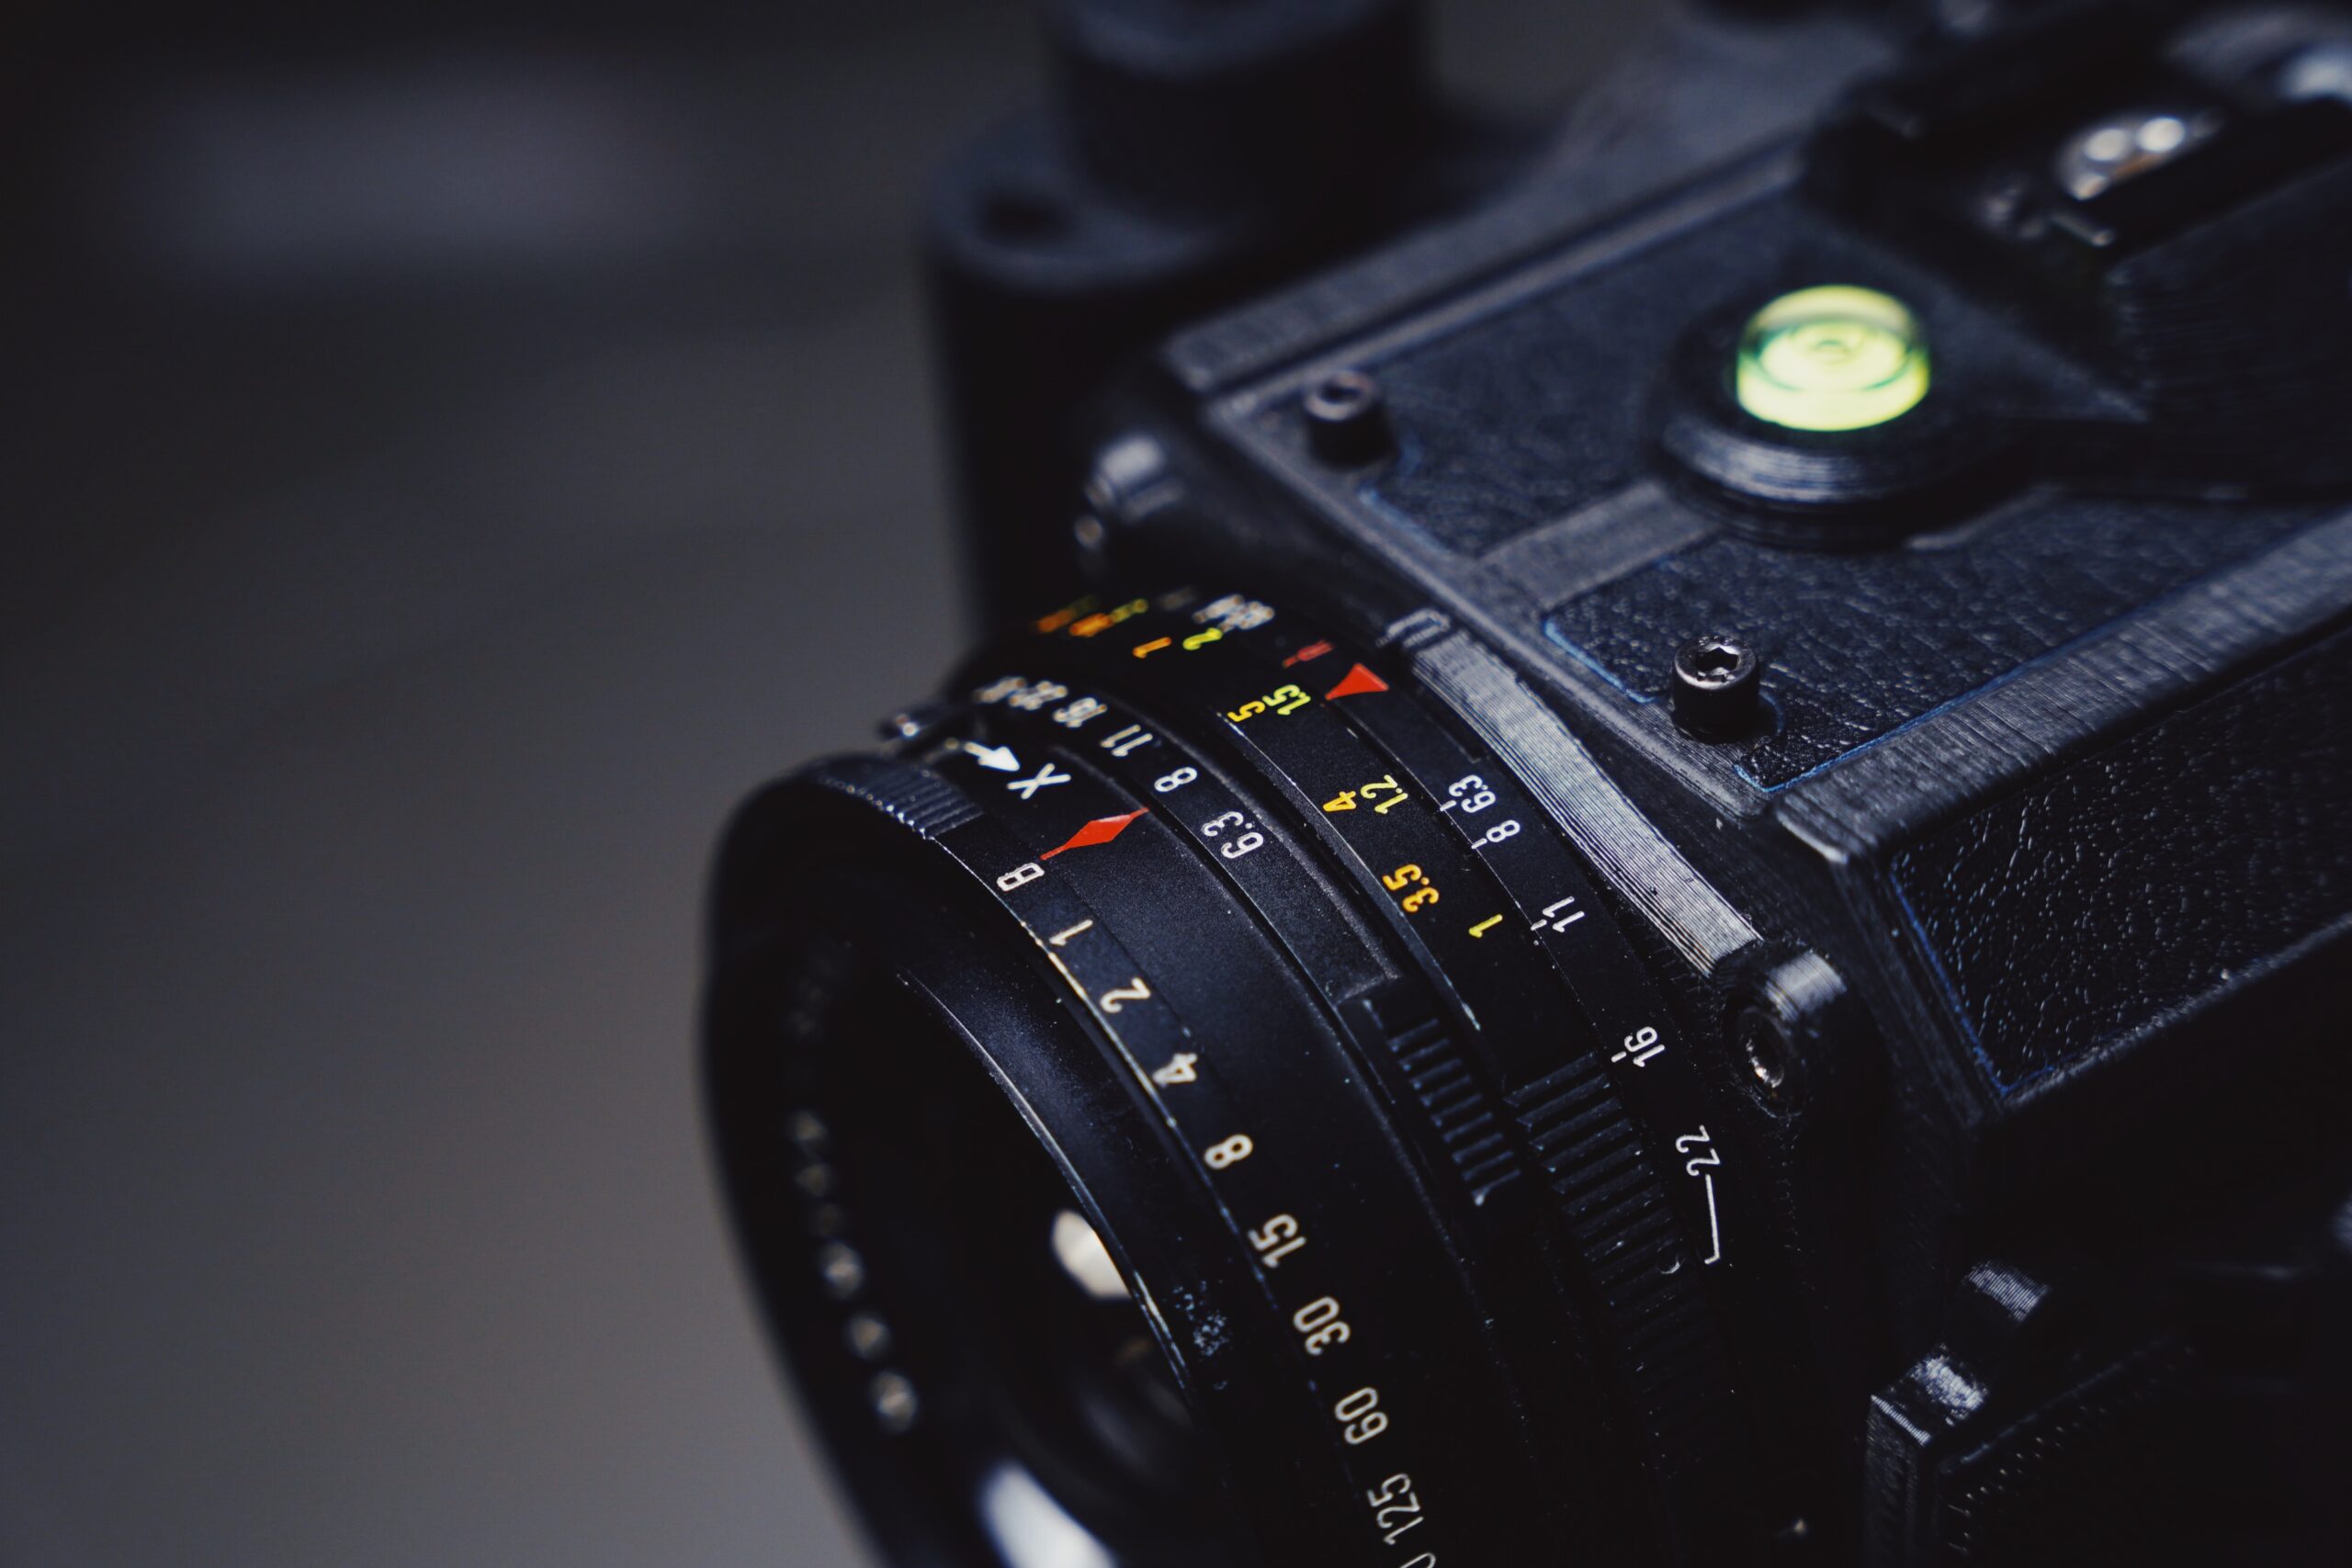
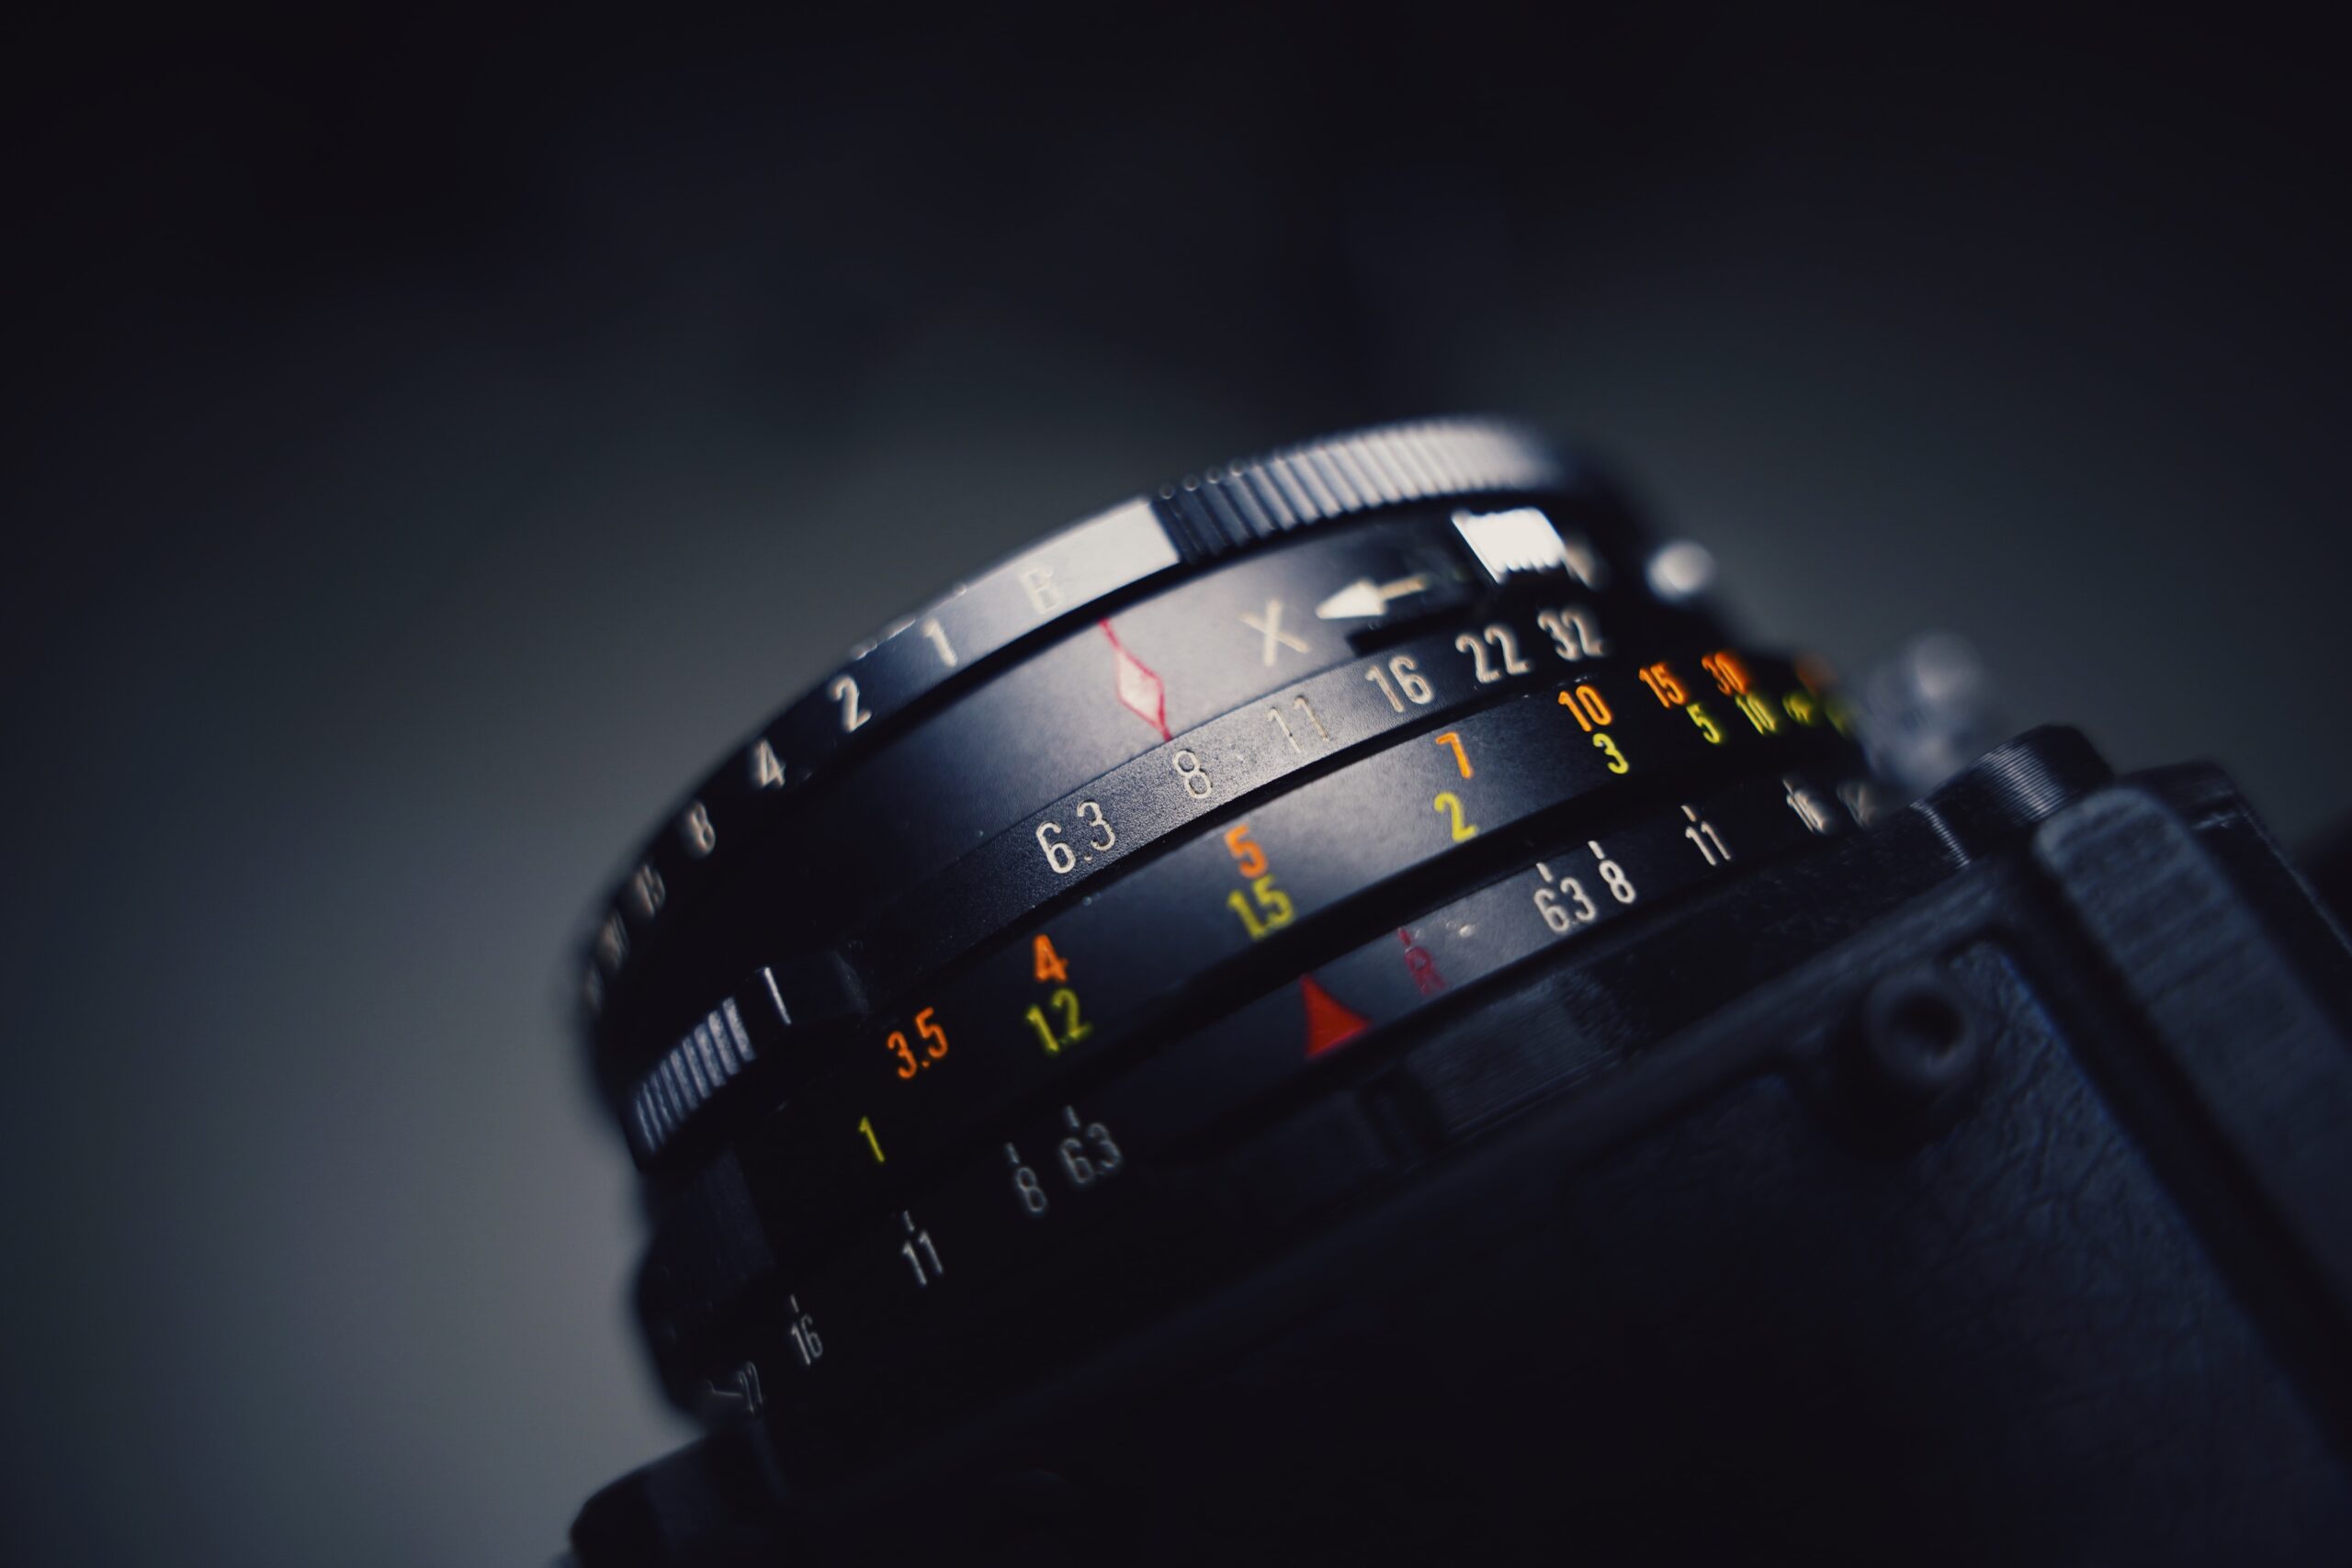
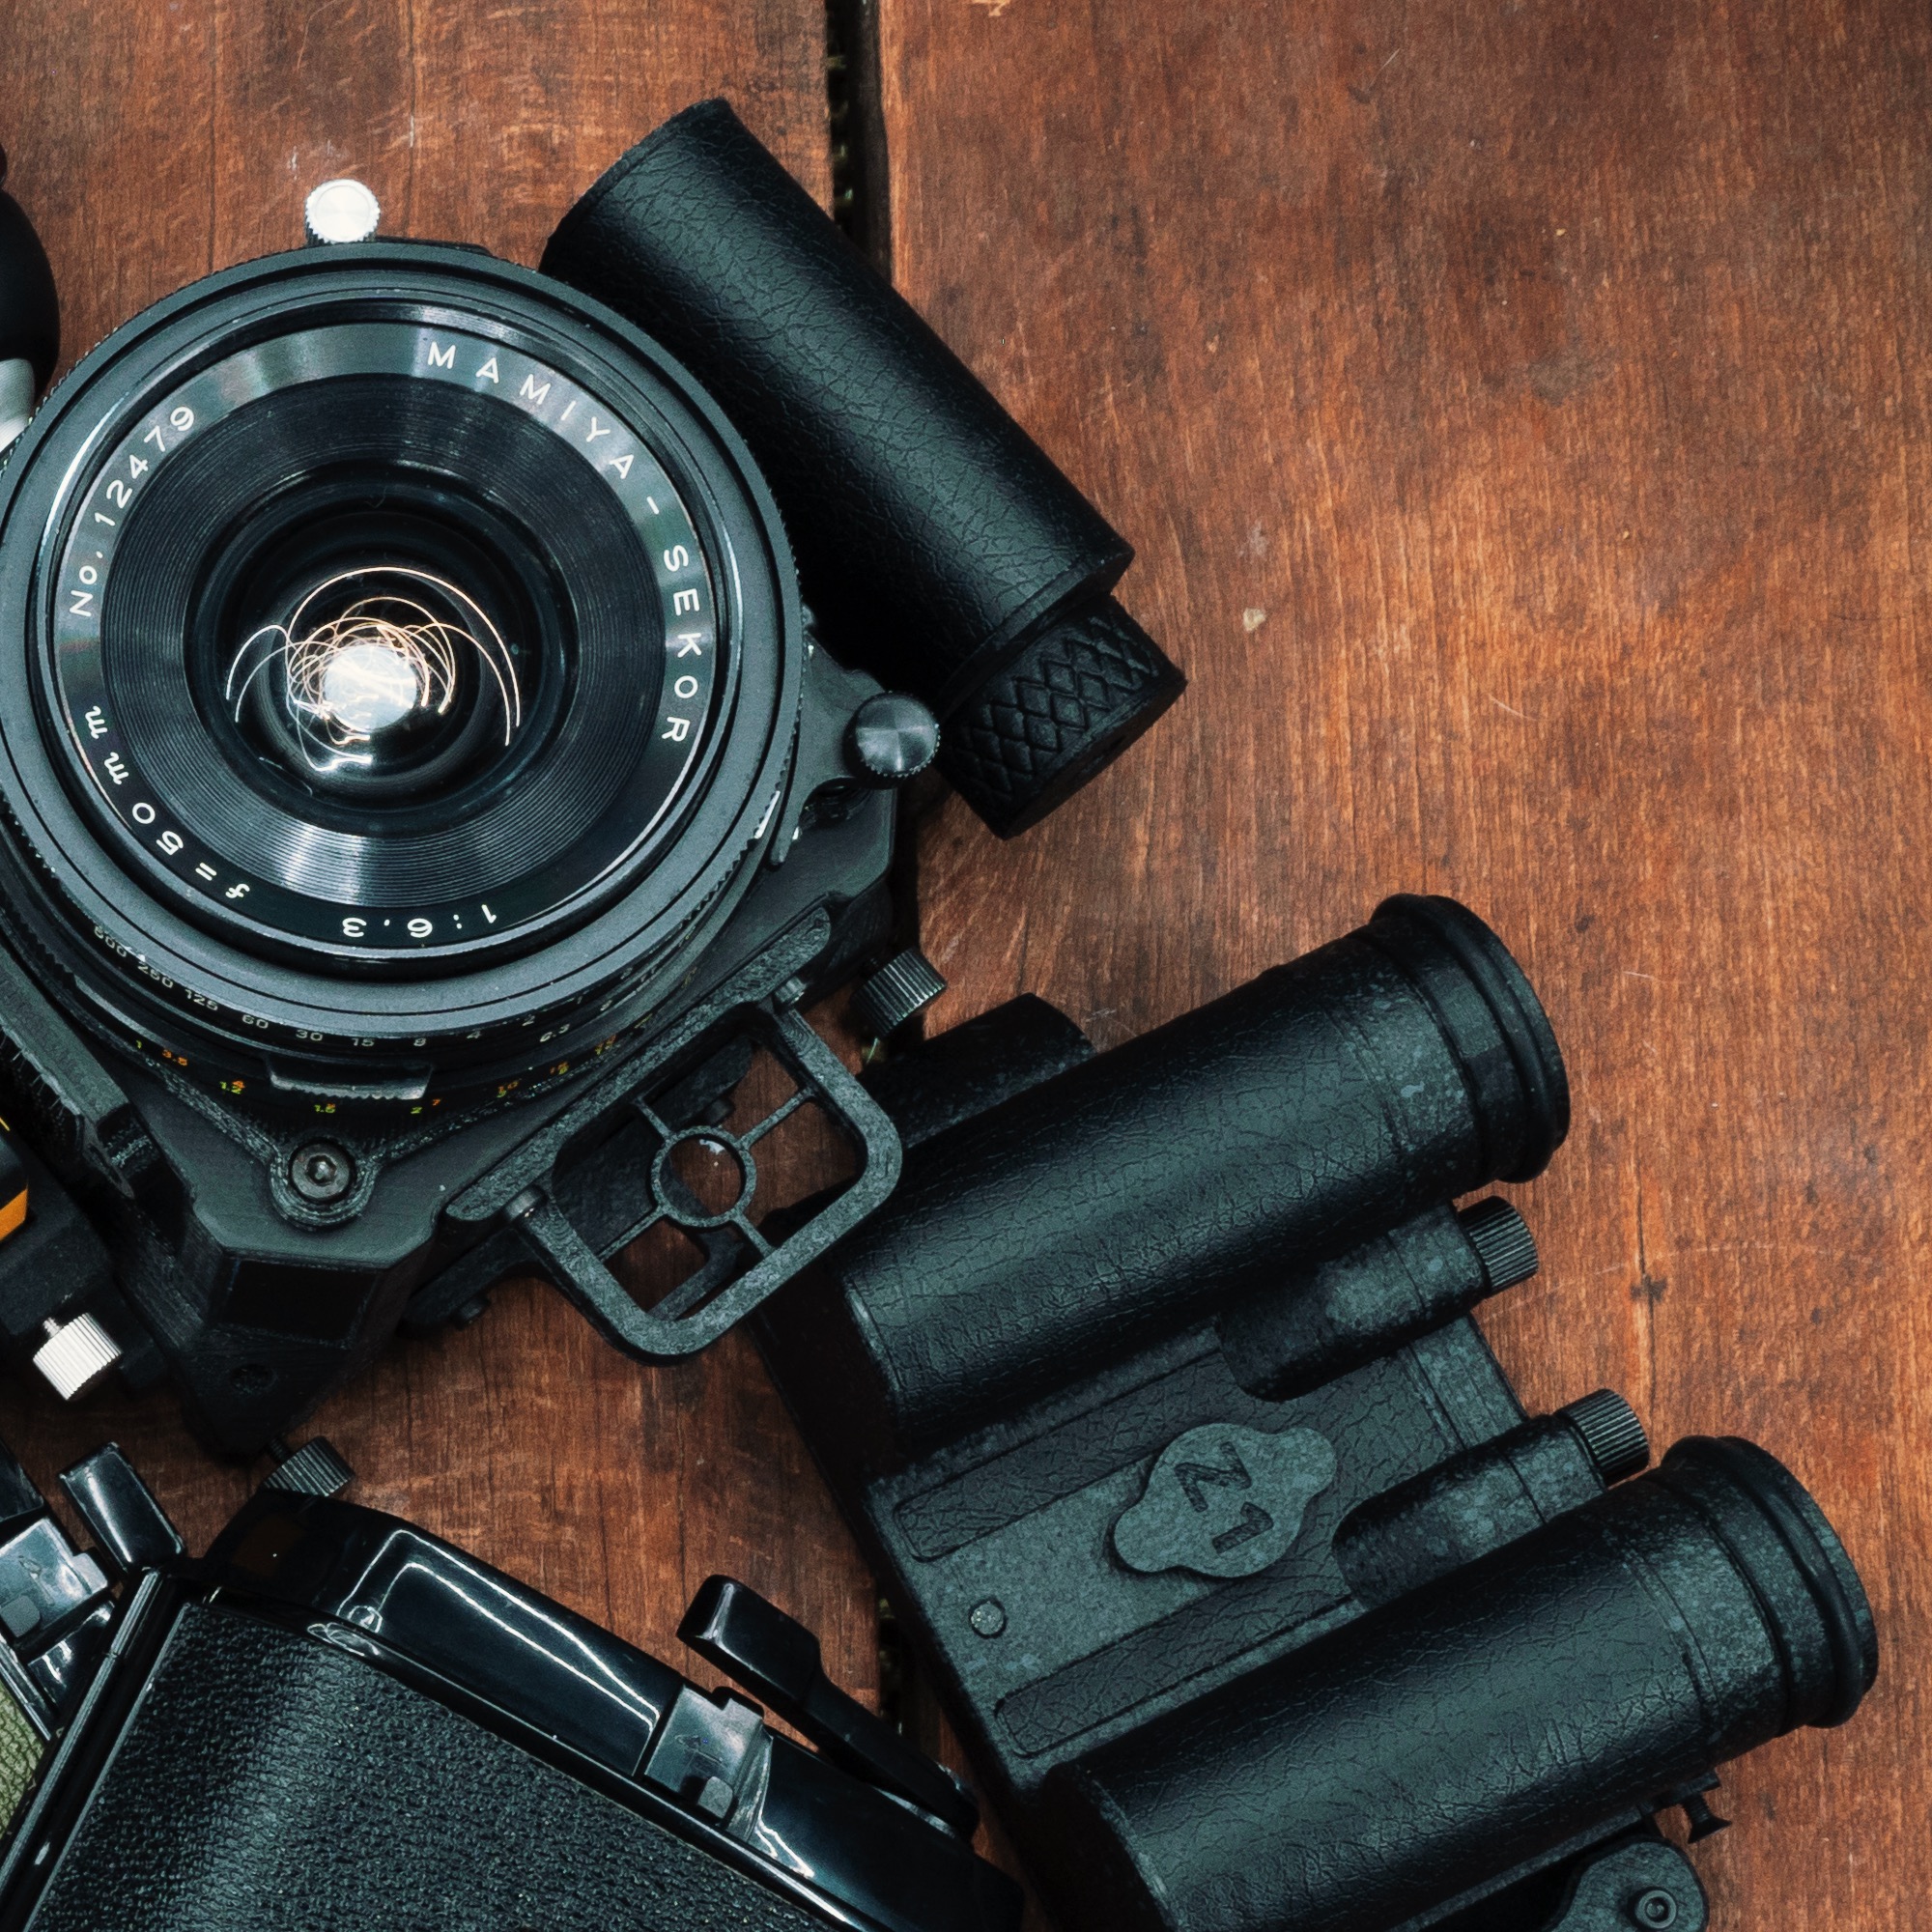
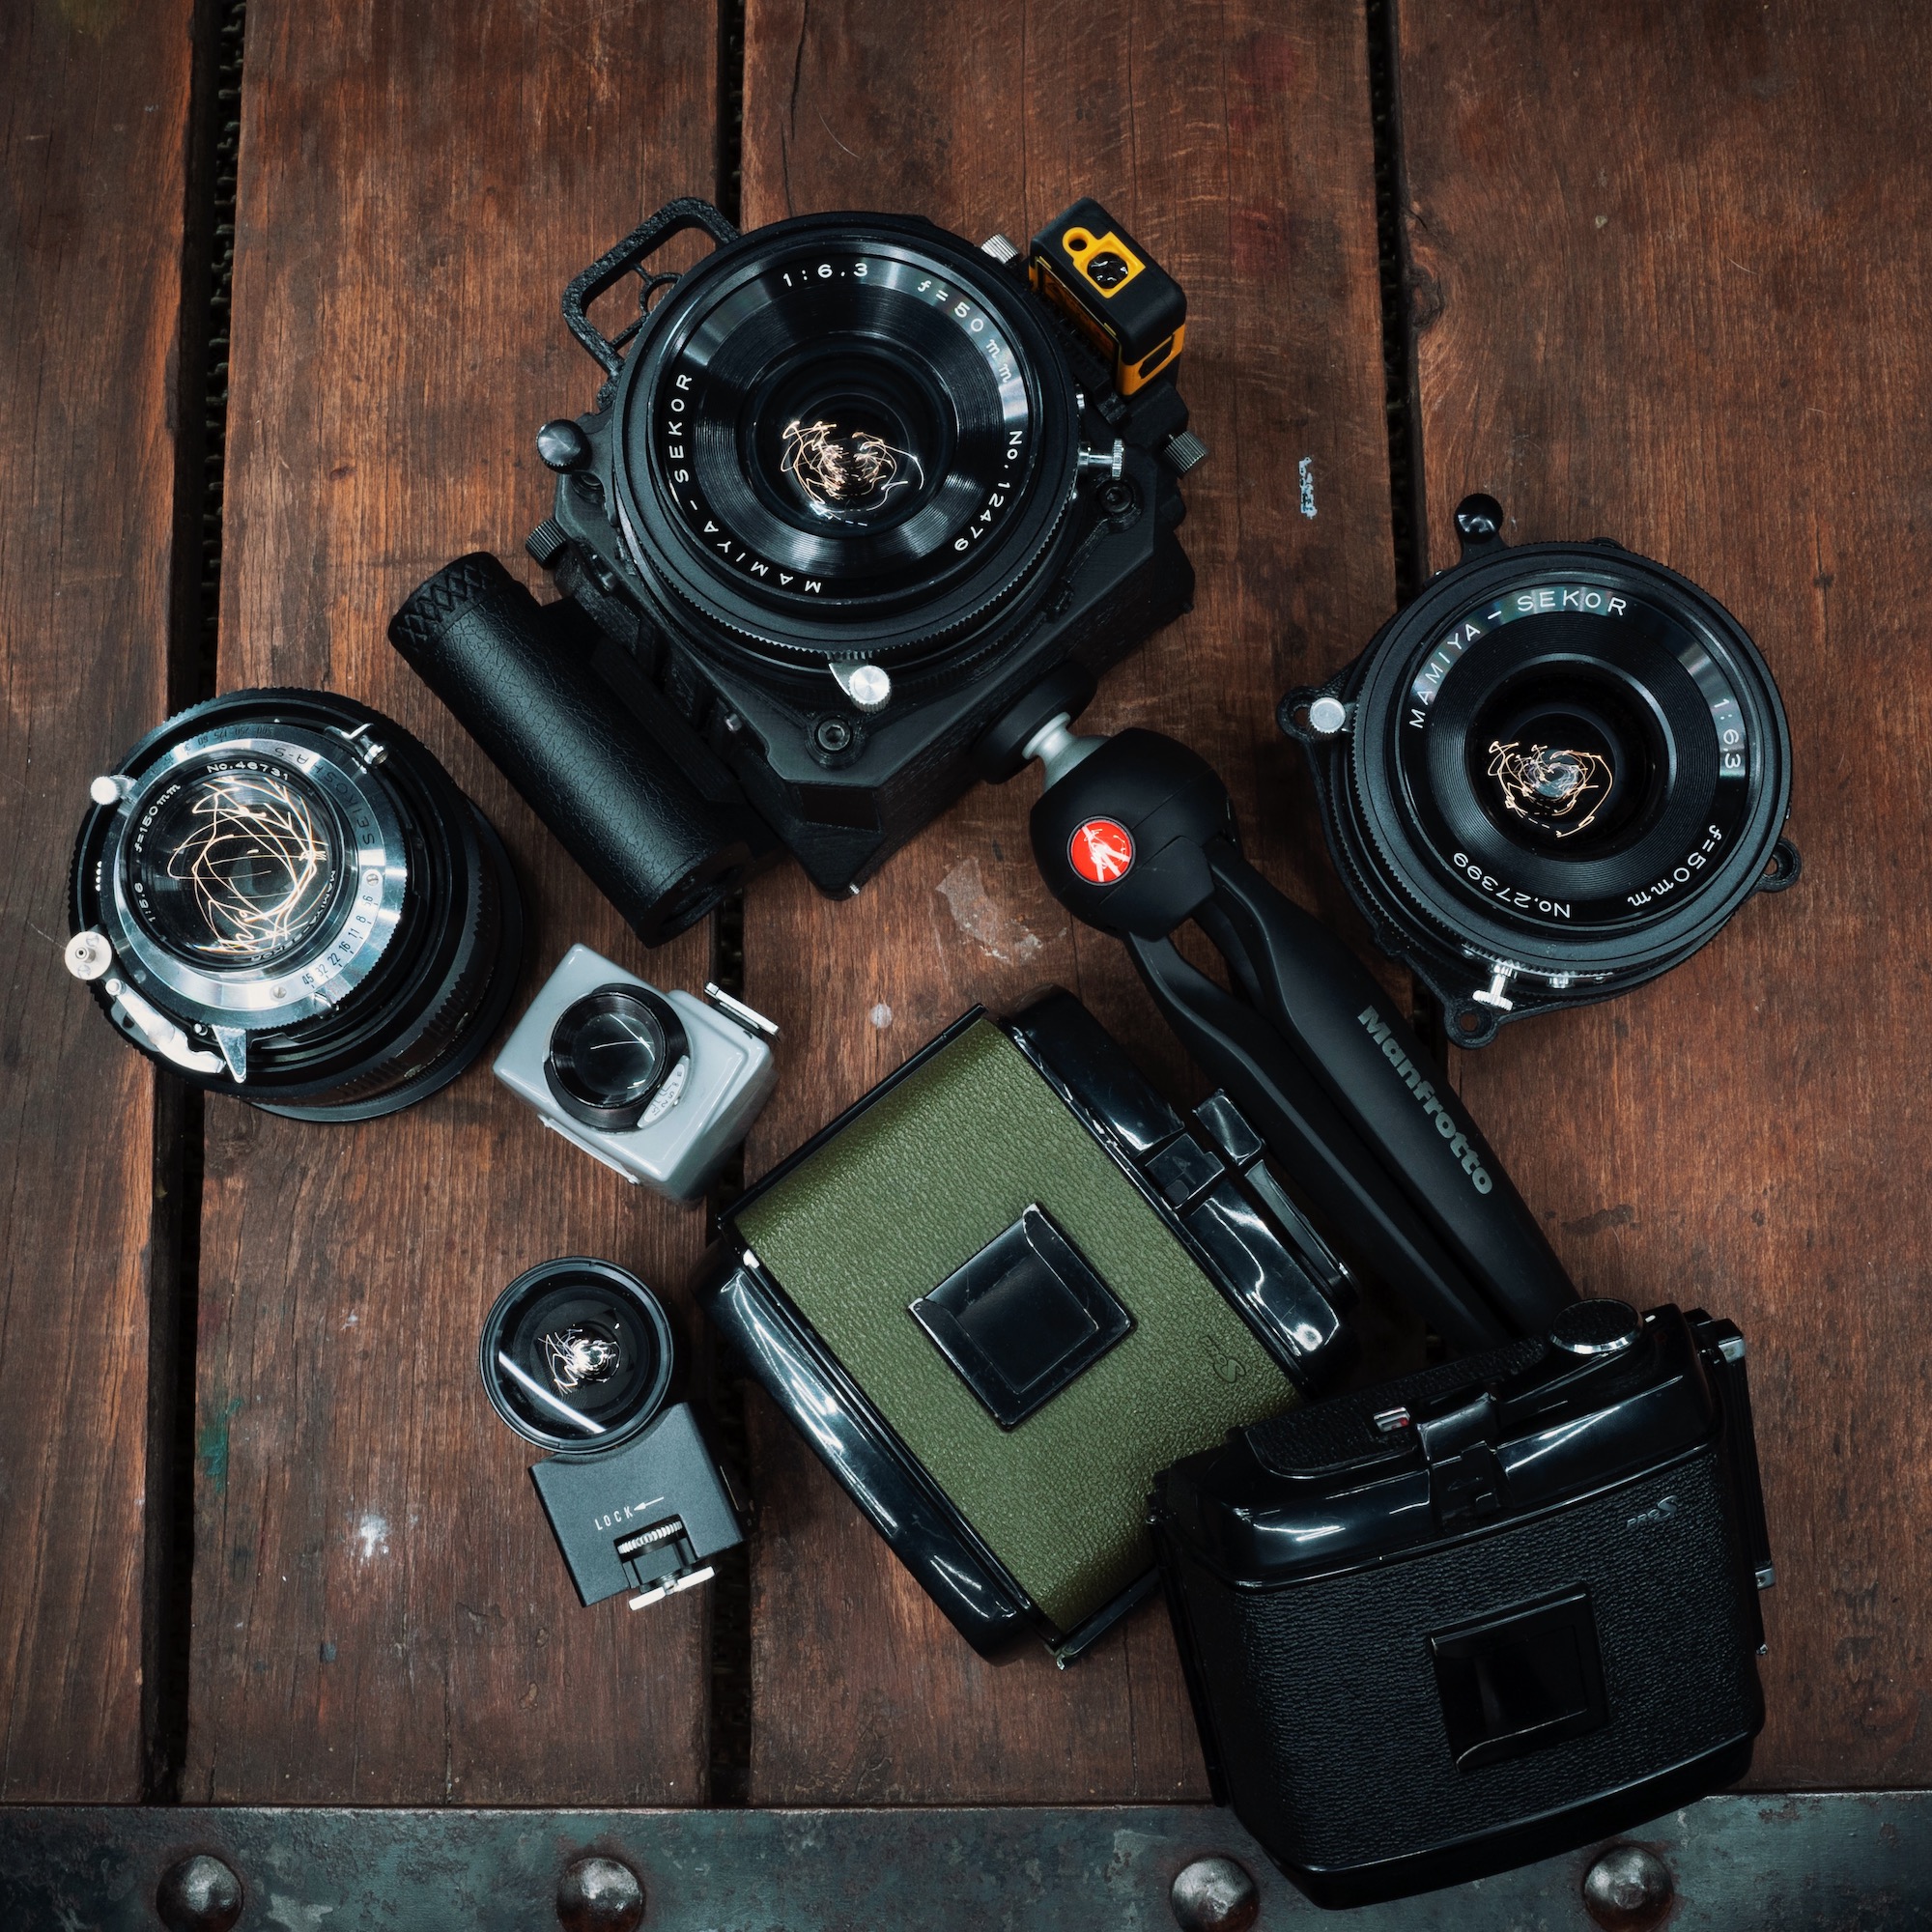
So, what exactly does “f/8 and be there” mean? Well, it’s got to do with the distance markers on your lens. Let’s use the Mamiya Press 50mm lens as an example. With the aperture set to f/11 and the lens focused to 1.5 meters (5 feet), the distance markers on the lens tell you that everything from 1 meter (3 feet) to 4 meters (13 feet) will be in focus. The smaller the aperture means that more of the scene will be in focus overall, which is why it is generally not recommended to go below f/8 when zone focusing.
The focal length of your chosen lens also plays a role here, as longer lenses have a narrower depth of field to work with, so choosing a wider lens, such as the Mamiya Press 50mm or 65mm, makes zone focusing much easier to master, and a powerful skill to have.


If you do want to learn more about zone focusing, or its counterpart hyperfocal focusing, I definitely encourage you to research the subject further, as there are many great resources out there. A good place to start, as I did, is in Ansel Adams’ book “The Camera” and then branching out online from there. Once you get the hang of it, you’ll see how easy it really is!
Alternative options to the zone focusing method
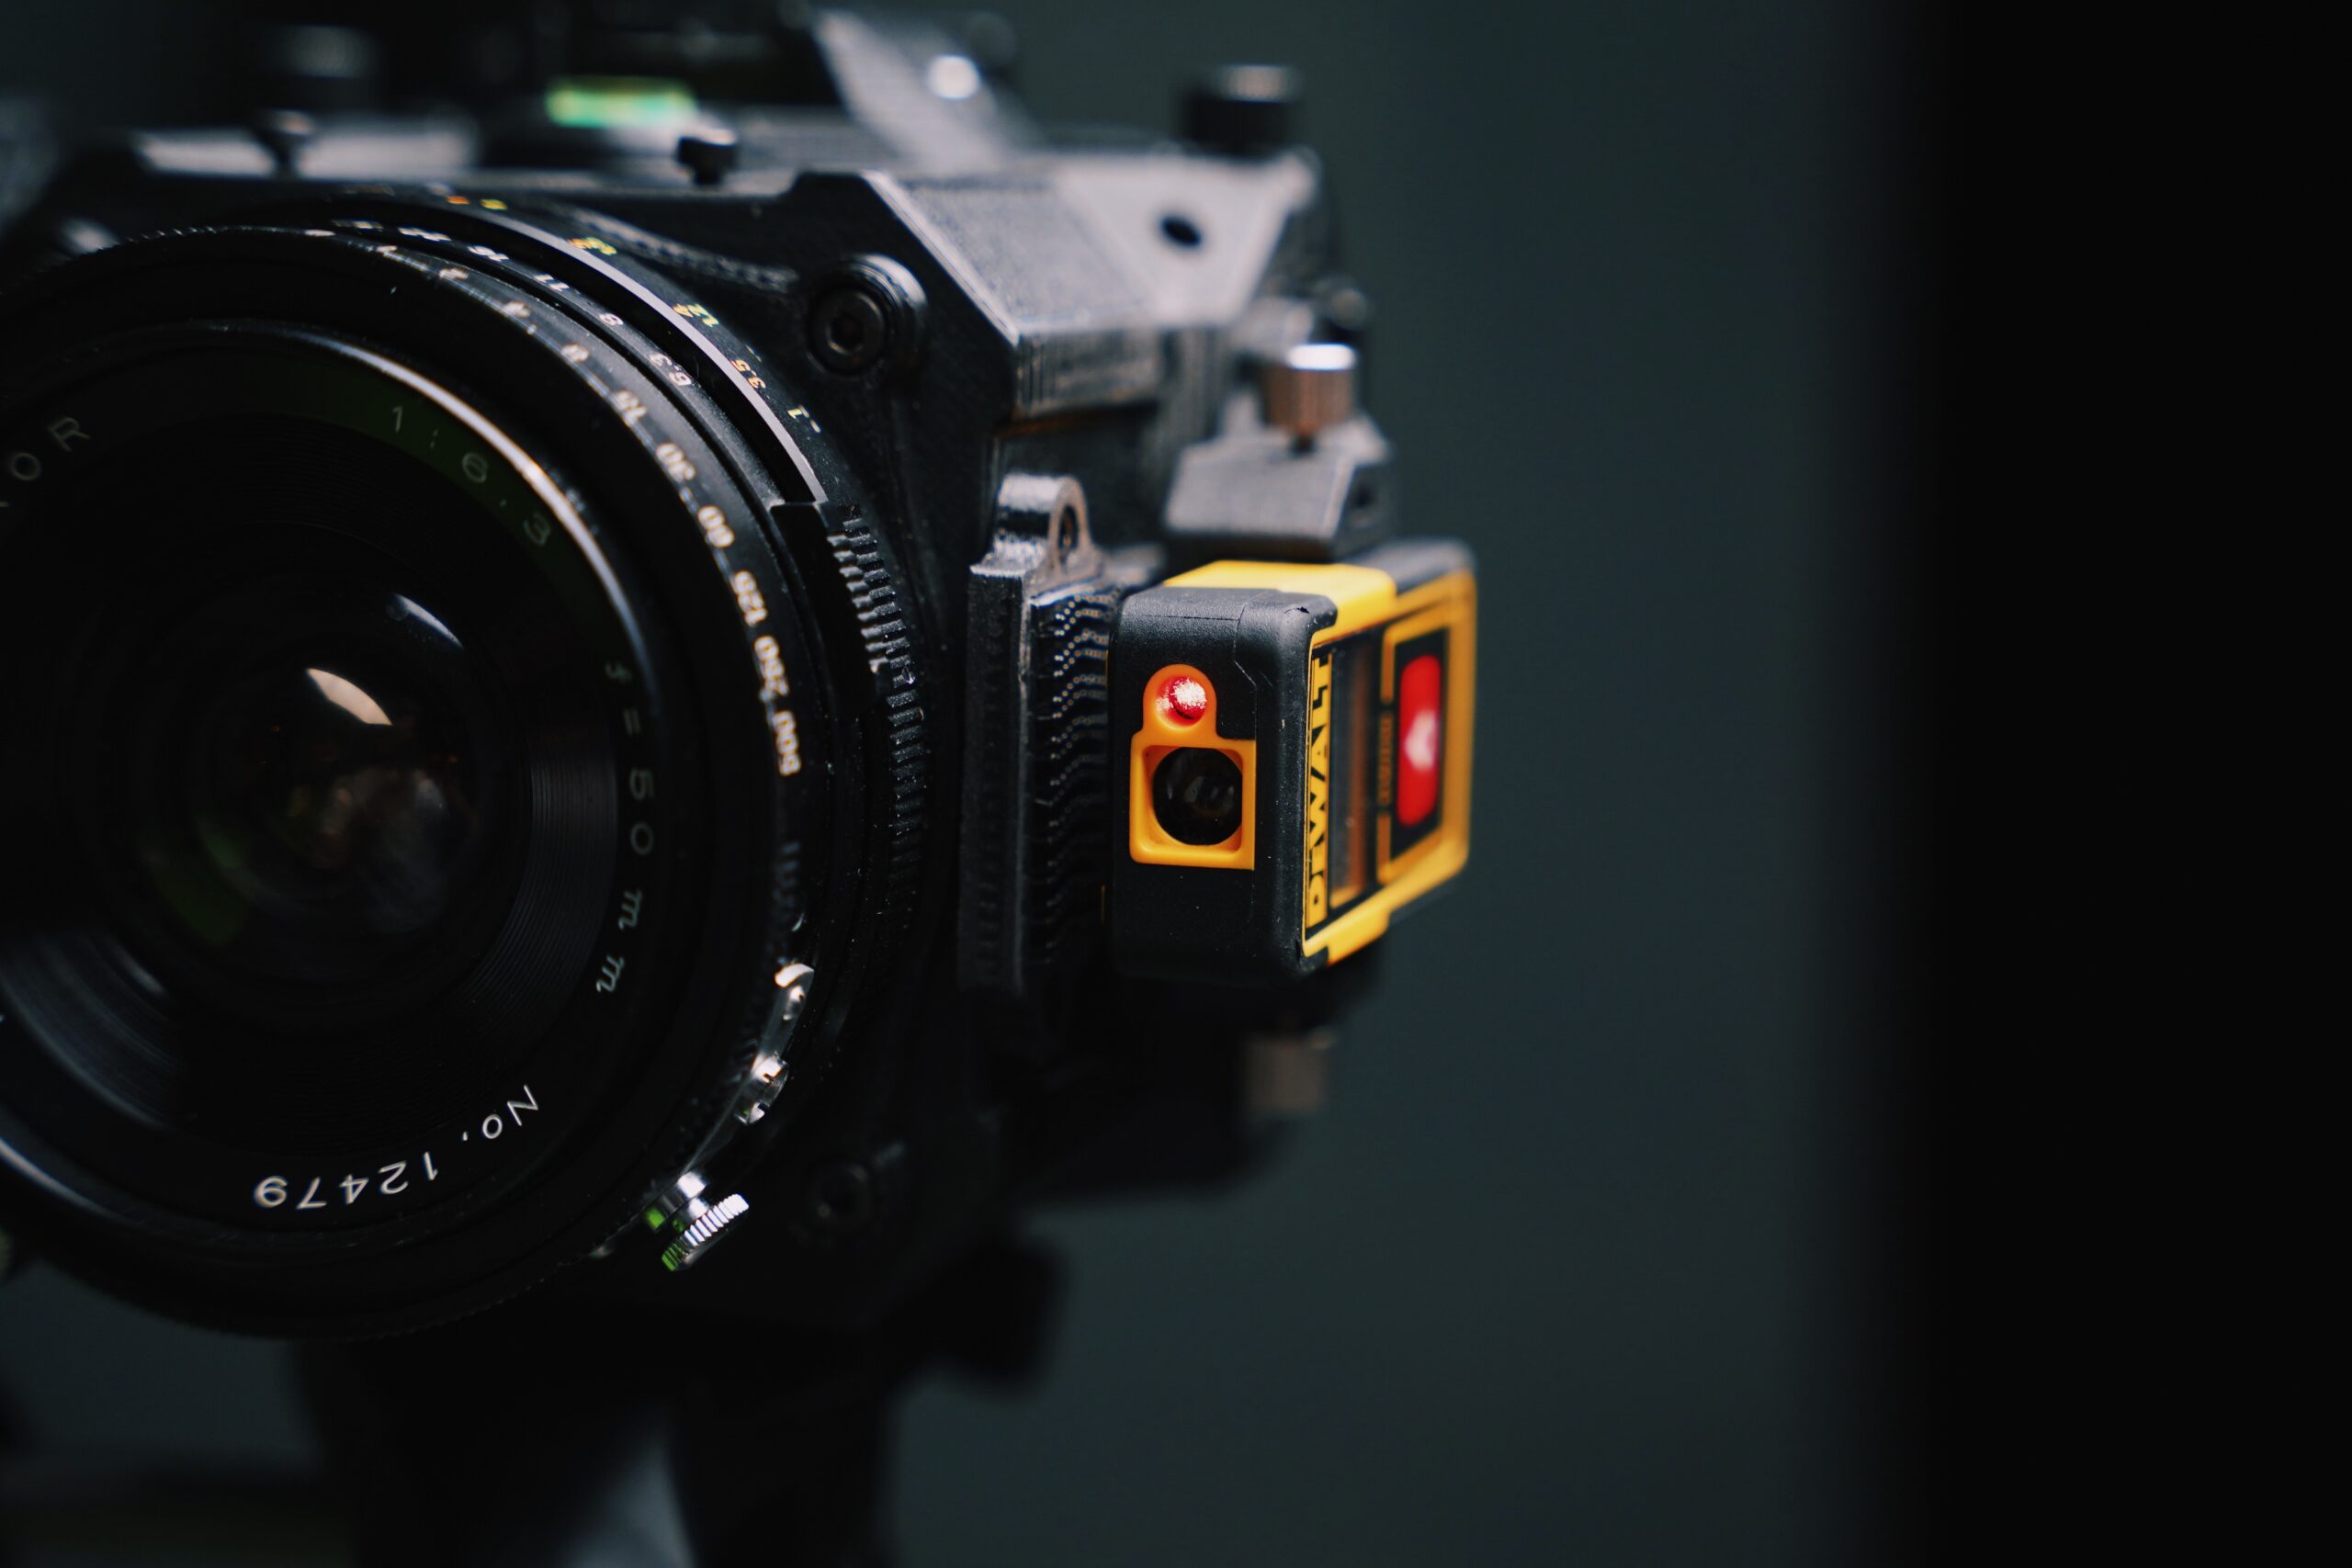
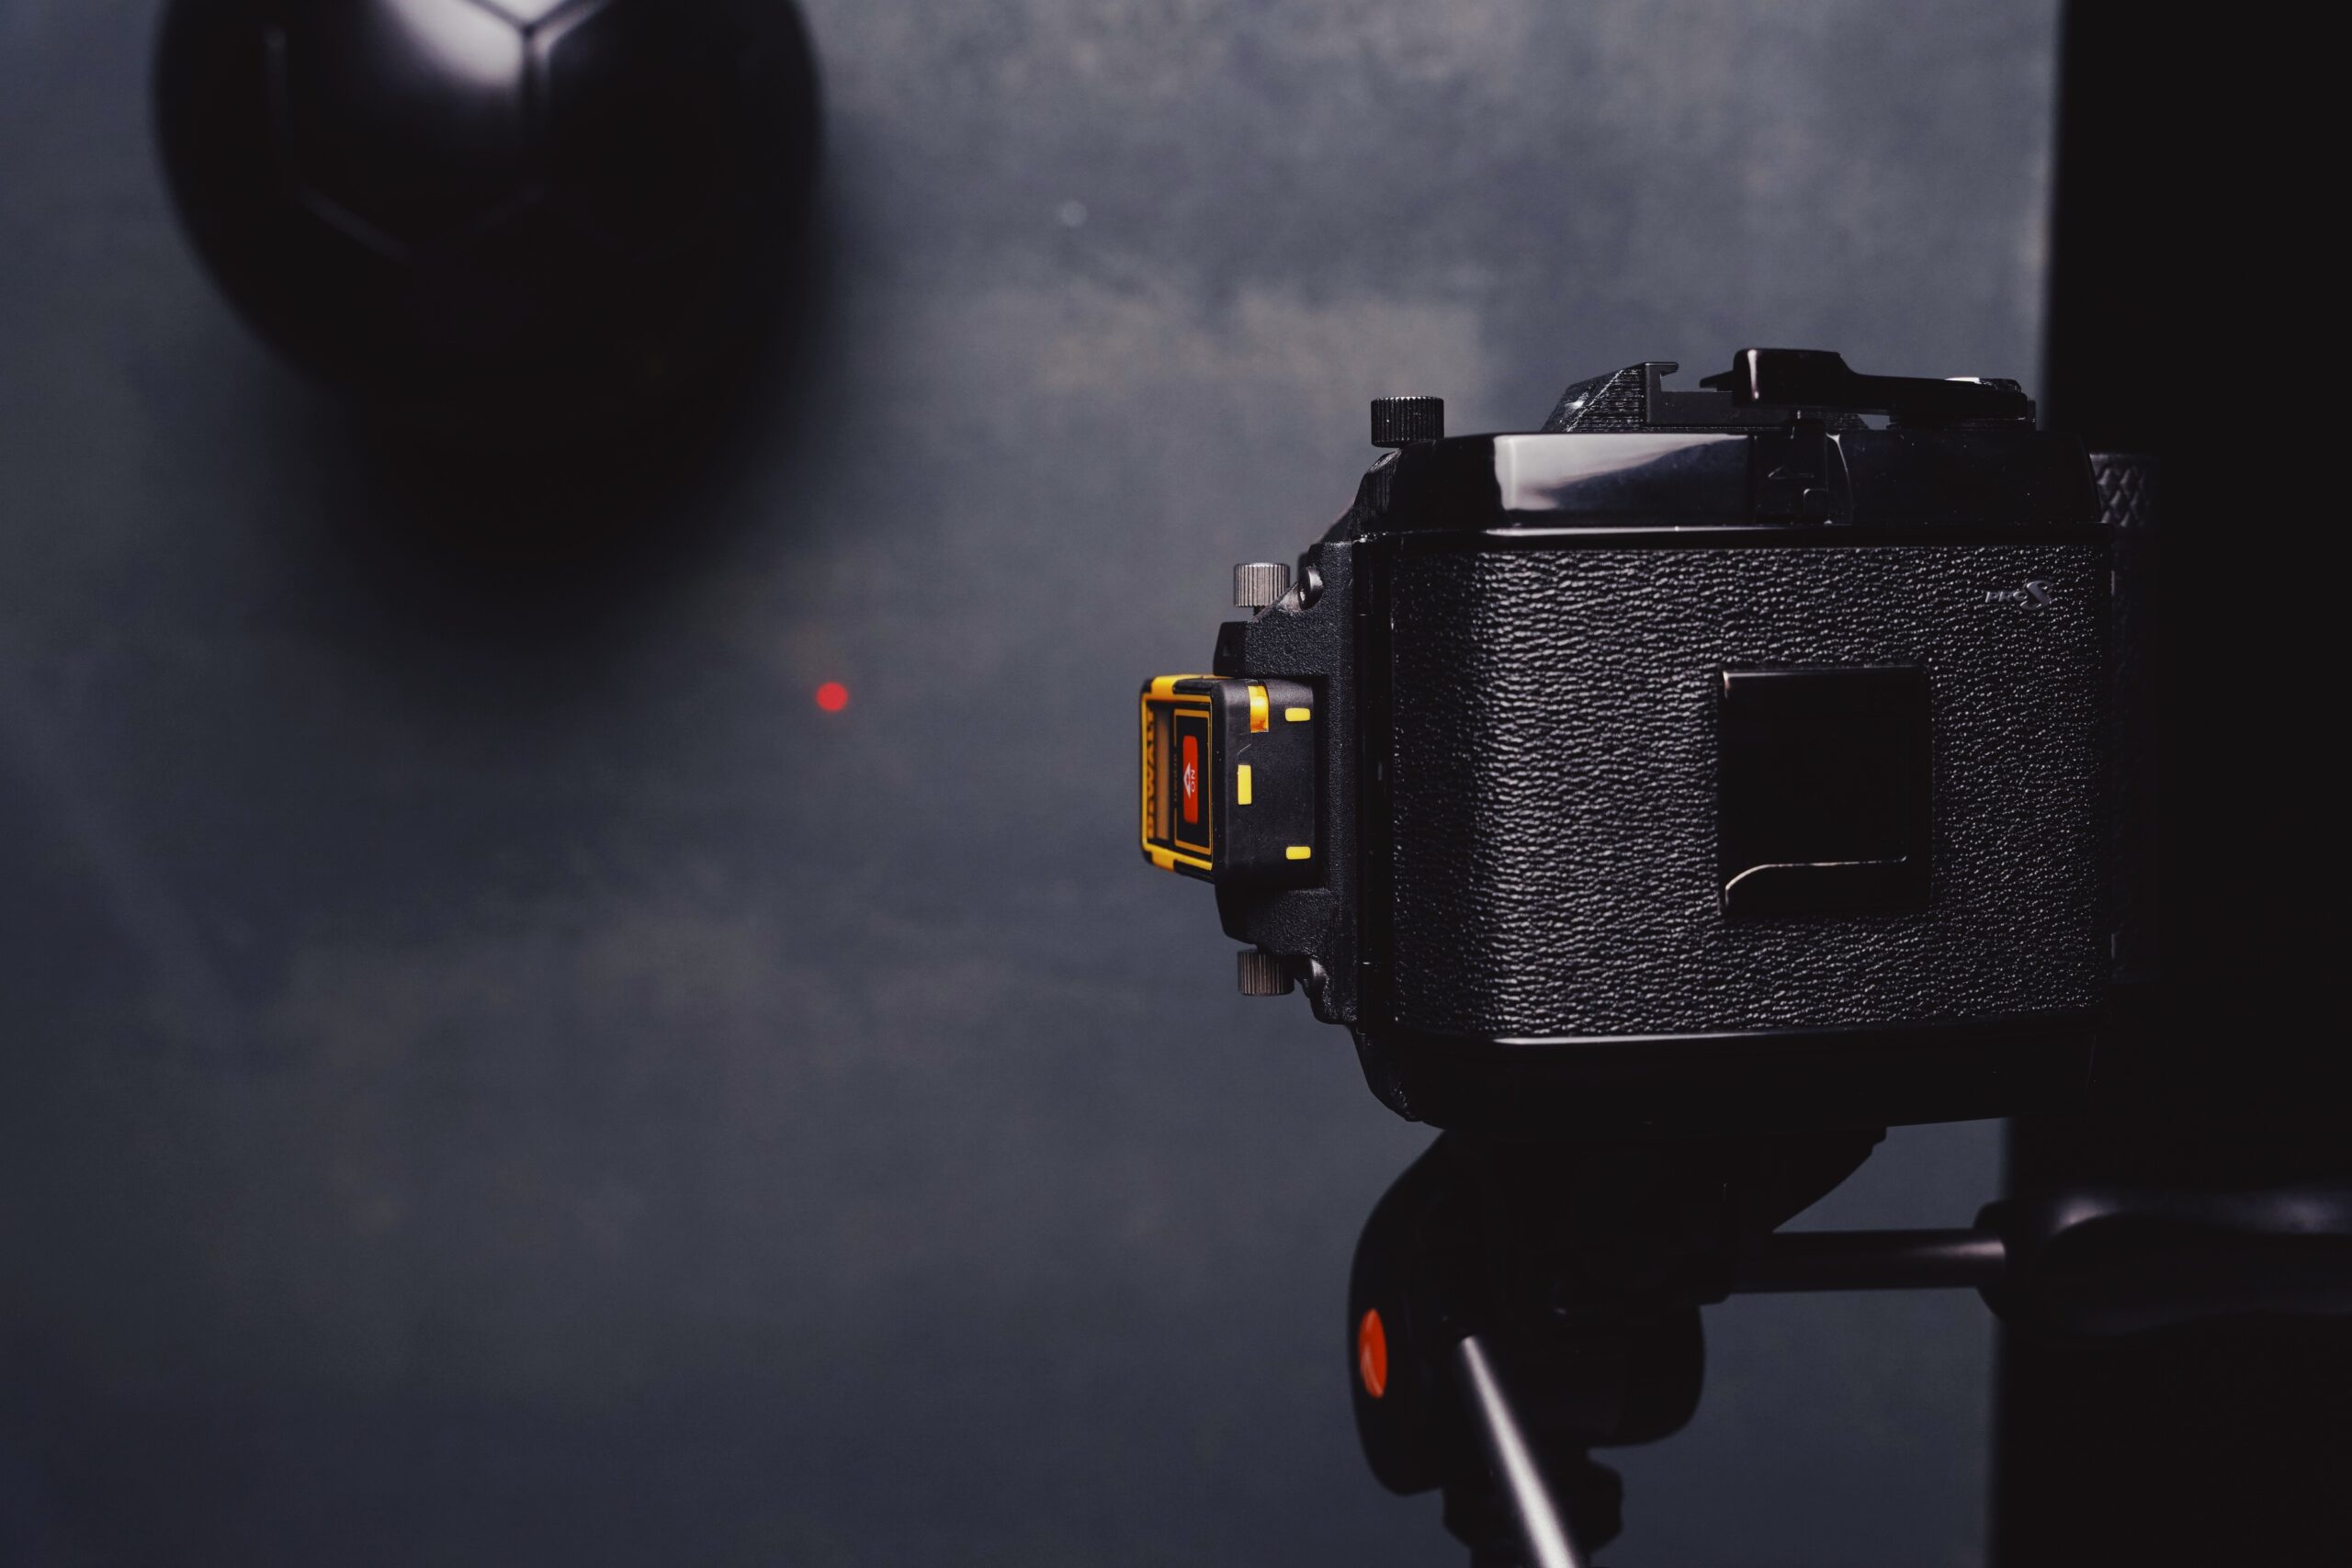
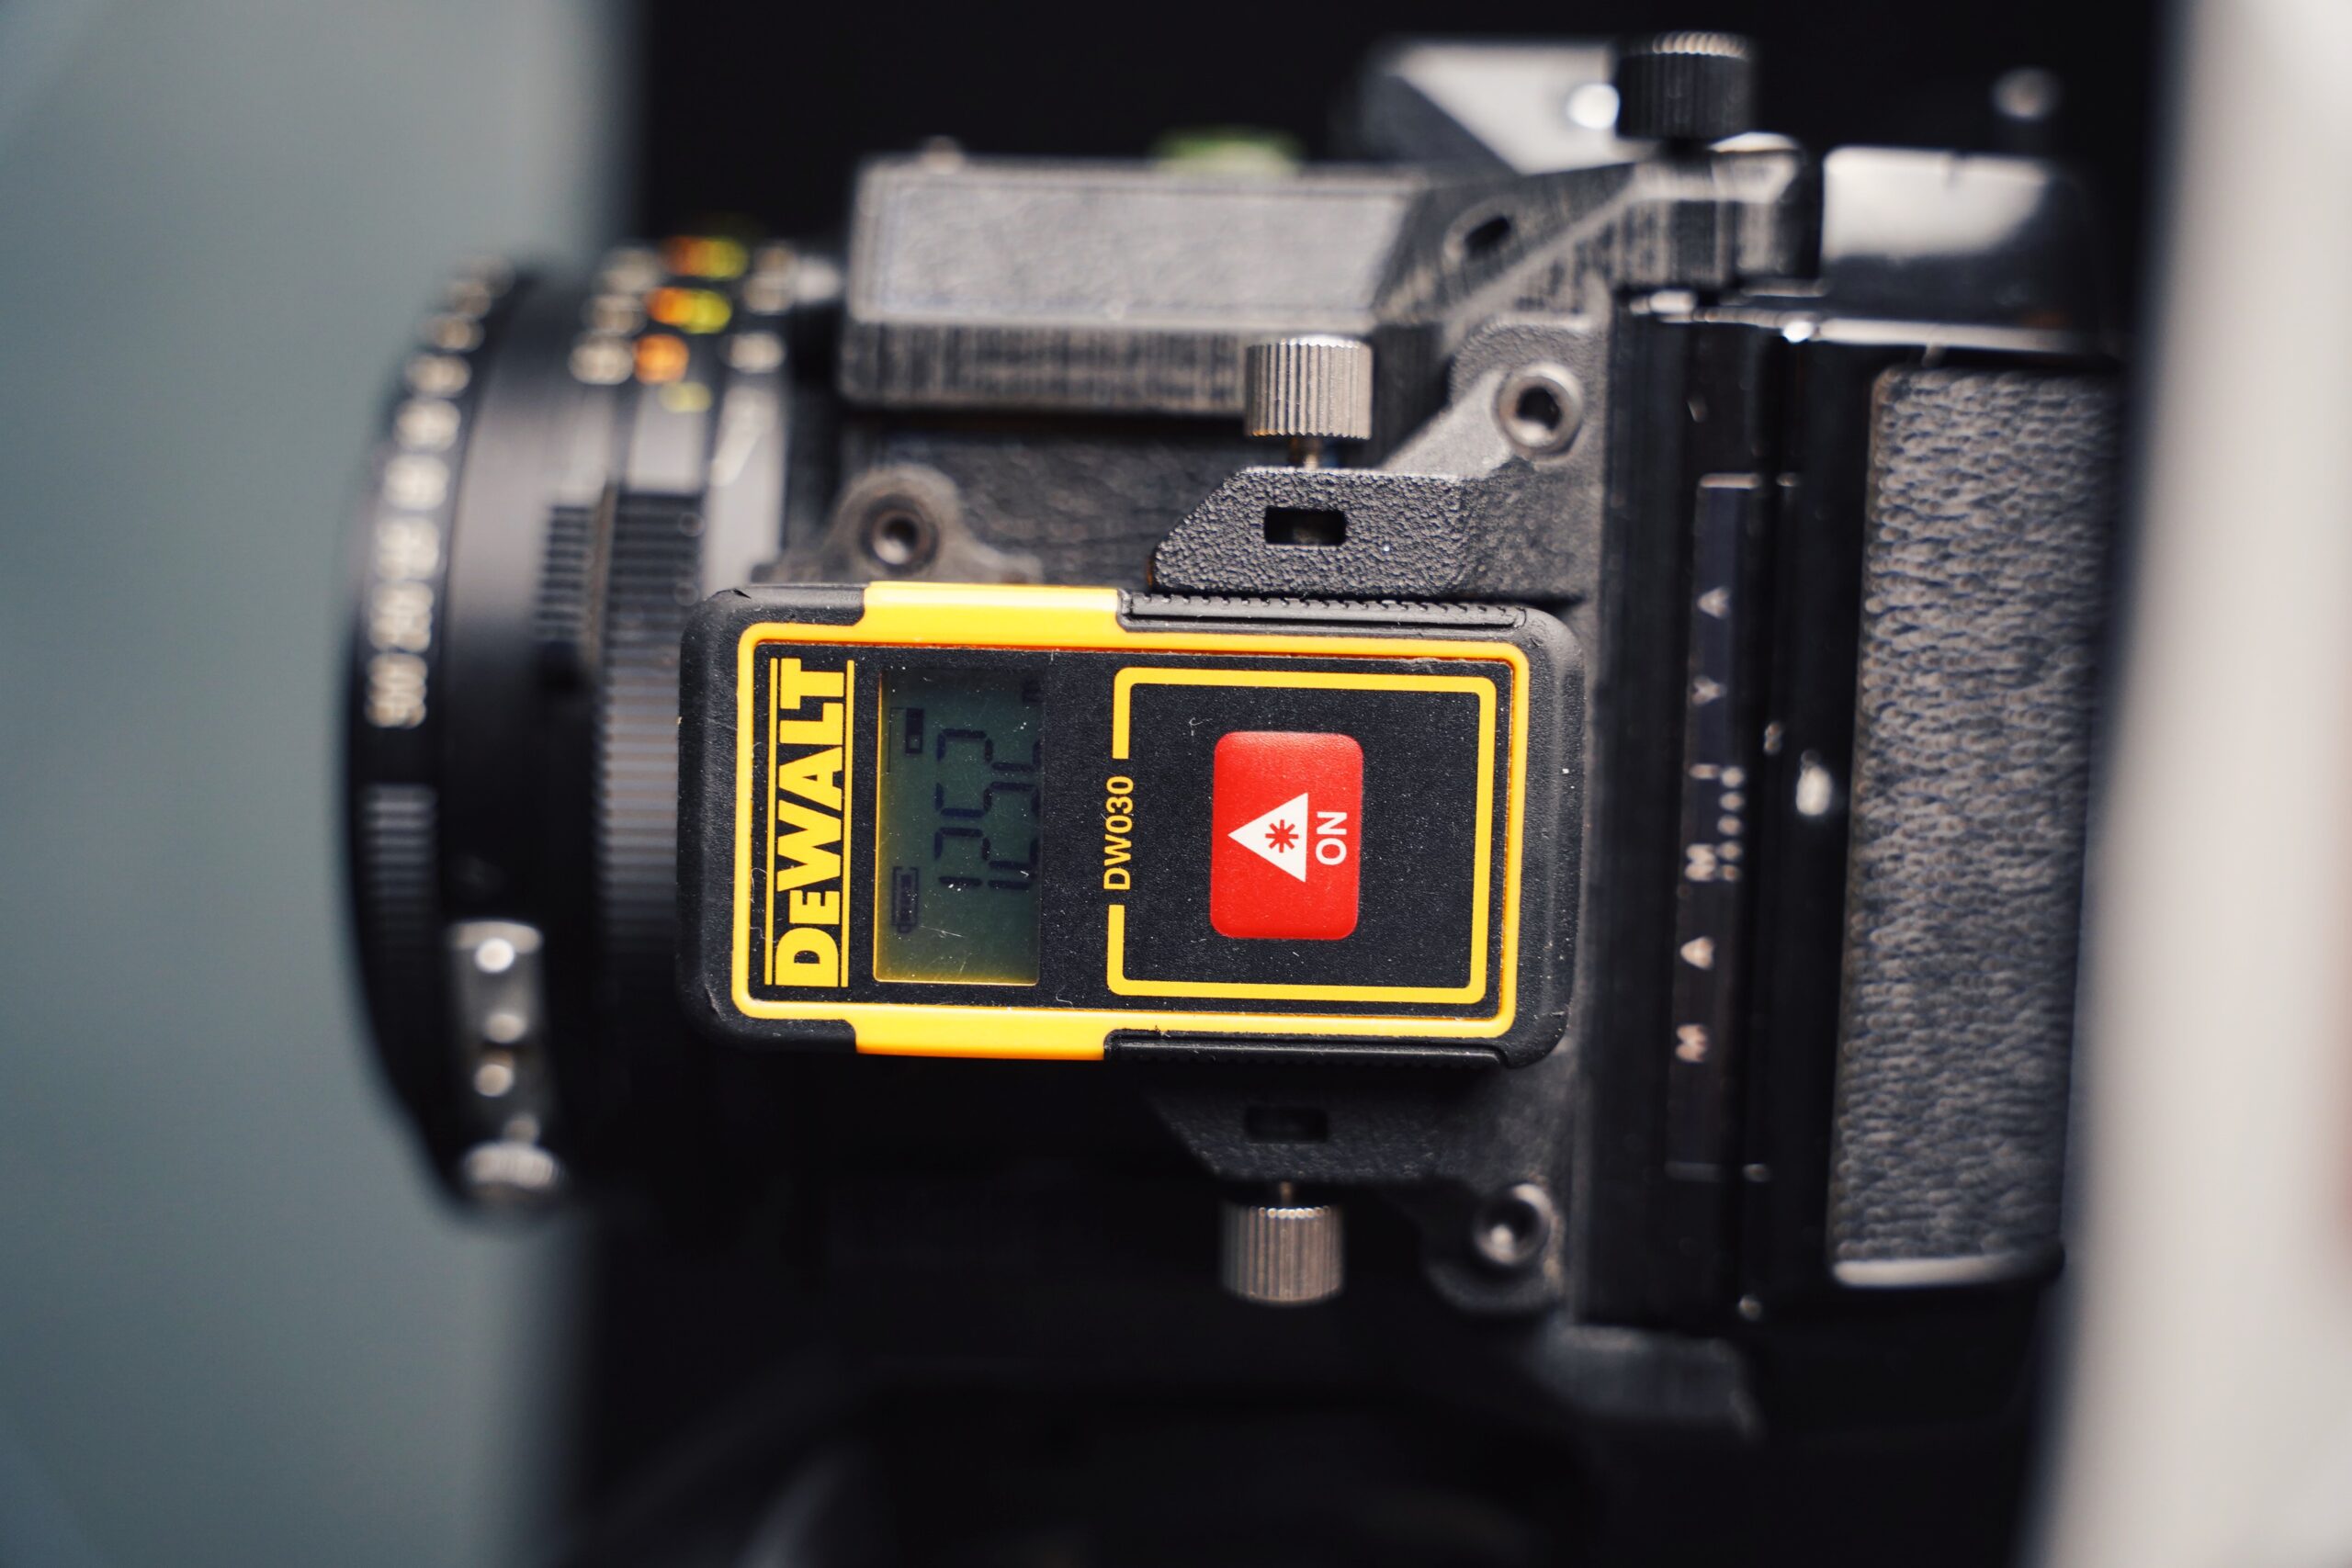
Beyond zone focusing there are, of course, other ways to nail focus with your Goodman Zone. Probably the most popular way of determining distance is by using a pocket laser distance measurer. Every time a new post goes up on the Dora Goodman Instagram feed featuring the Zone and the infamous DeWalt laser distance measurer, it gets a lot of engagement and excitement, and with good cause… that little gadget is just so darn cool! Of course, there are other brands that make these handy pocket devices and, like the DeWalt, they all function in pretty much the same way, providing accurate readings to within a ¼-inch and measure distances of up to 30-40 feet—with a few even going up to 55-65 feet—which is really all you need because anything beyond those distances will be considered infinity on your lens.


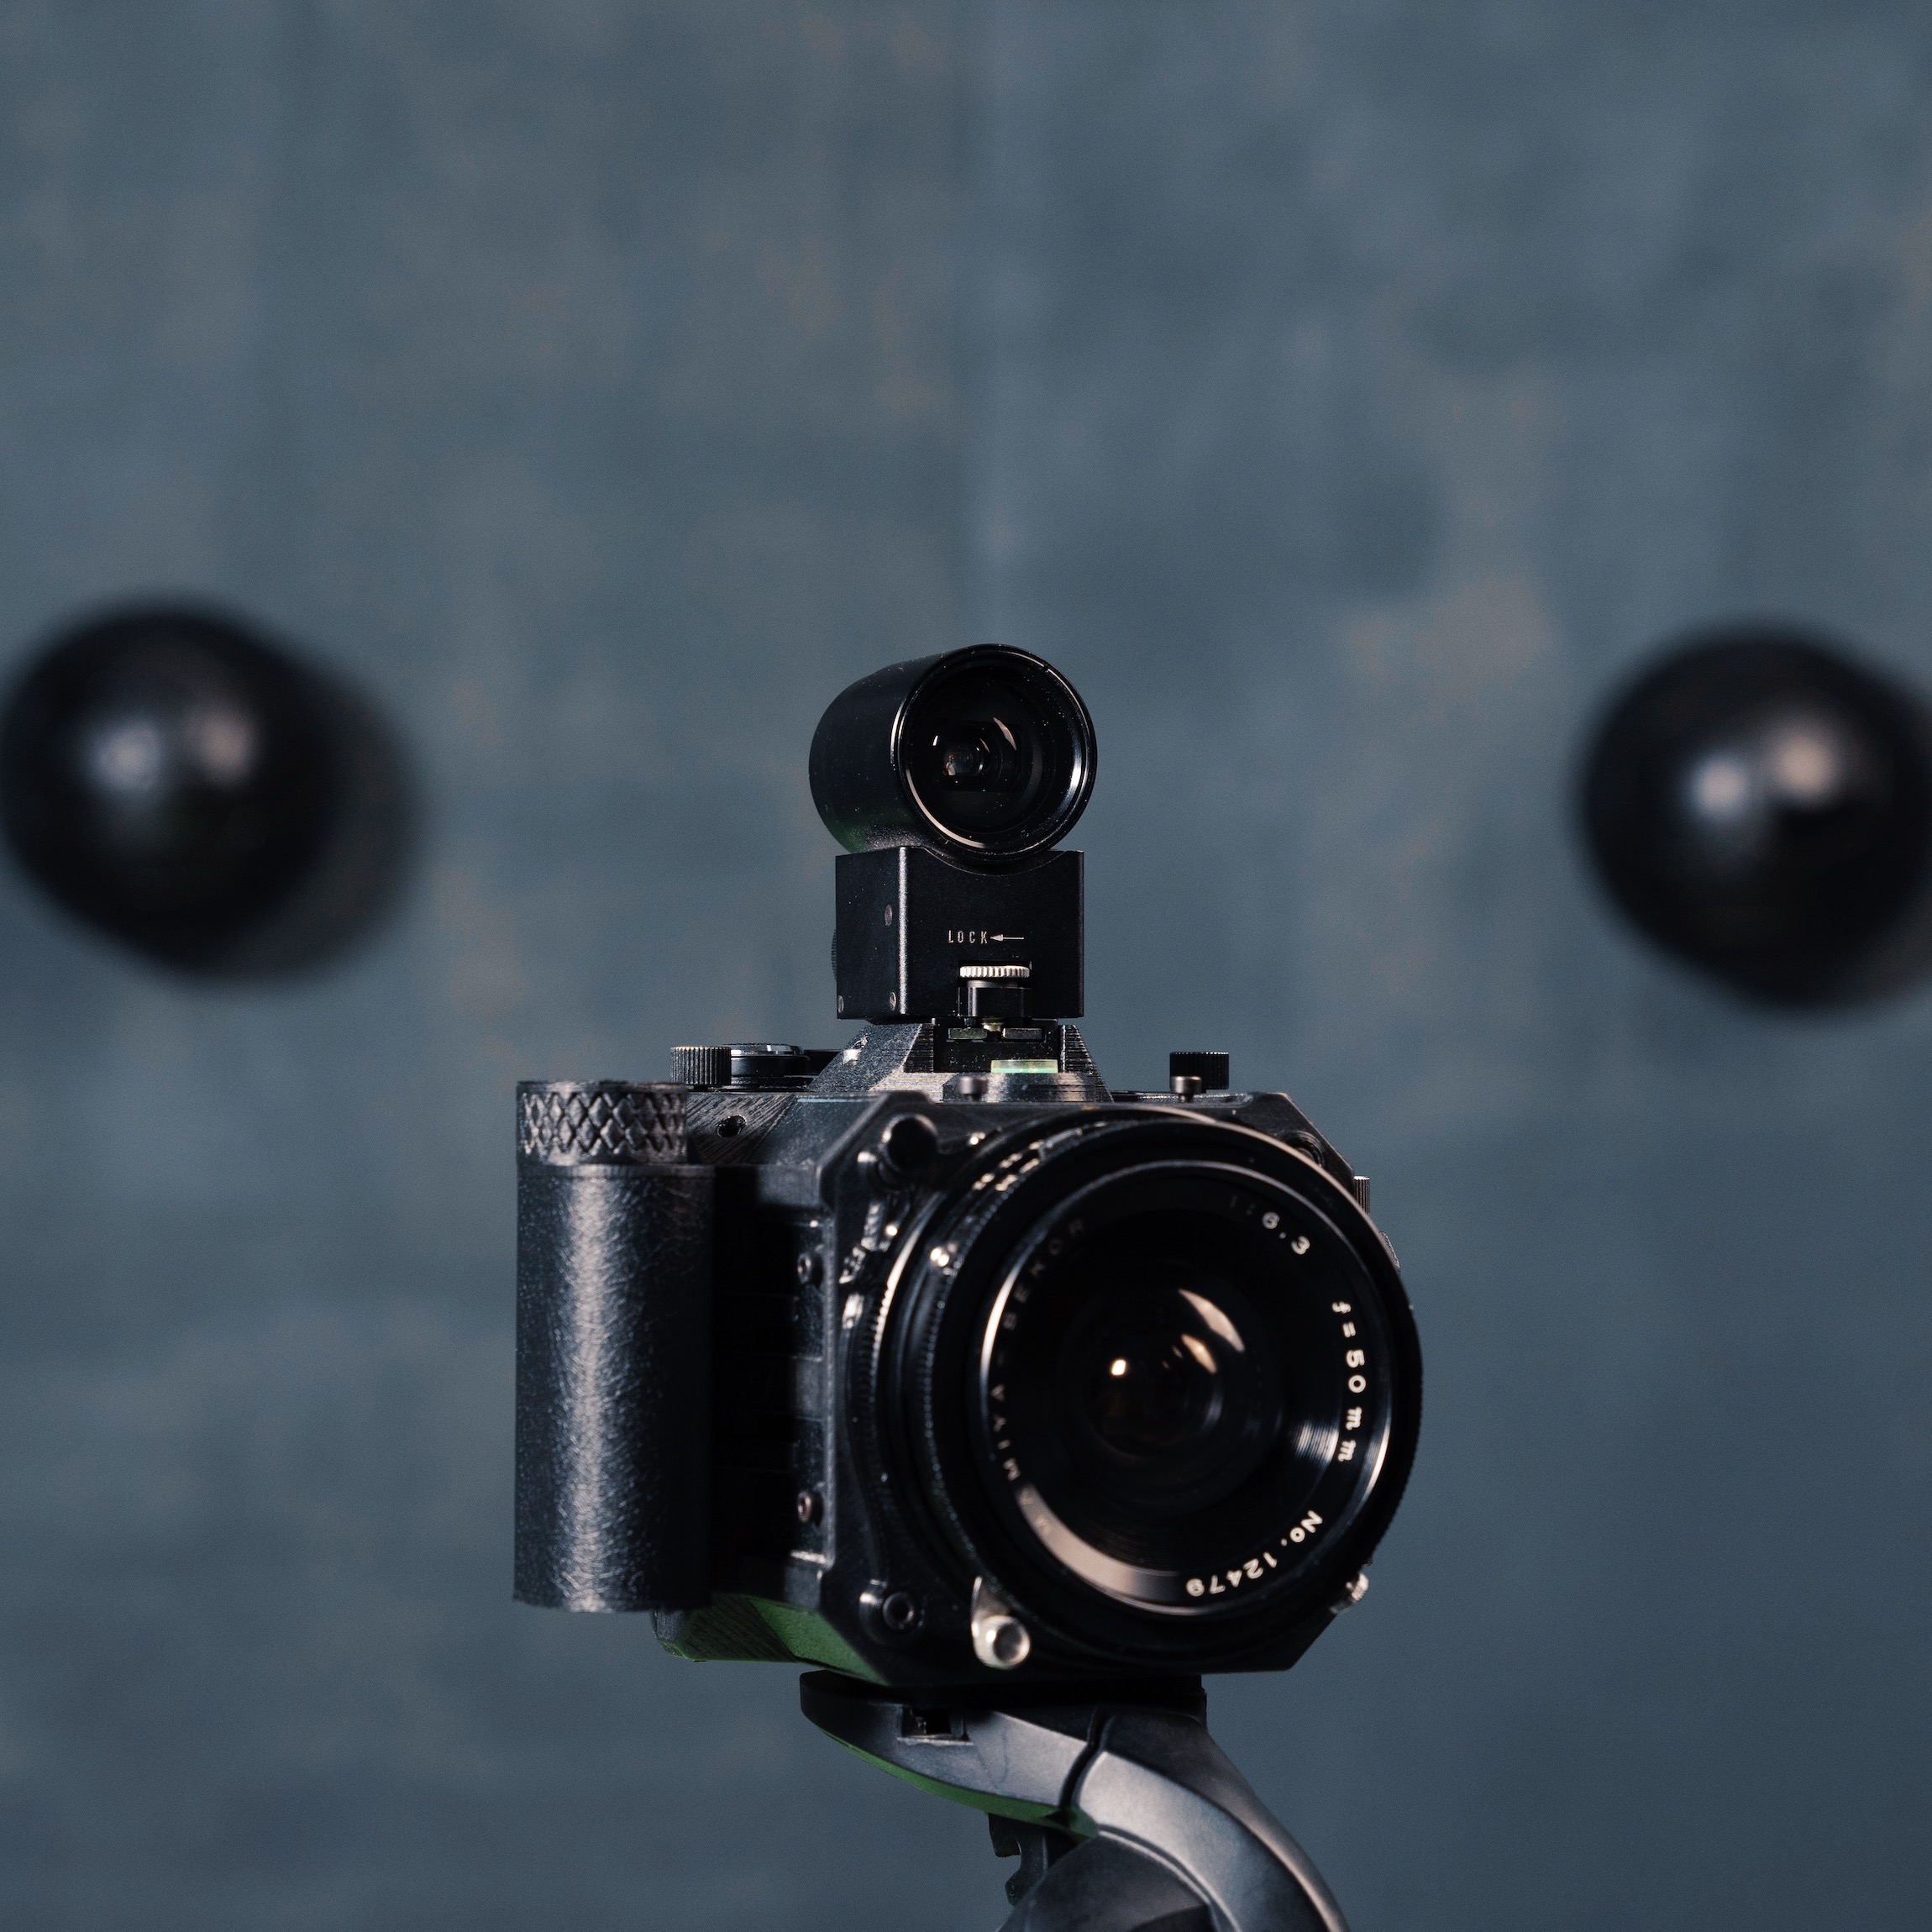
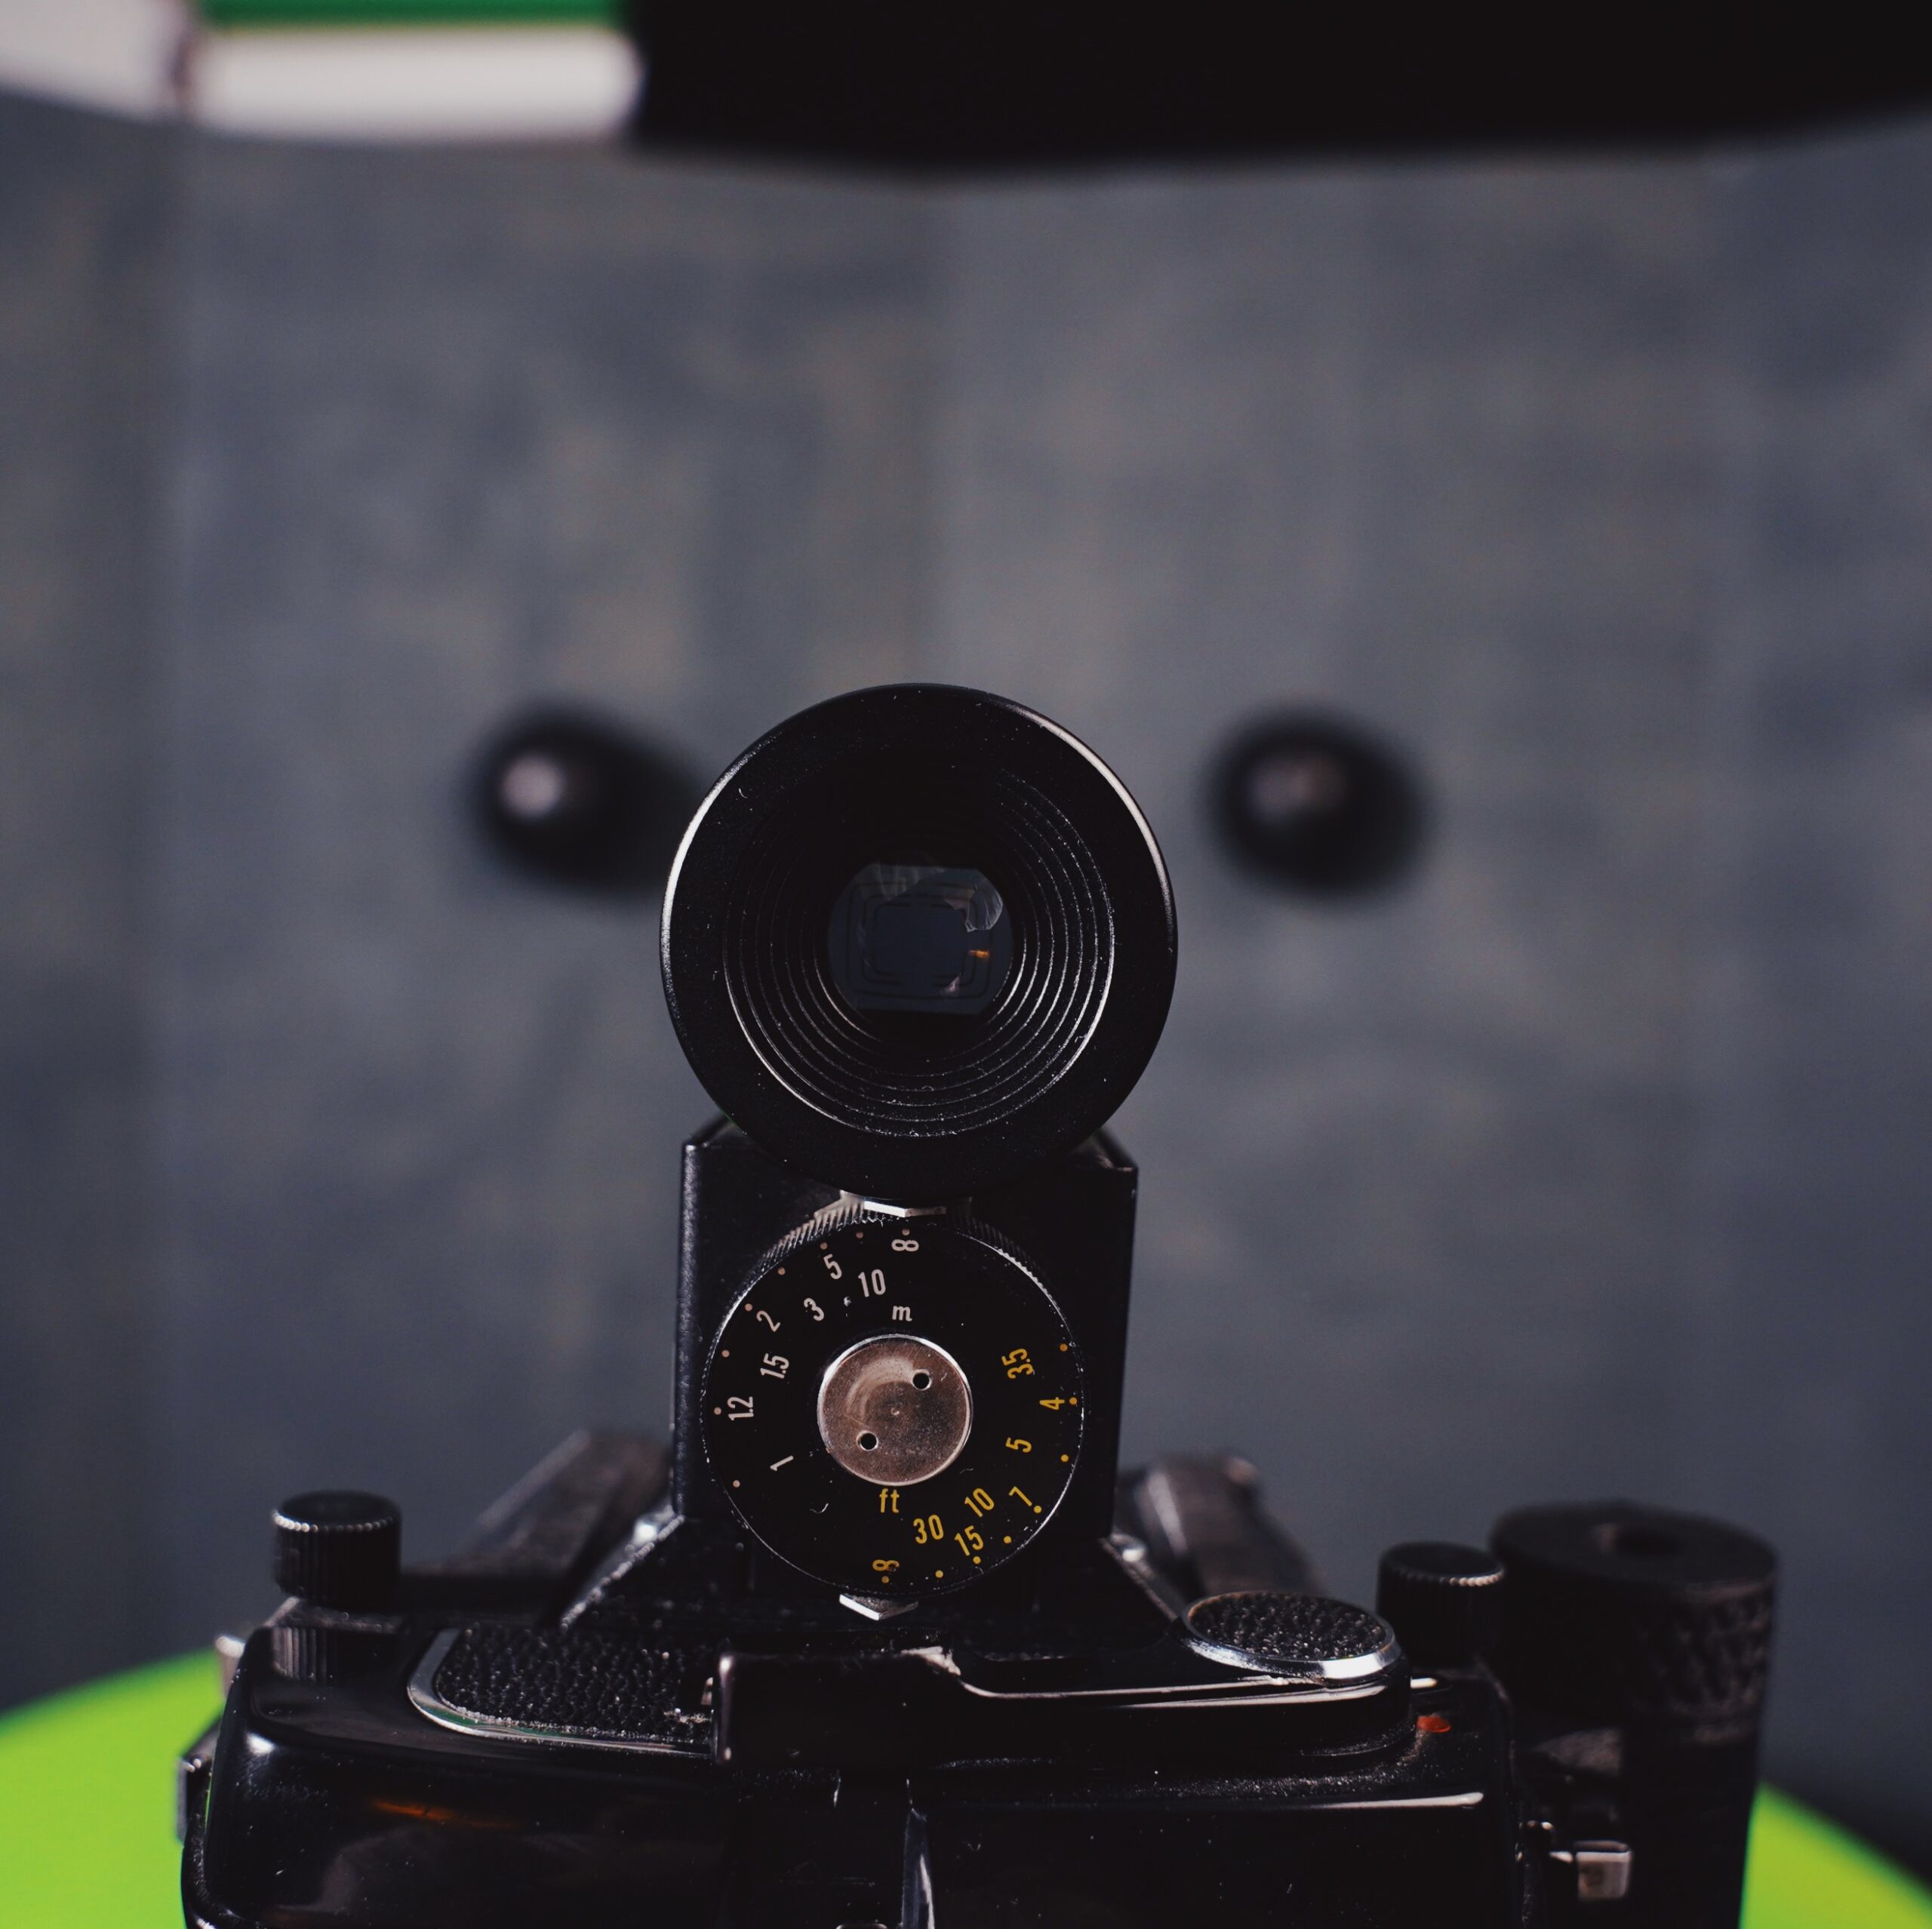
Finally, we can’t discuss focusing options without talking about accessory rangefinders. Mounted to the top of the camera via a cold shoe, these external rangefinders are not only useful, but also (in my opinion) quite stylish! Looking through the viewing window, you turn the distance dial until your subject is in focus, the reading is then found on the dial for you to match on your lens. The great thing about these accessory rangefinders is that they are easily found on the second-hand market and are essentially universal, as they are not coupled to any particular lens, although the disadvantage is that they cannot also be used as a viewfinder.
Which viewfinder option will best suit your workflow with the Goodman Zone?
1) Original Mamiya viewfinders:
With so many diverse options to choose from, let’s move on to viewfinder tools to help you find the one that will work best for you. Obviously, as the Zone is compatible with the full line-up of legendary Mamiya Press lenses, the 50mm, 65mm, and 75mm lenses can be sourced with their own external viewfinder that is mounted to the top of the camera by way of a cold shoe. However, if you are not able to find one or if you are looking for a more unique experience then you are in luck, as there are multiple options available, each offering a very different approach to your workflow.


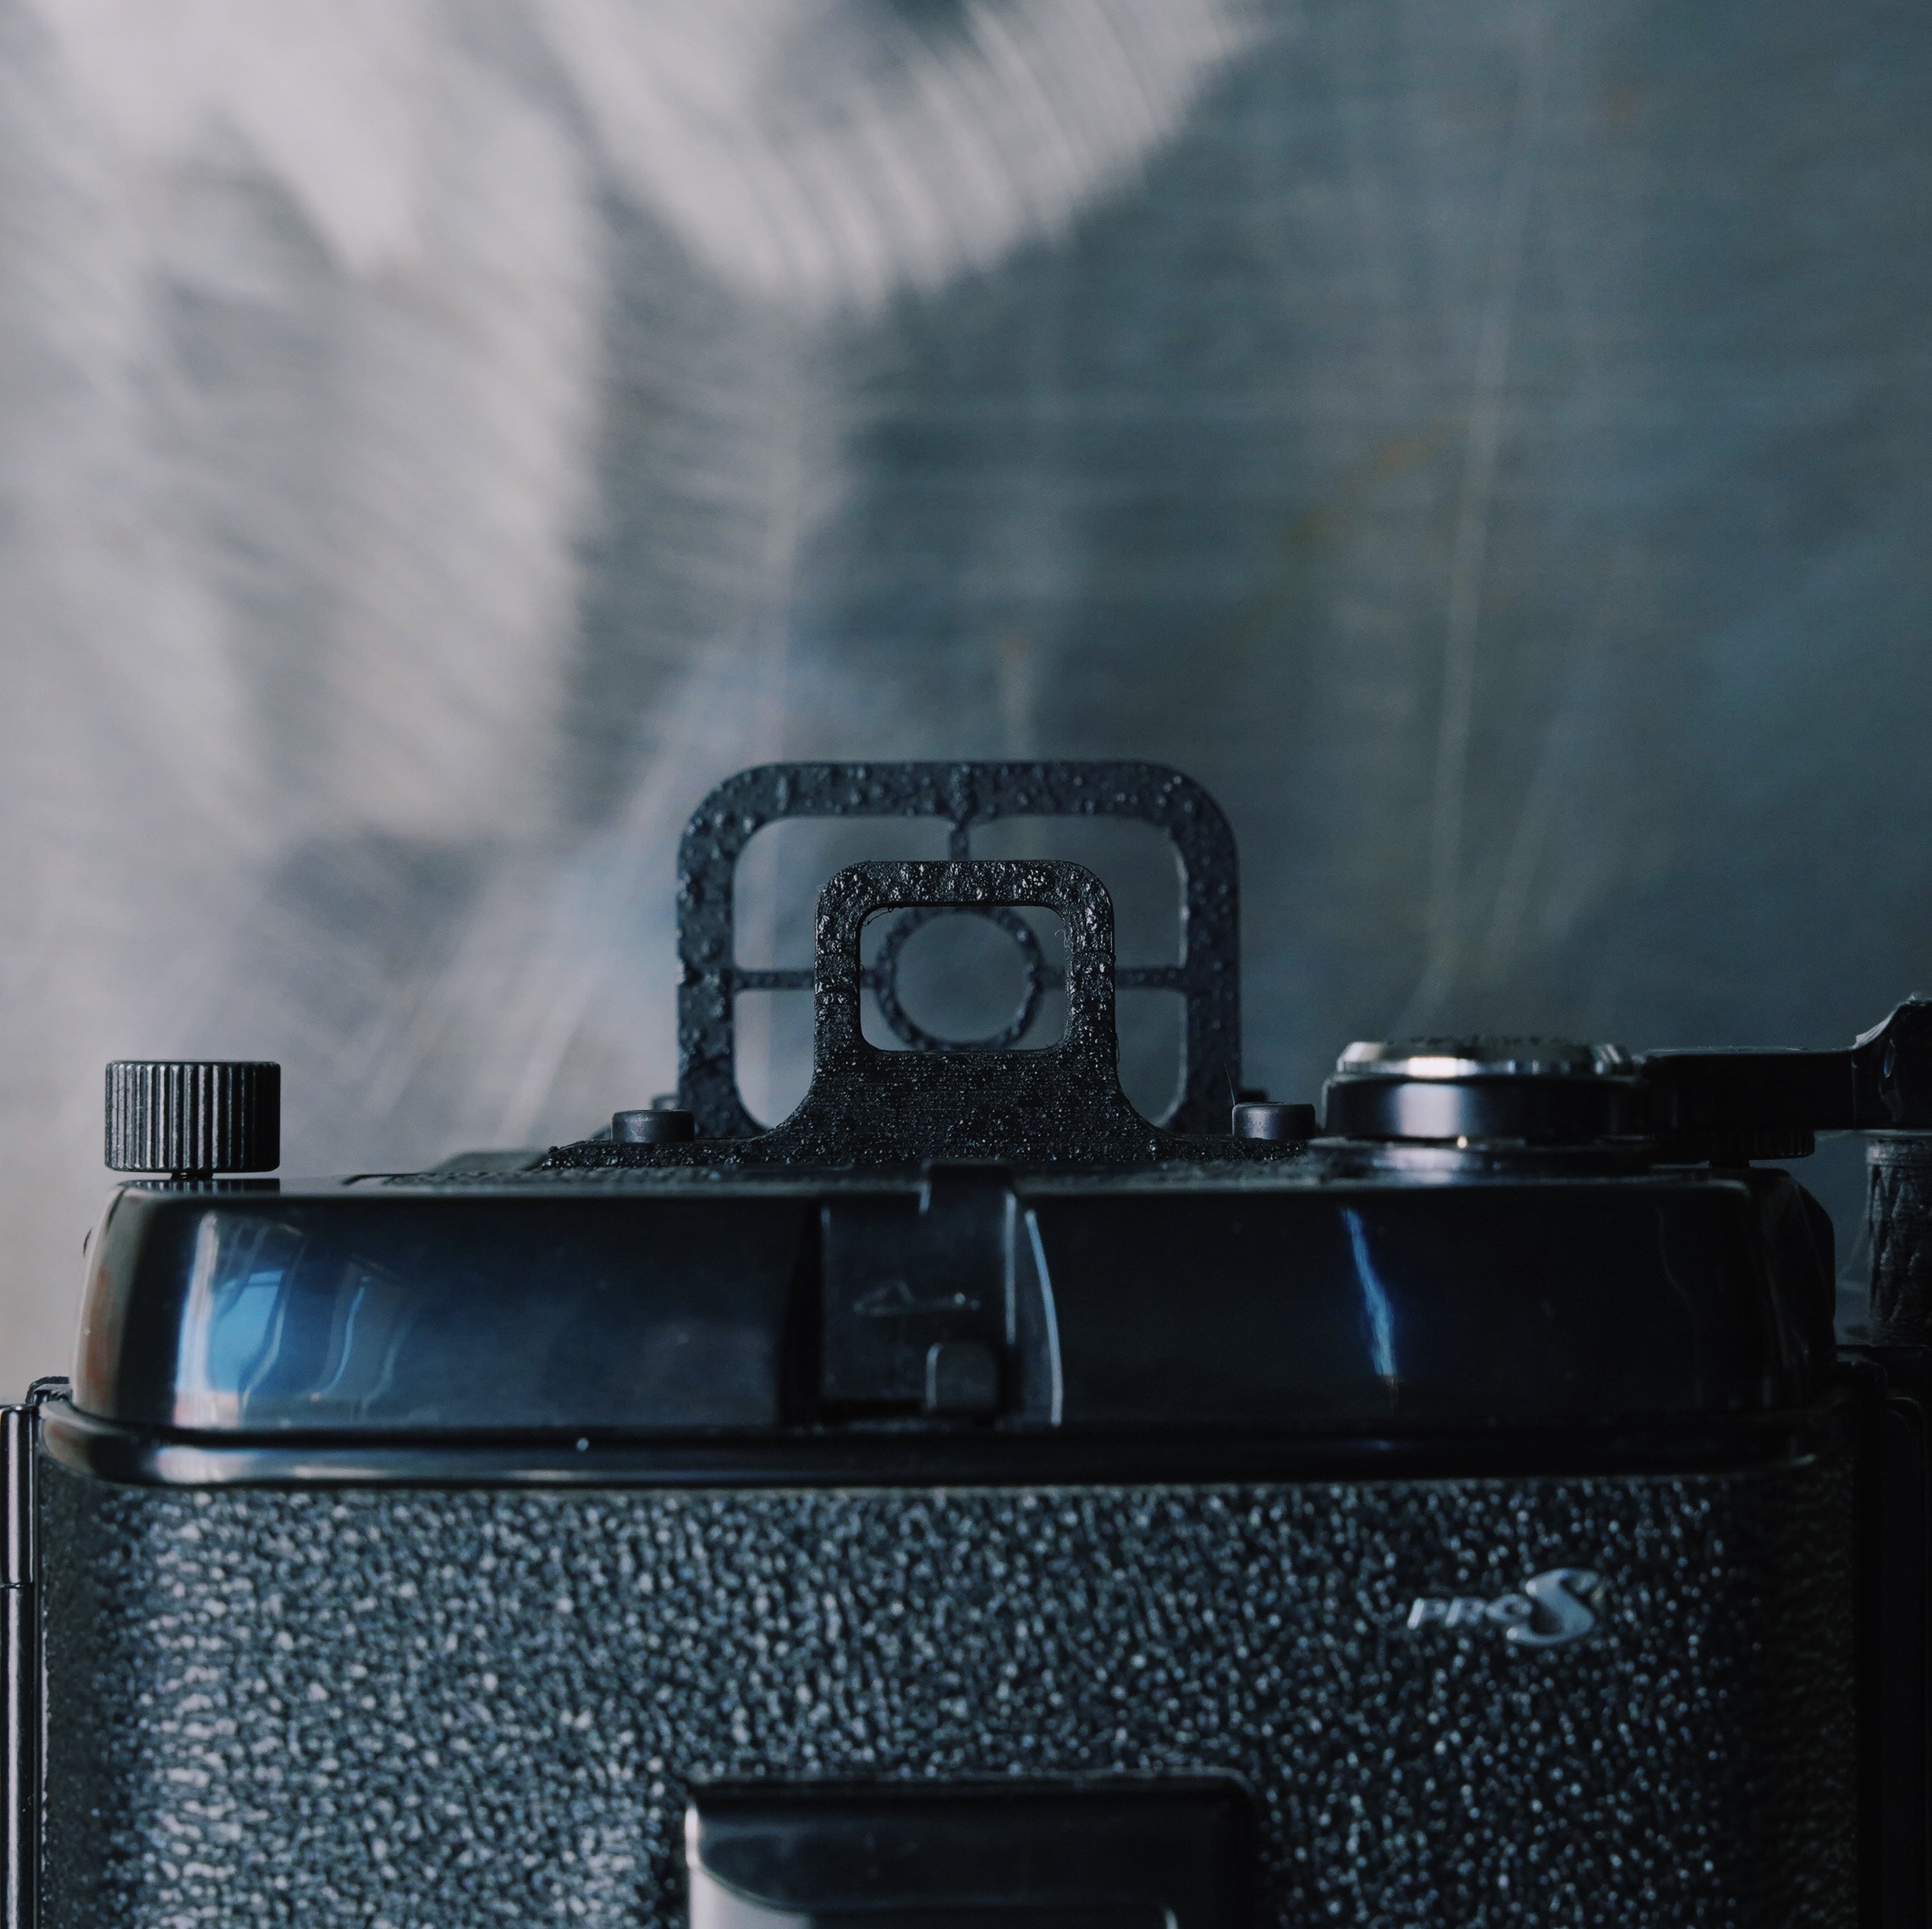
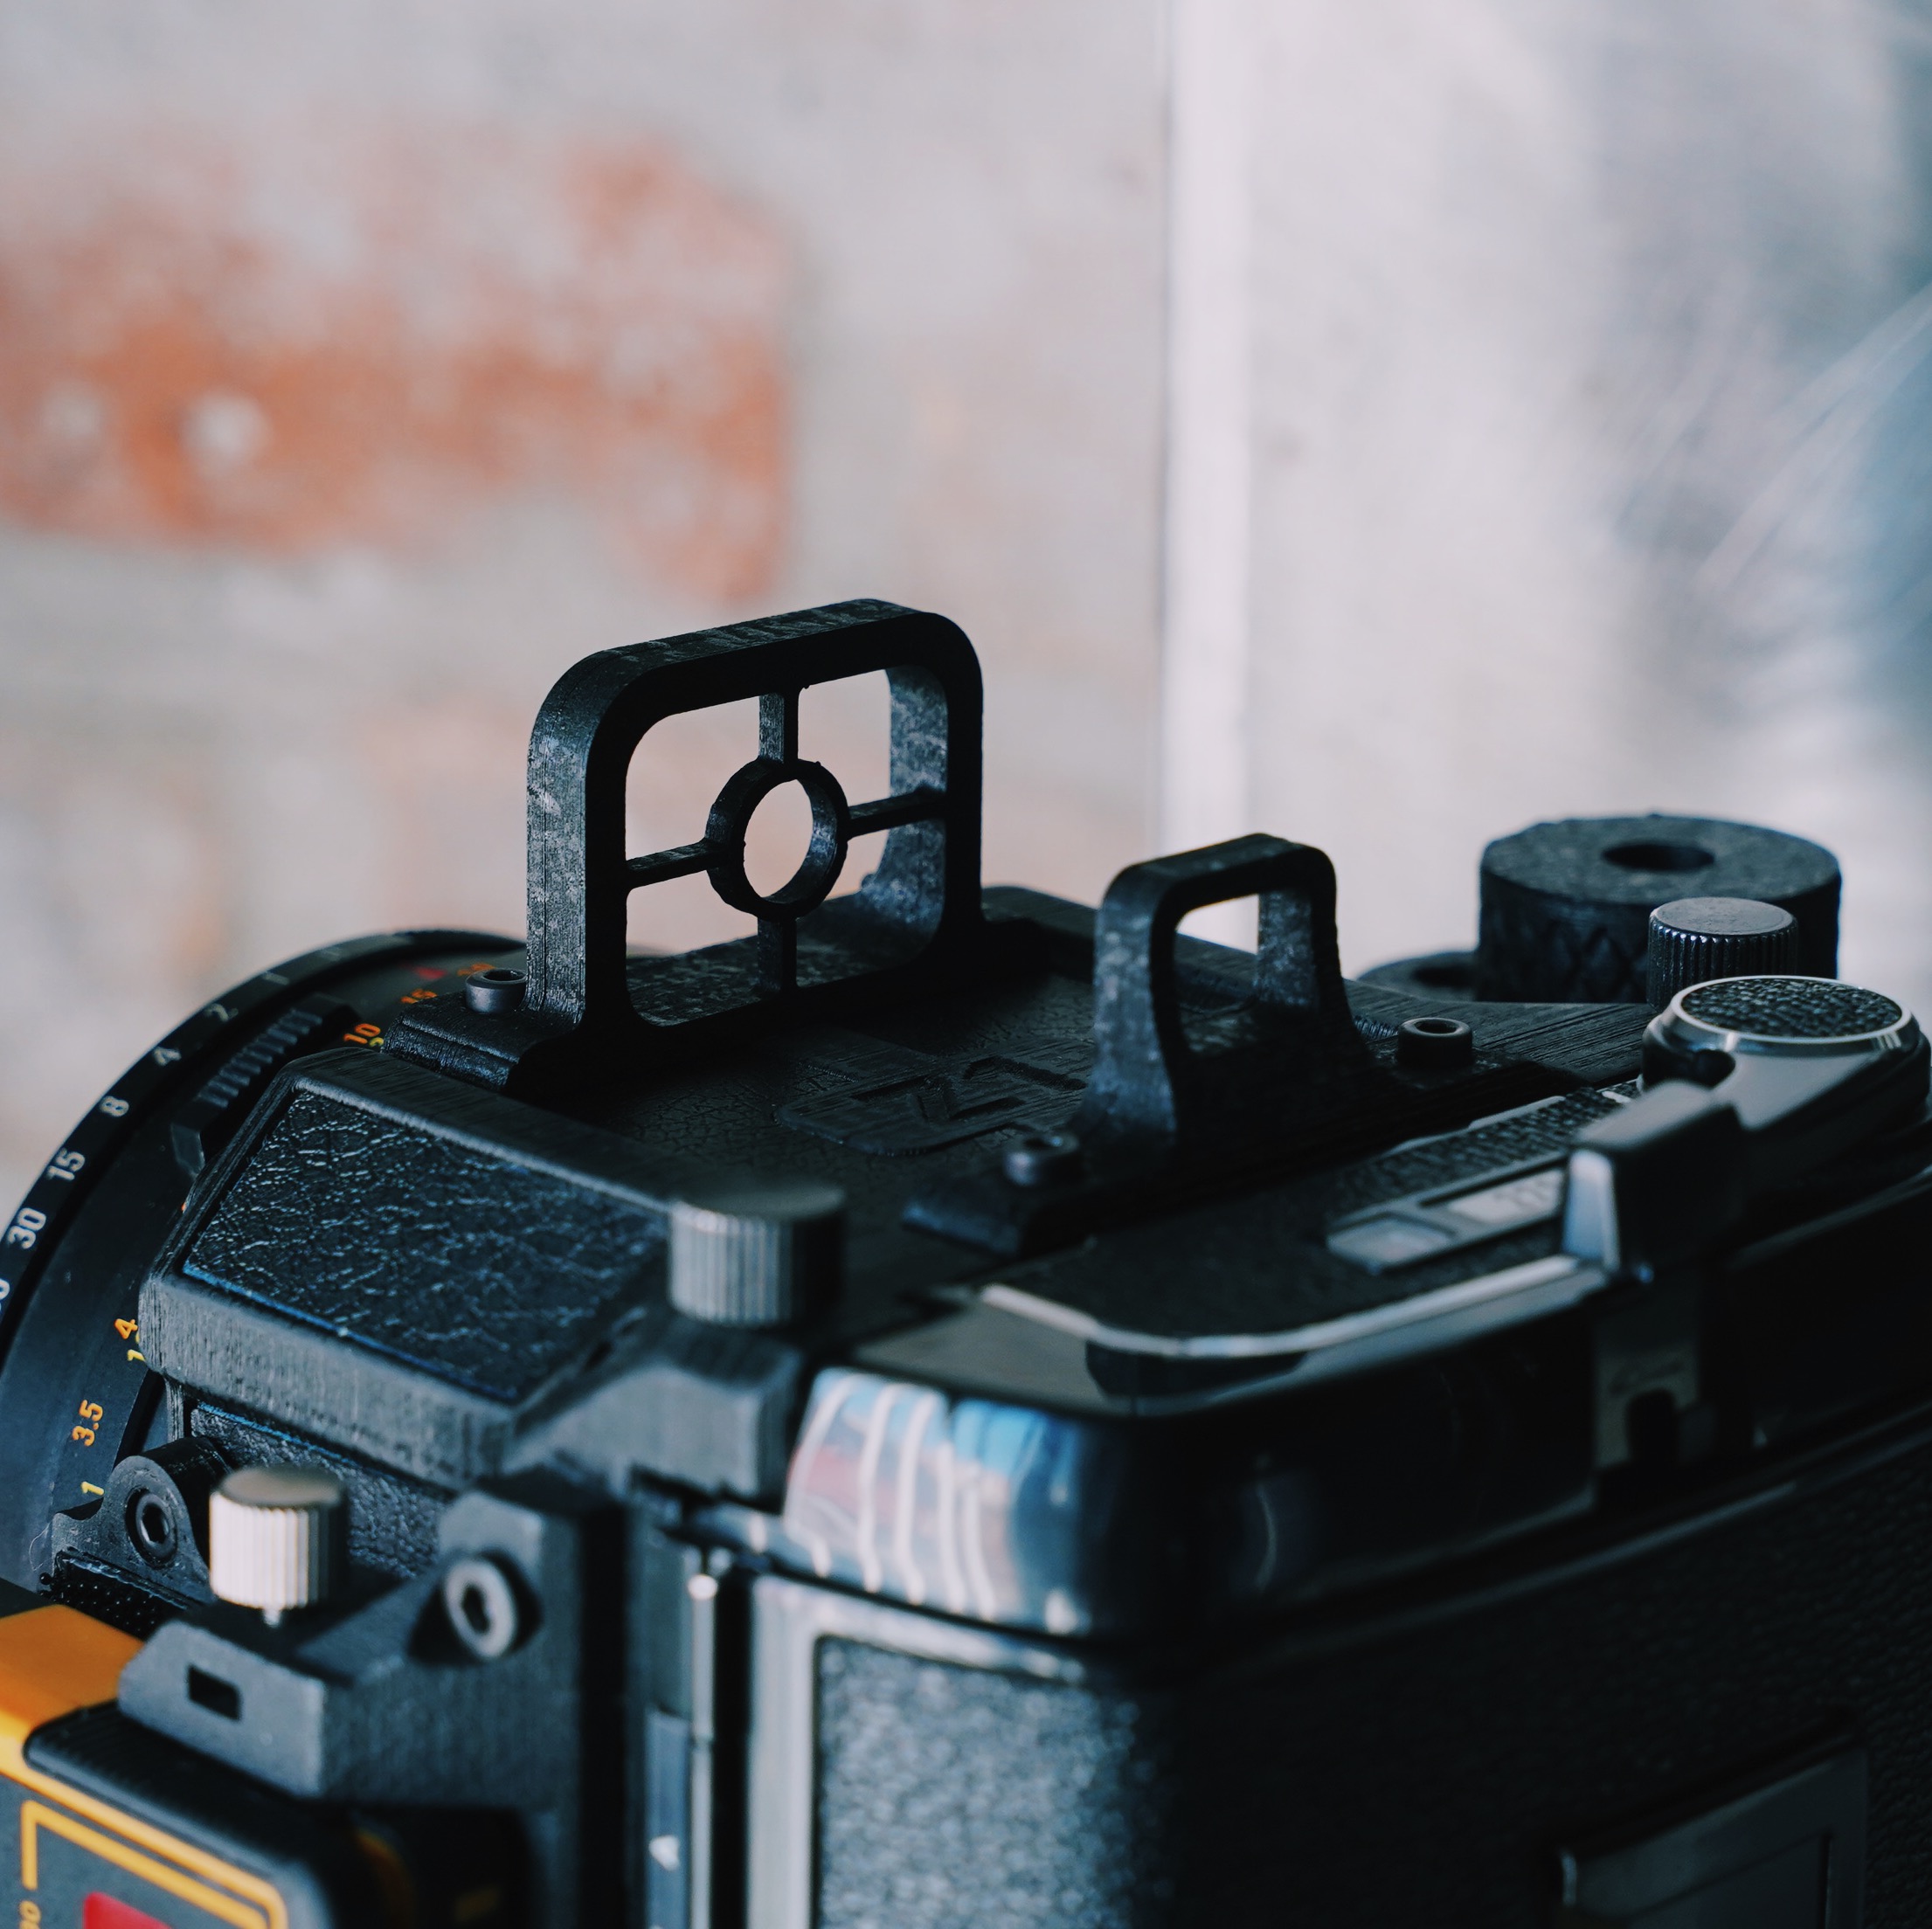
2) The Goodman 3D-printed sport finder:
First on the list is a 3D-printed sport finder that comes with every Zone camera body, and gives an approximation of what your frame will look like. While sport finders aren’t really 100% accurate, they can be an effective way to visualize the scene, especially when photographing fast moving subjects, hence the name. What’s nice about a sport finder is that it is at eye-level and lightweight, giving you the ability to shoot quickly without a cumbersome and bulky traditional prism finder found on other medium format systems, such as the Mamiya RB67.


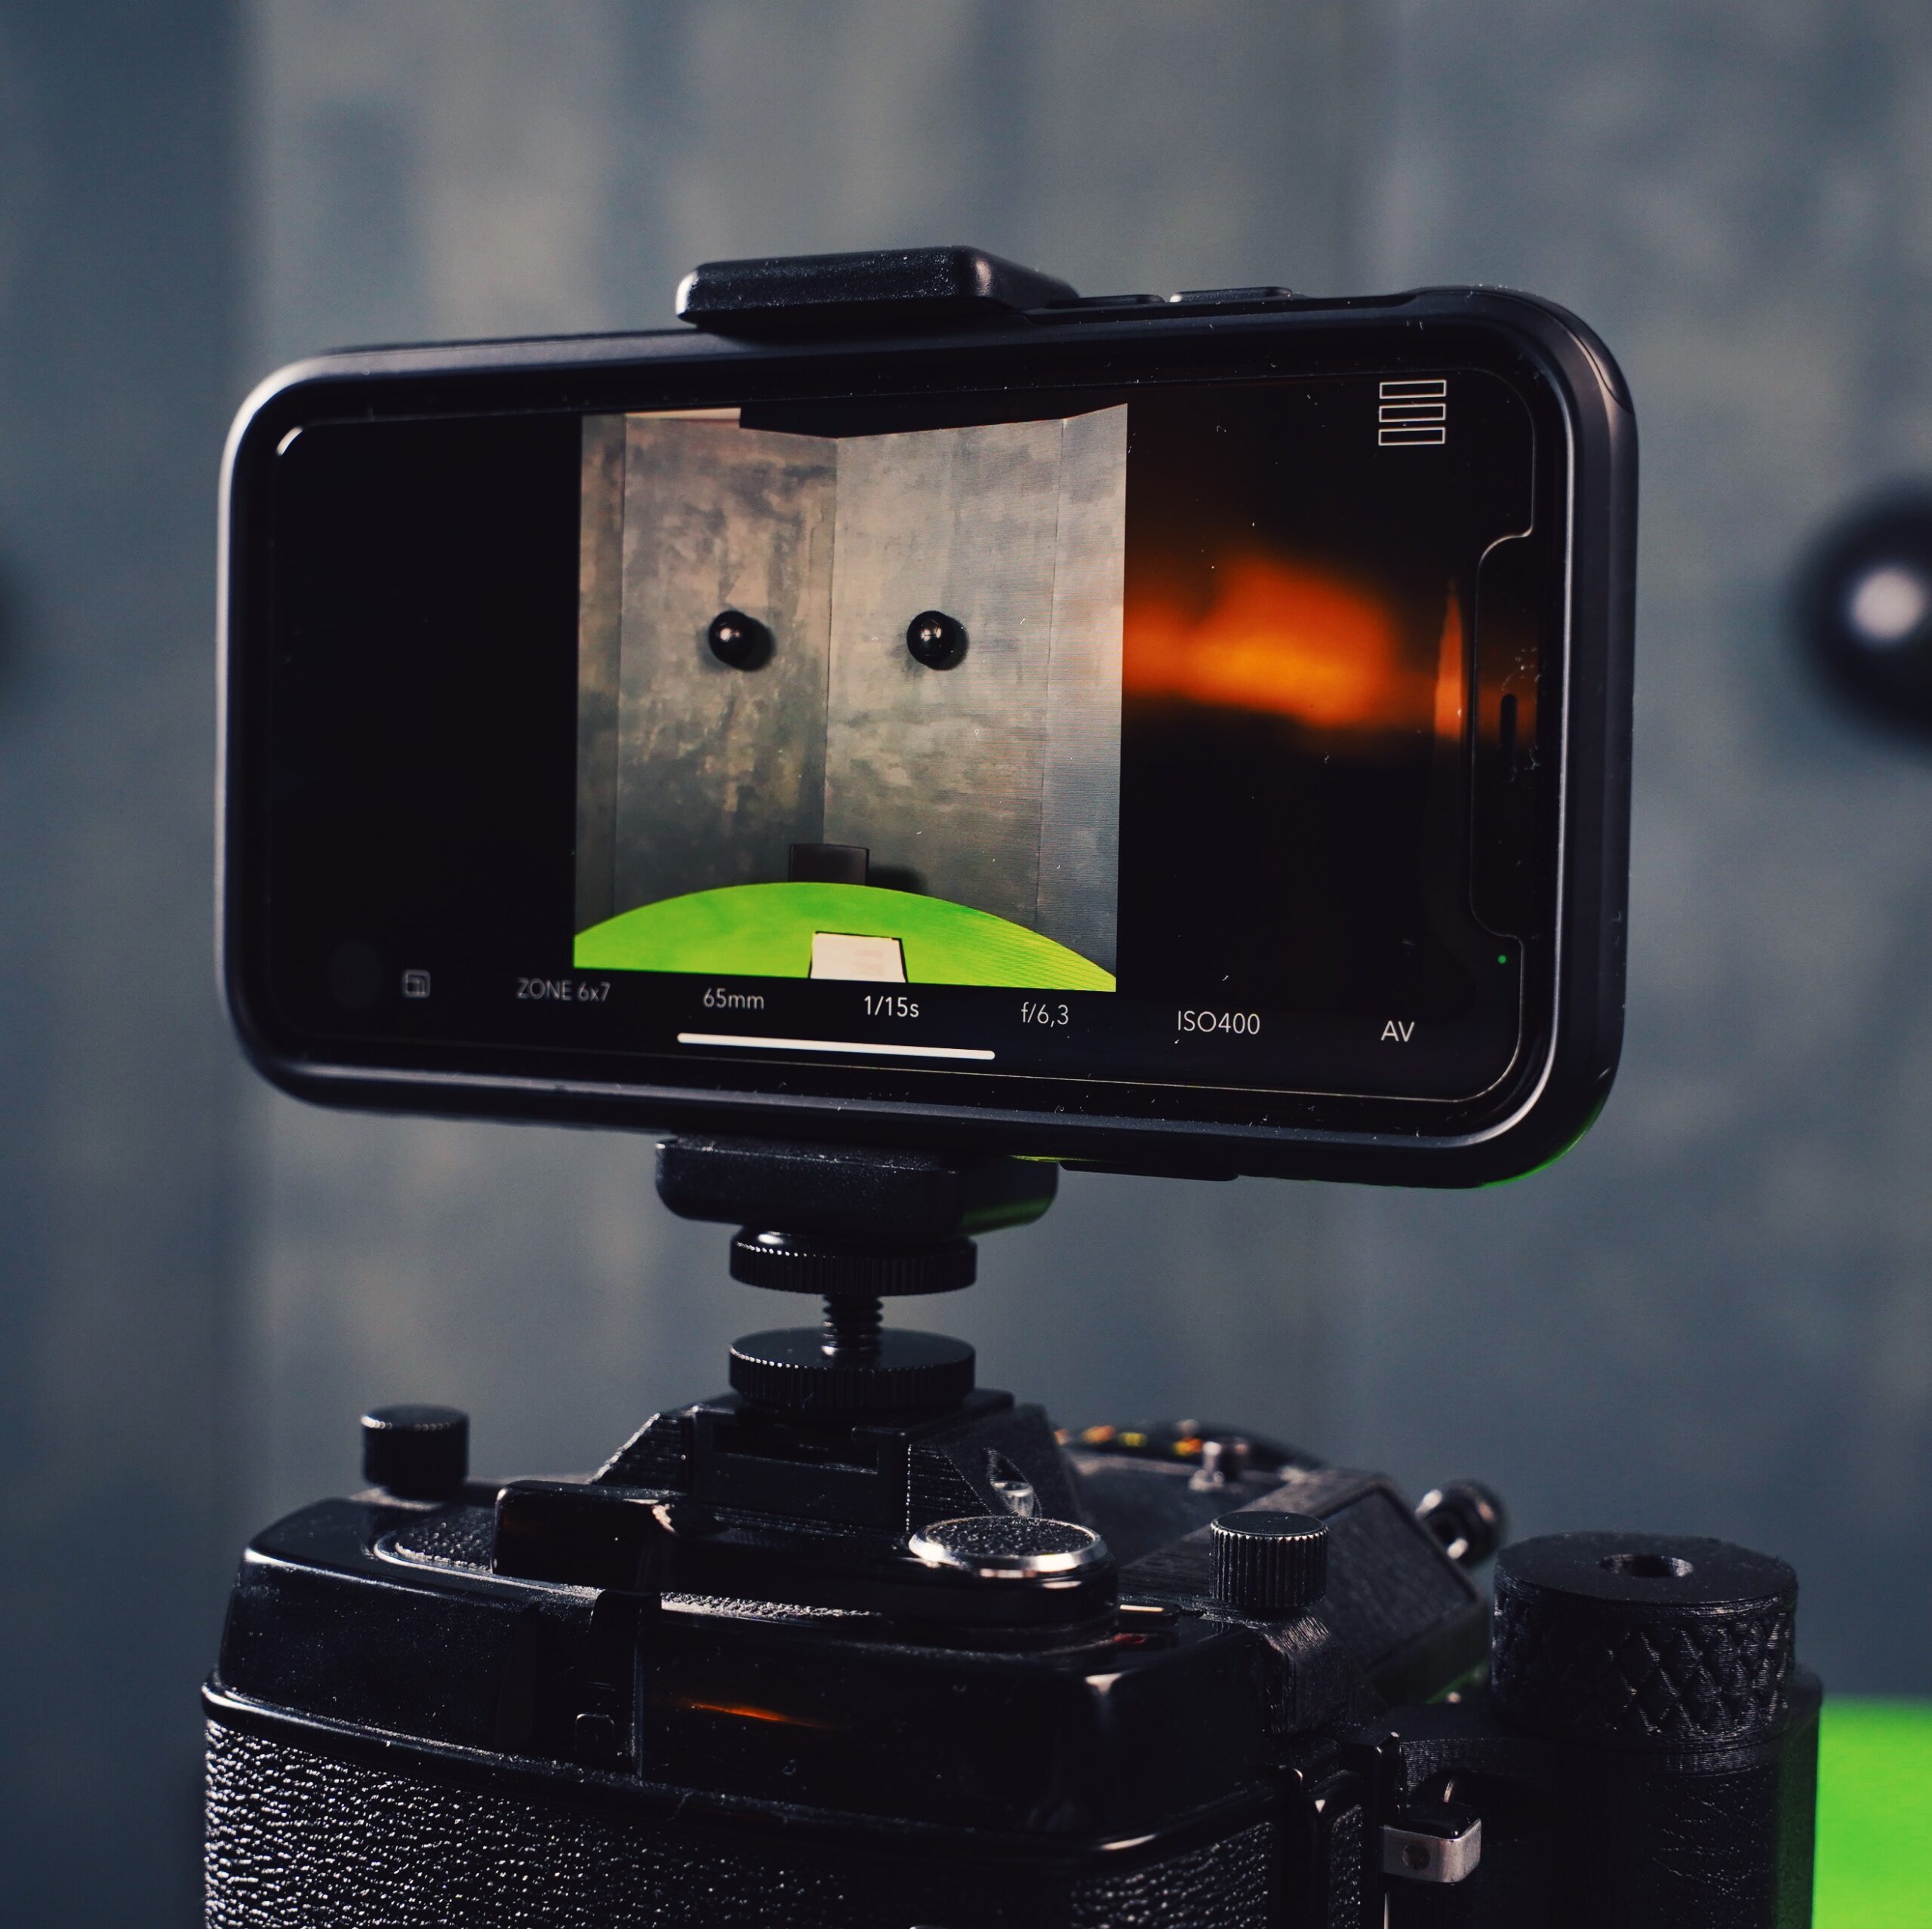
3) Using your smartphone as a viewfinder via an application:
If a more accurate viewfinder, and one that is compatible with all focal lengths, is more what you are looking for, then I’d suggest considering the Goodfinder app. The neat thing about this app is that it was created with the Zone and Scura pinhole cameras in mind, meaning you can not only select the focal length of your lens, but also one of the many different negative sizes depending on the back you use (6×6, 6×7, etc.), making it easy for you to compose your shots. Any focal length not included on the list can be manually added in and the app will adjust itself accordingly.
For the time being the Goodfinder app is only available for iPhone users, but it is an inexpensive and very practical option to further personalize your camera, using our 3D printed external smartphone holder to mount your phone on the top of the body. Aside from being a viewfinder, the app also doubles as a customizable lightmeter, allowing you to choose from full, half, or third stops, as well as an EV readout, if you prefer. The only obvious downside to the Goodfinder app is that it is not available for Android users, and in my opinion, there aren’t actually many good options available on Android devices. The closest would be the Magic Film ViewFinder Free (a film-centric spin-off of the Magic Universal ViewFinder app), but it really only serves as an external viewfinder, which I find to be a bit limiting… so I am keeping my fingers crossed that someone will develop a suitable Android app in the future!


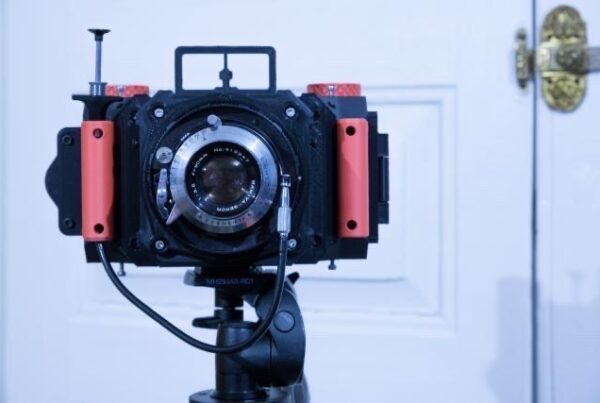
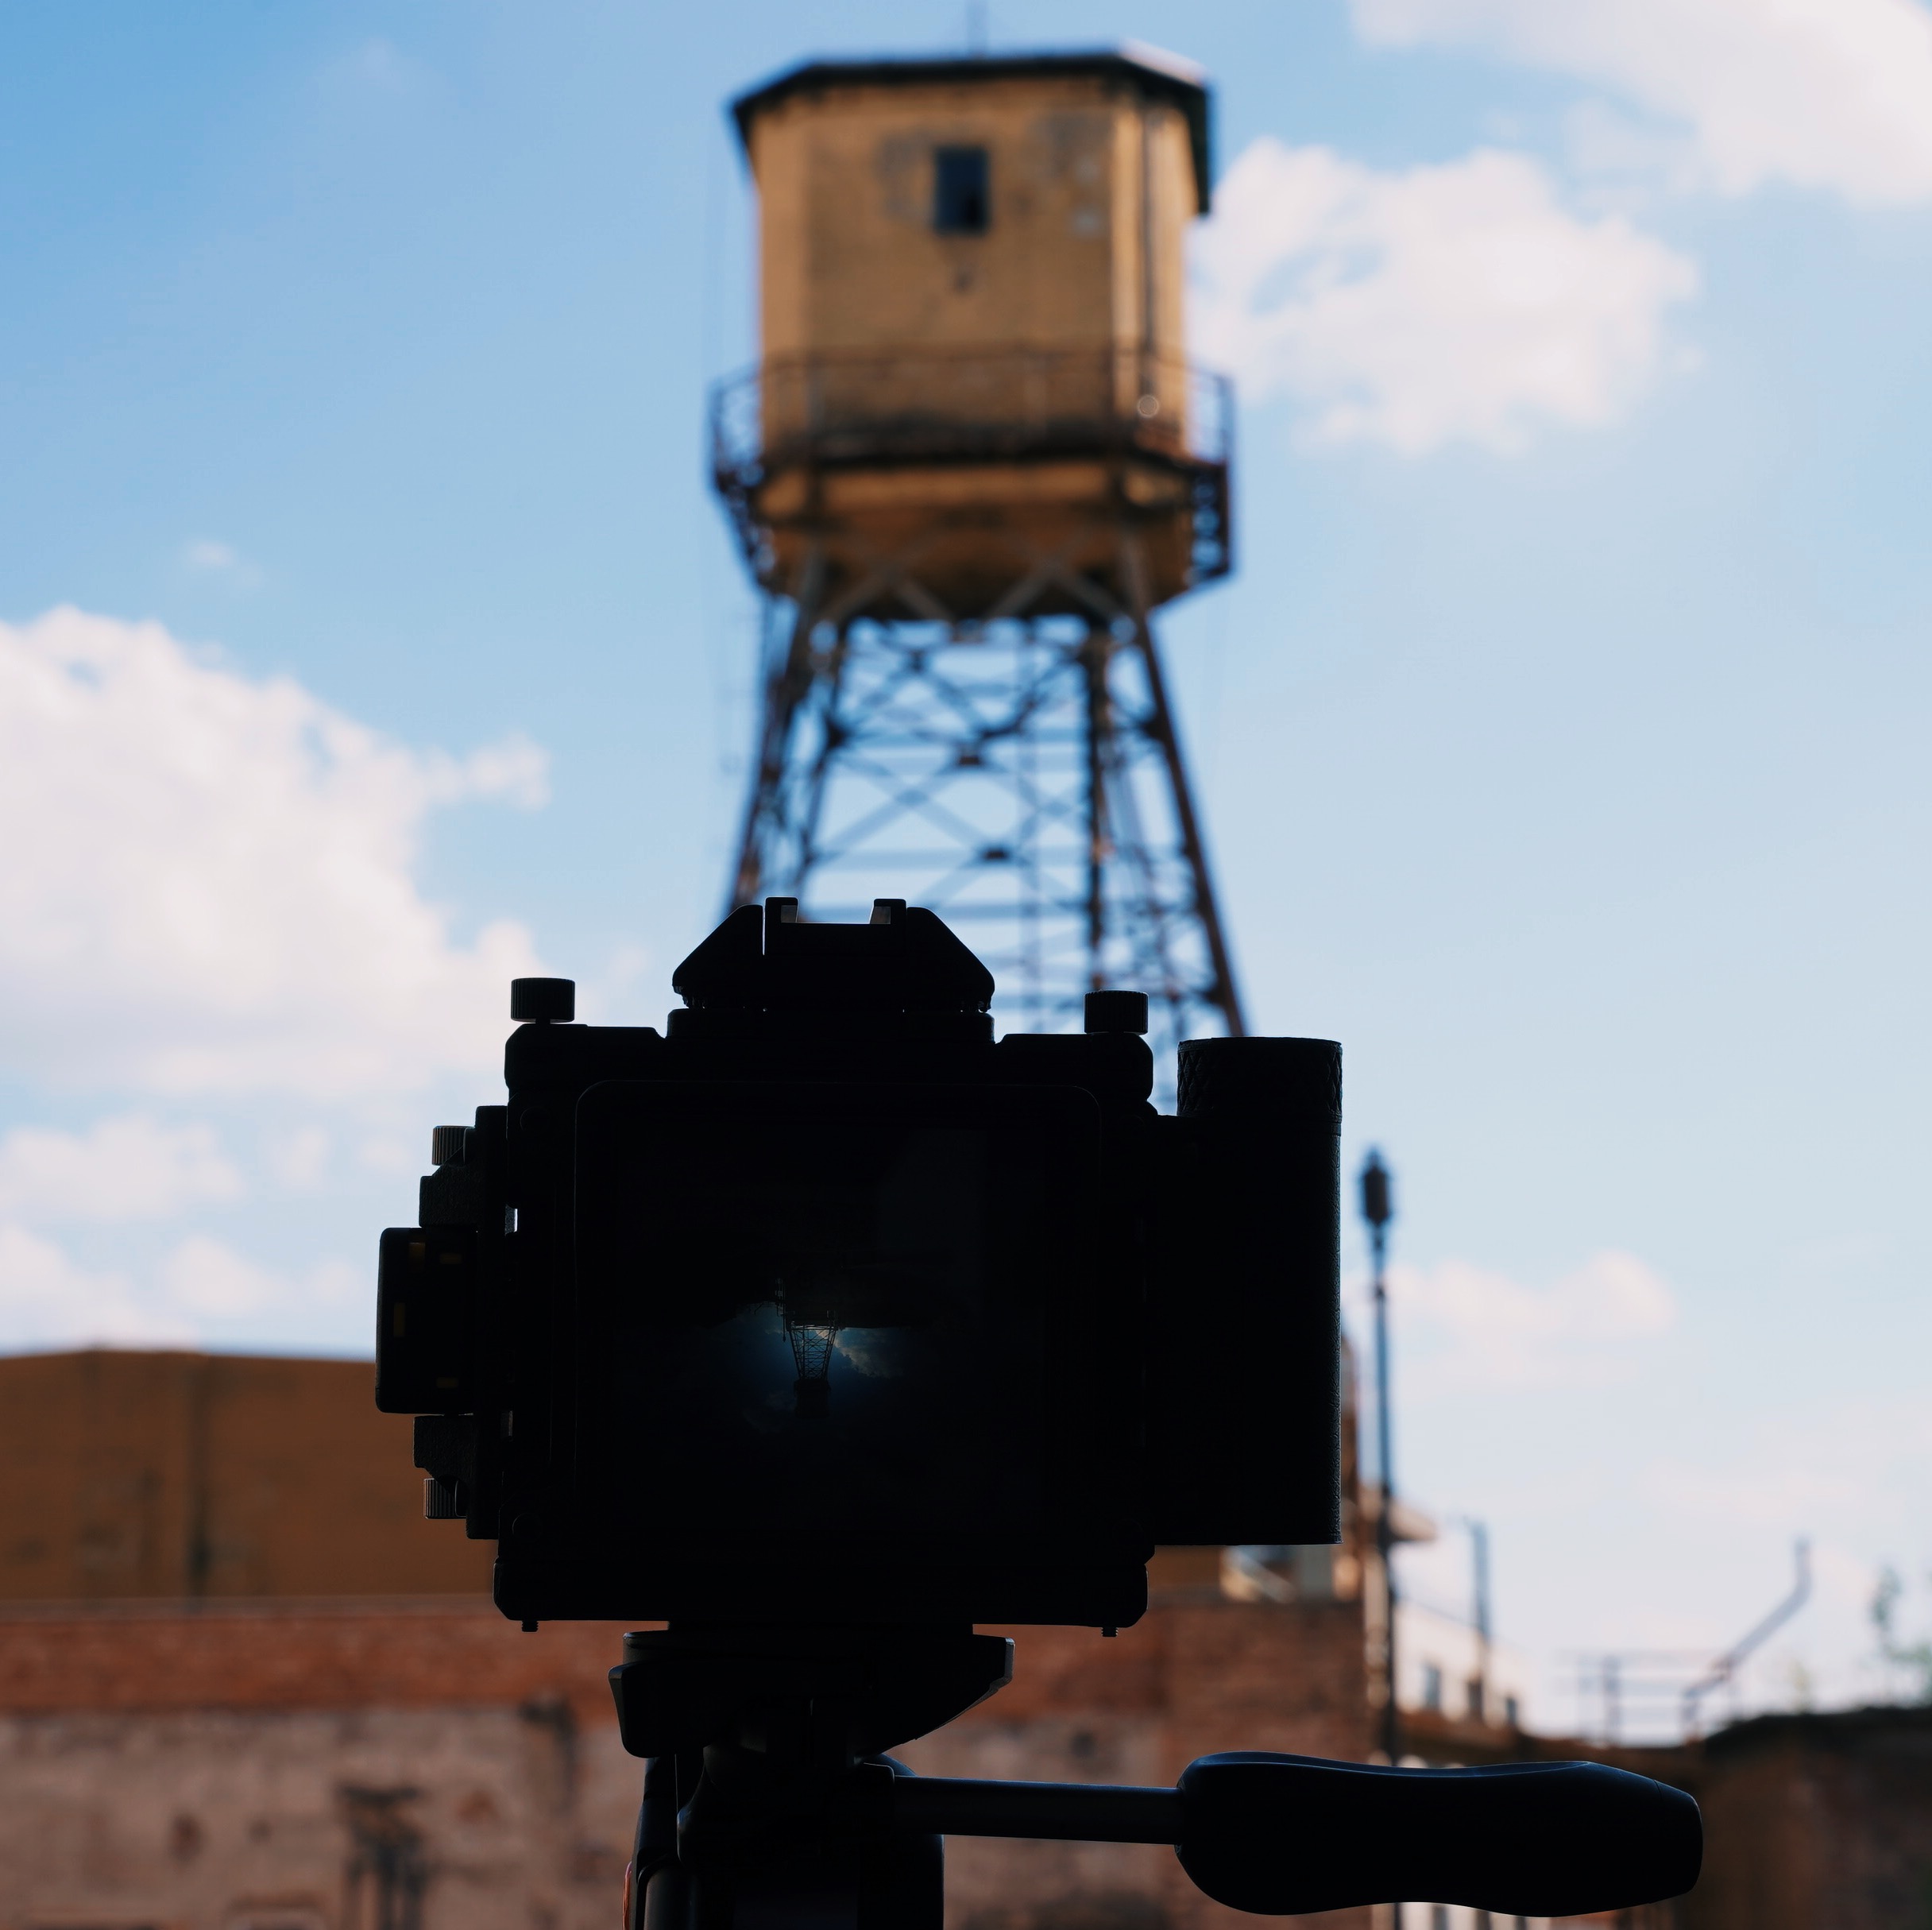
4) The Goodman focusing screen:
Finally, if through-the-lens accuracy is more your style, then the large format experience of our 3D-printed focusing screen is the way to go. Particularly useful in landscape photography, the focusing screen helps you make sure that what you see is what you get. Using a thin plastic sheet similar to acetate rather than glass, it works exactly like any traditional ground glass, allowing you to see your composition and focus through the lens. Once you’ve composed and focused, simply remove the focusing screen and attach the film magazine to take the shot. The screen is secured to the back of the camera by magnets, making the switch pretty effortless, especially when you pair the screen with our 3D printed 6×6 magazine, which is attached to the camera via a hinge, meaning you don’t have to fully remove the magazine to install the focusing screen. I actually think it’s kind of a cool feature and, again, a great way to get that large format experience without having to carry around a much larger camera and multiple film holders.


Hopefully all of that information will help when making your decision as to which accessories will best benefit your workflow, and if you have any further questions, I’ve always found the film photography community to be more then willing to help share their expertise with newcomers and professionals alike. Here are a few tips and tricks that I picked up on my journey to get you off on the right foot.
Tips and tricks to help you get the best experience with your Goodman Zone
1) Mamiya Press Lenses – Avoiding unwanted flares
One thing that I do love about the Zone is its incredible compatibility with other systems. As I mentioned earlier, I’m a Mamiya RB67 shooter, so I love that I can use my Pro S backs on the Zone. I also share my Mamiya Press 50mm lens with other cameras, so again it’s fun to be able to share pieces, and it gives my cameras multiple purposes. In addition to the Press line-up, the Zone was recently upgraded to be able to mount other lenses through use of a helical adapter (a list of all adaptable lenses can be found in the Shop section of the website), so it truly is an interesting way to mix the old with the new. Personally, I will be sticking with the Mamiya lenses, they are such beautiful pieces of glass, and to be fair, I’m already invested in the system. The only issue I have with them is that for the most part, they are not multi-coated (I believe that only the 100mm f/2.8 was actually multi-coated, but please feel free to correct me if I am wrong), which means flaring or fogging can happen should you point the lens towards the sun, and not in a good way. It’s a very easy work-around though; simply use a lens hood or a really good UV filter and that will take care of the problem.


2) Staying organized – make a checklist
What I think is probably the most practical tip is to keep a checklist nearby when you are shooting. The reason I mention this is because the Zone, like the RB67, is fully mechanical and the body is not coupled with either the backs or the lenses, so it is easy to forget if you have advanced the film, cocked the shutter, or removed the darkslide, and that’s when accidents can happen… trust me! Once you find a sequence that works for you, it will become like second nature, but in the beginning it can be helpful to have a list of the steps you need to follow when taking a shot. I keep a notebook with me to log all of my exposure information, which also provides me with a frame count and eliminates any doubt as to whether or not I’ve advanced the film after a shot. As for remembering to remove the darkslide, well, I’m still working on that!
3) Get in the zone – practice your distances
Similar to the Sunny 16 rule of exposure, I think it can be really beneficial to actually practice learning distances at home. Often when I’m sitting around, I’ll pick up an SLR and train myself on distances, trying to guess how far away something is and using the camera to see if I was on the mark. Over time I have gotten much better at training my eye to judge distances, as I’ve done with practicing my exposures. I’m the type of photographer who likes to be ready in any situation; I would hate to miss my shot because I was unprepared when all it takes is a little time and effort to get the knack. It’s empowering to know that you can rely on your own intuition and knowledge.
4) Think small – choosing your aperture
One last tip I have is, especially when you are learning how to zone focus, is to keep your apertures small. By sticking closer to the f/16-f/22 range, the chances are high that most everything in your frame will be in focus, depending on the focal length of your lens. So, what do you do in a low-light situation, or you’re out doing street photography and the sun is starting to set? Use higher ISO’s, or even push your film to ISO 1600 or 3200, whatever it takes to get the shot. Of course, as you start to get more comfortable zone focusing, by all means feel free to experiment! The biggest joy I get from shooting film is just getting out there and trying out different styles, techniques, cameras, etc., to see what works best for my workflow, and I absolutely encourage you all to do the same.

Well, I hope this article has helped answer some of your questions because the Goodman Zone really is a fun and exciting camera to use no matter your level of expertise. Although I did talk more about street and landscape photography, this camera can be used in a variety of situations; anywhere that you would take any other medium format camera, the Zone can go there too.
Have any of you shot with the Zone yet? If yes, what have your experiences been like? Please feel free to share your thoughts, and especially your images, with us, as we love to see what results other photographers create! As well, if you have any tips that have helped with your photographic journey, let us know so that we can continue to share our collective knowledge with the community.
Until next time, Happy Shooting!
