 Skip to main content


Written by Jess Hobbs
While many of us might not put “art” in the same sentence as smartphone, let’s face it, our phones are always with us. If you’re at all like me, I’ll gladly reach for my phone in a pinch to grab a shot, but I sometimes find myself wanting a more tactile experience and unique result. The ability to add a little digital into an otherwise analog workflow is not only liberating, but can also be a very powerful tool.
So, on that note, I’d like to introduce you to our newest accessory: the Cinezone!
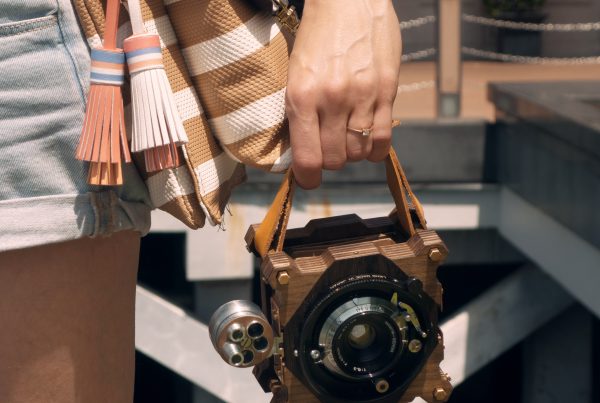
The Cinezone is an adapter that lets you to mount your smartphone on a Goodman Zone or Mamiya RB67 medium format film camera to use as a digital back, allowing you to capture beautifully unique stills and videos, without compromising your ability to harness the true power of the Zone or RB67 by pairing it with your favourite roll of 120 film.


Newly available in our web shop, the Cinezone is a fun accessory that can help you push your creative limits and let you “expose” your artsy side (see what I did there?!). In this blog post I’ll first give you a quick rundown on how it works, as well as a couple of app recommendations from the all of us at the Goodlab to get you set up. Finally, I’ll end on our 4 tips and tricks to help you get the most out of the Cinezone so that you are ready to get out there and create your own masterpieces!
Okay, so now let’s jump into the details of the Cinezone and how it all works together!
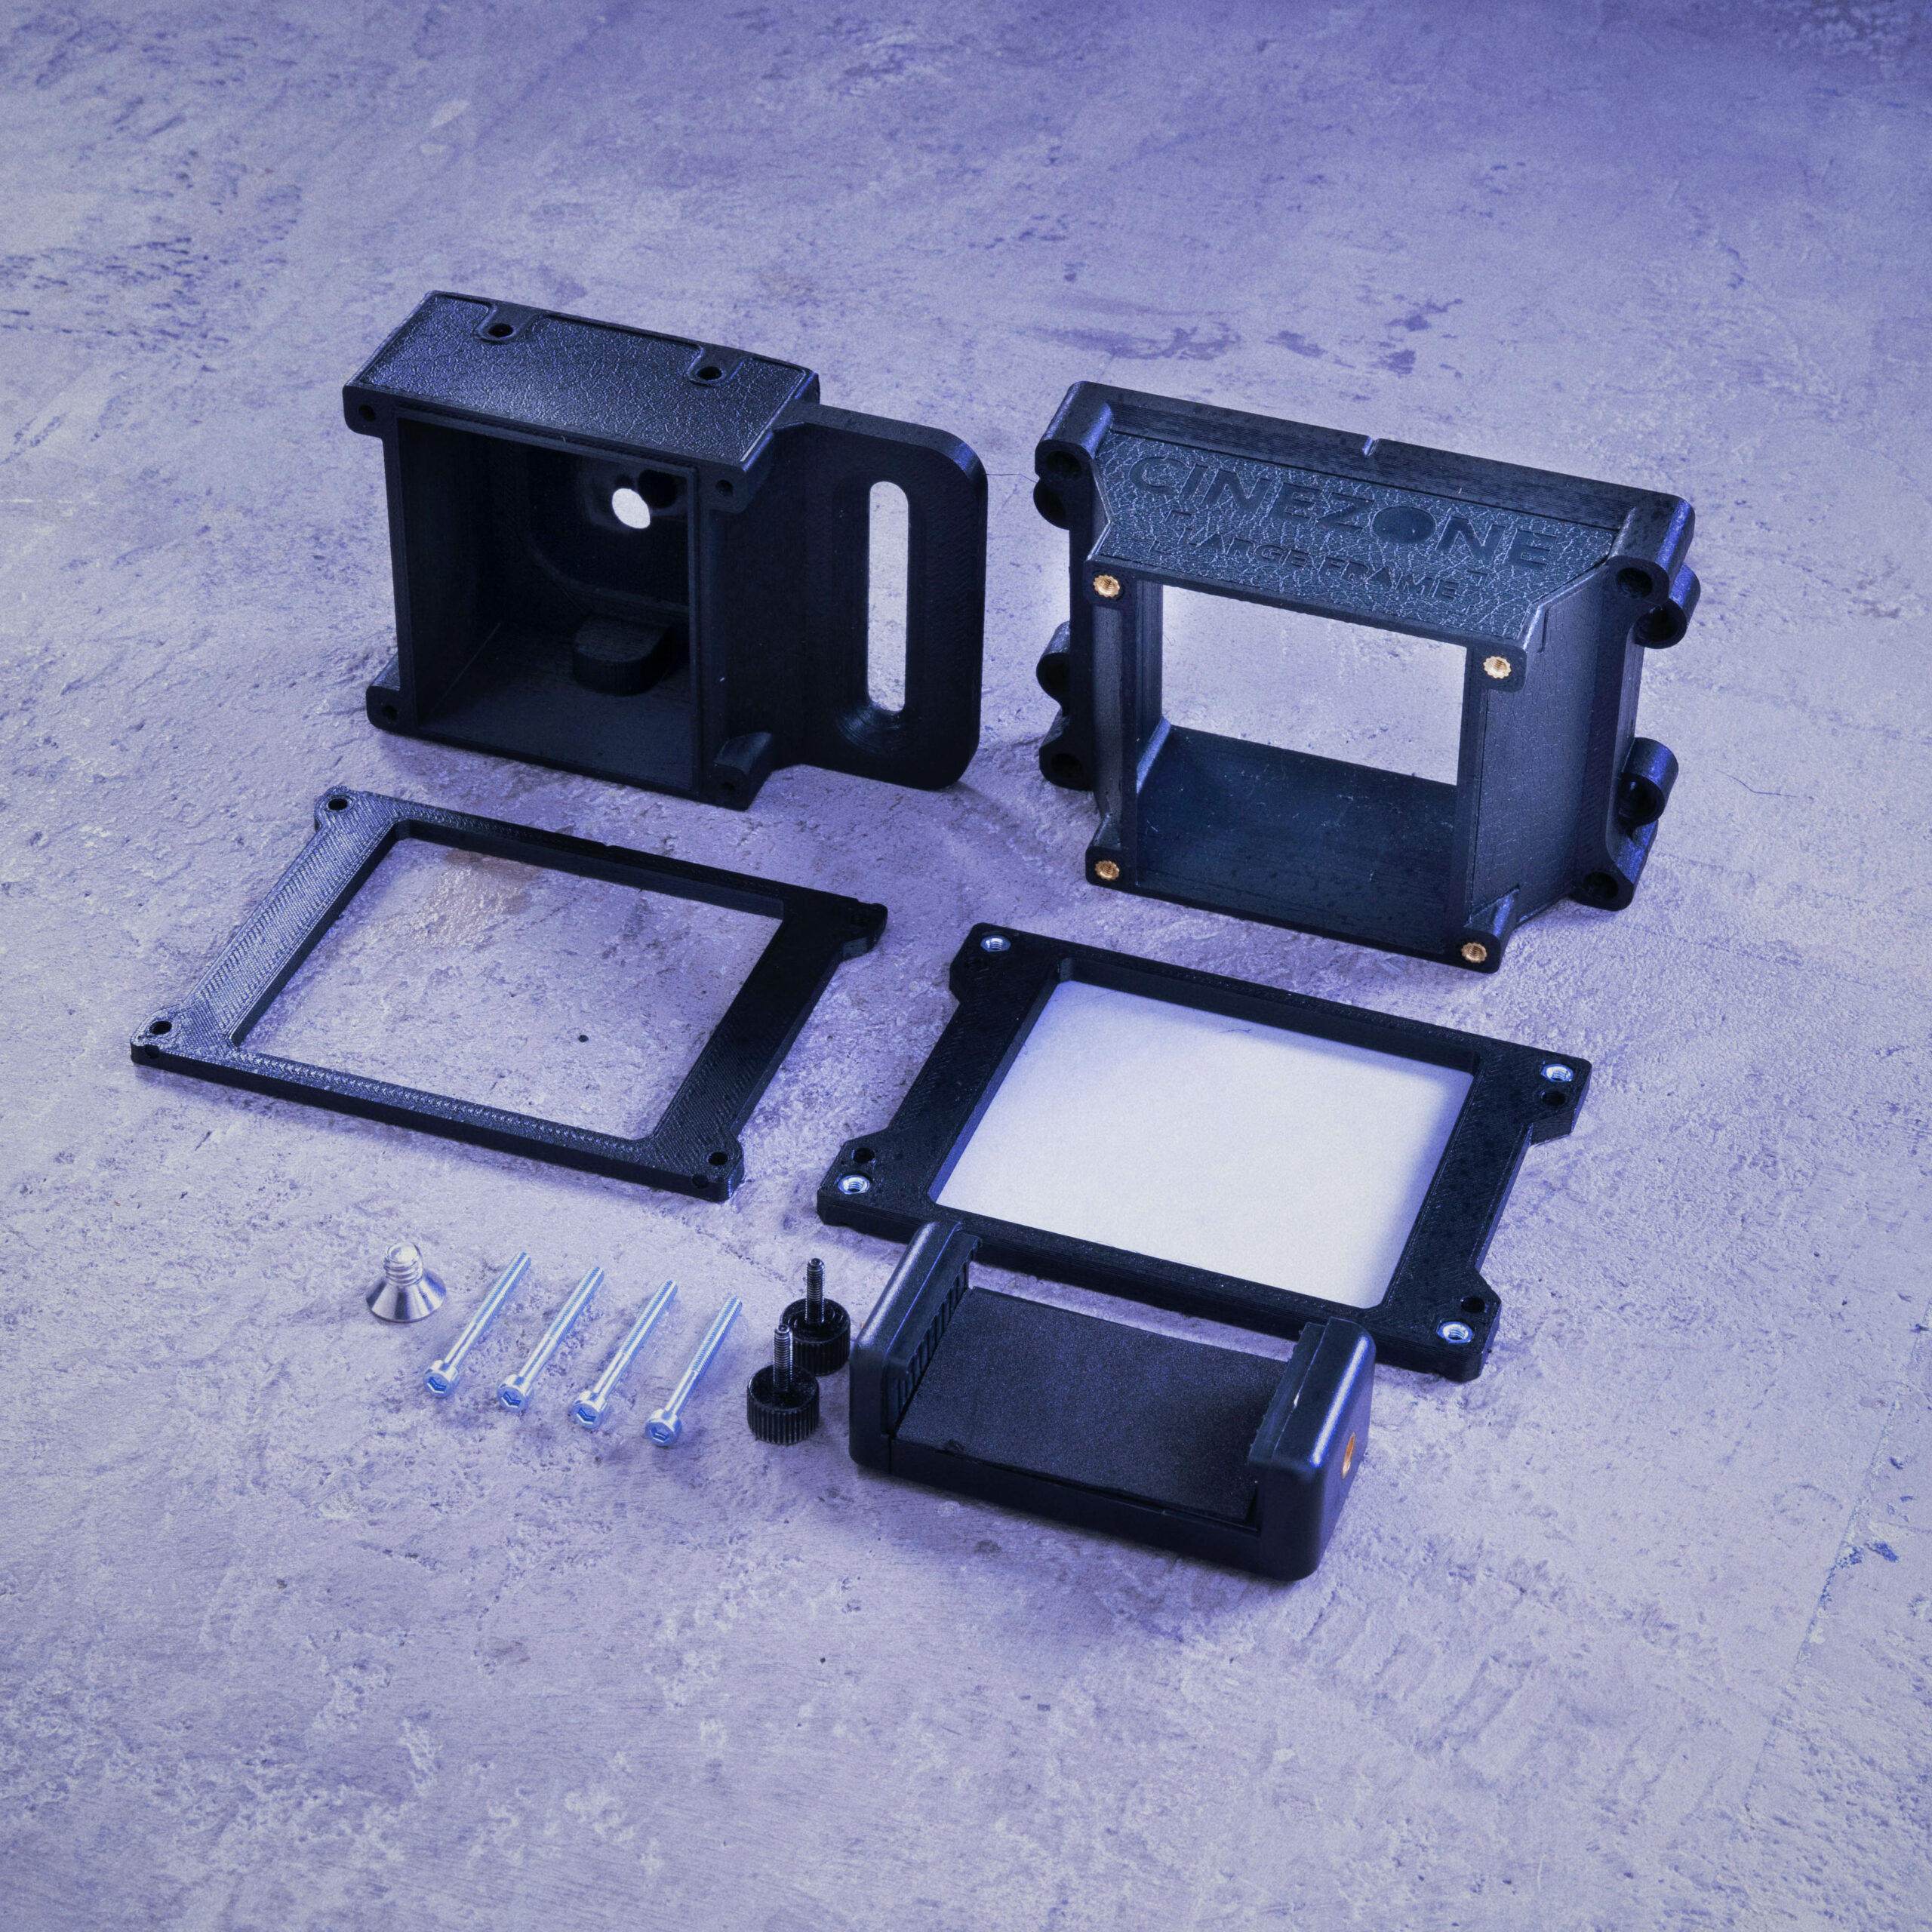
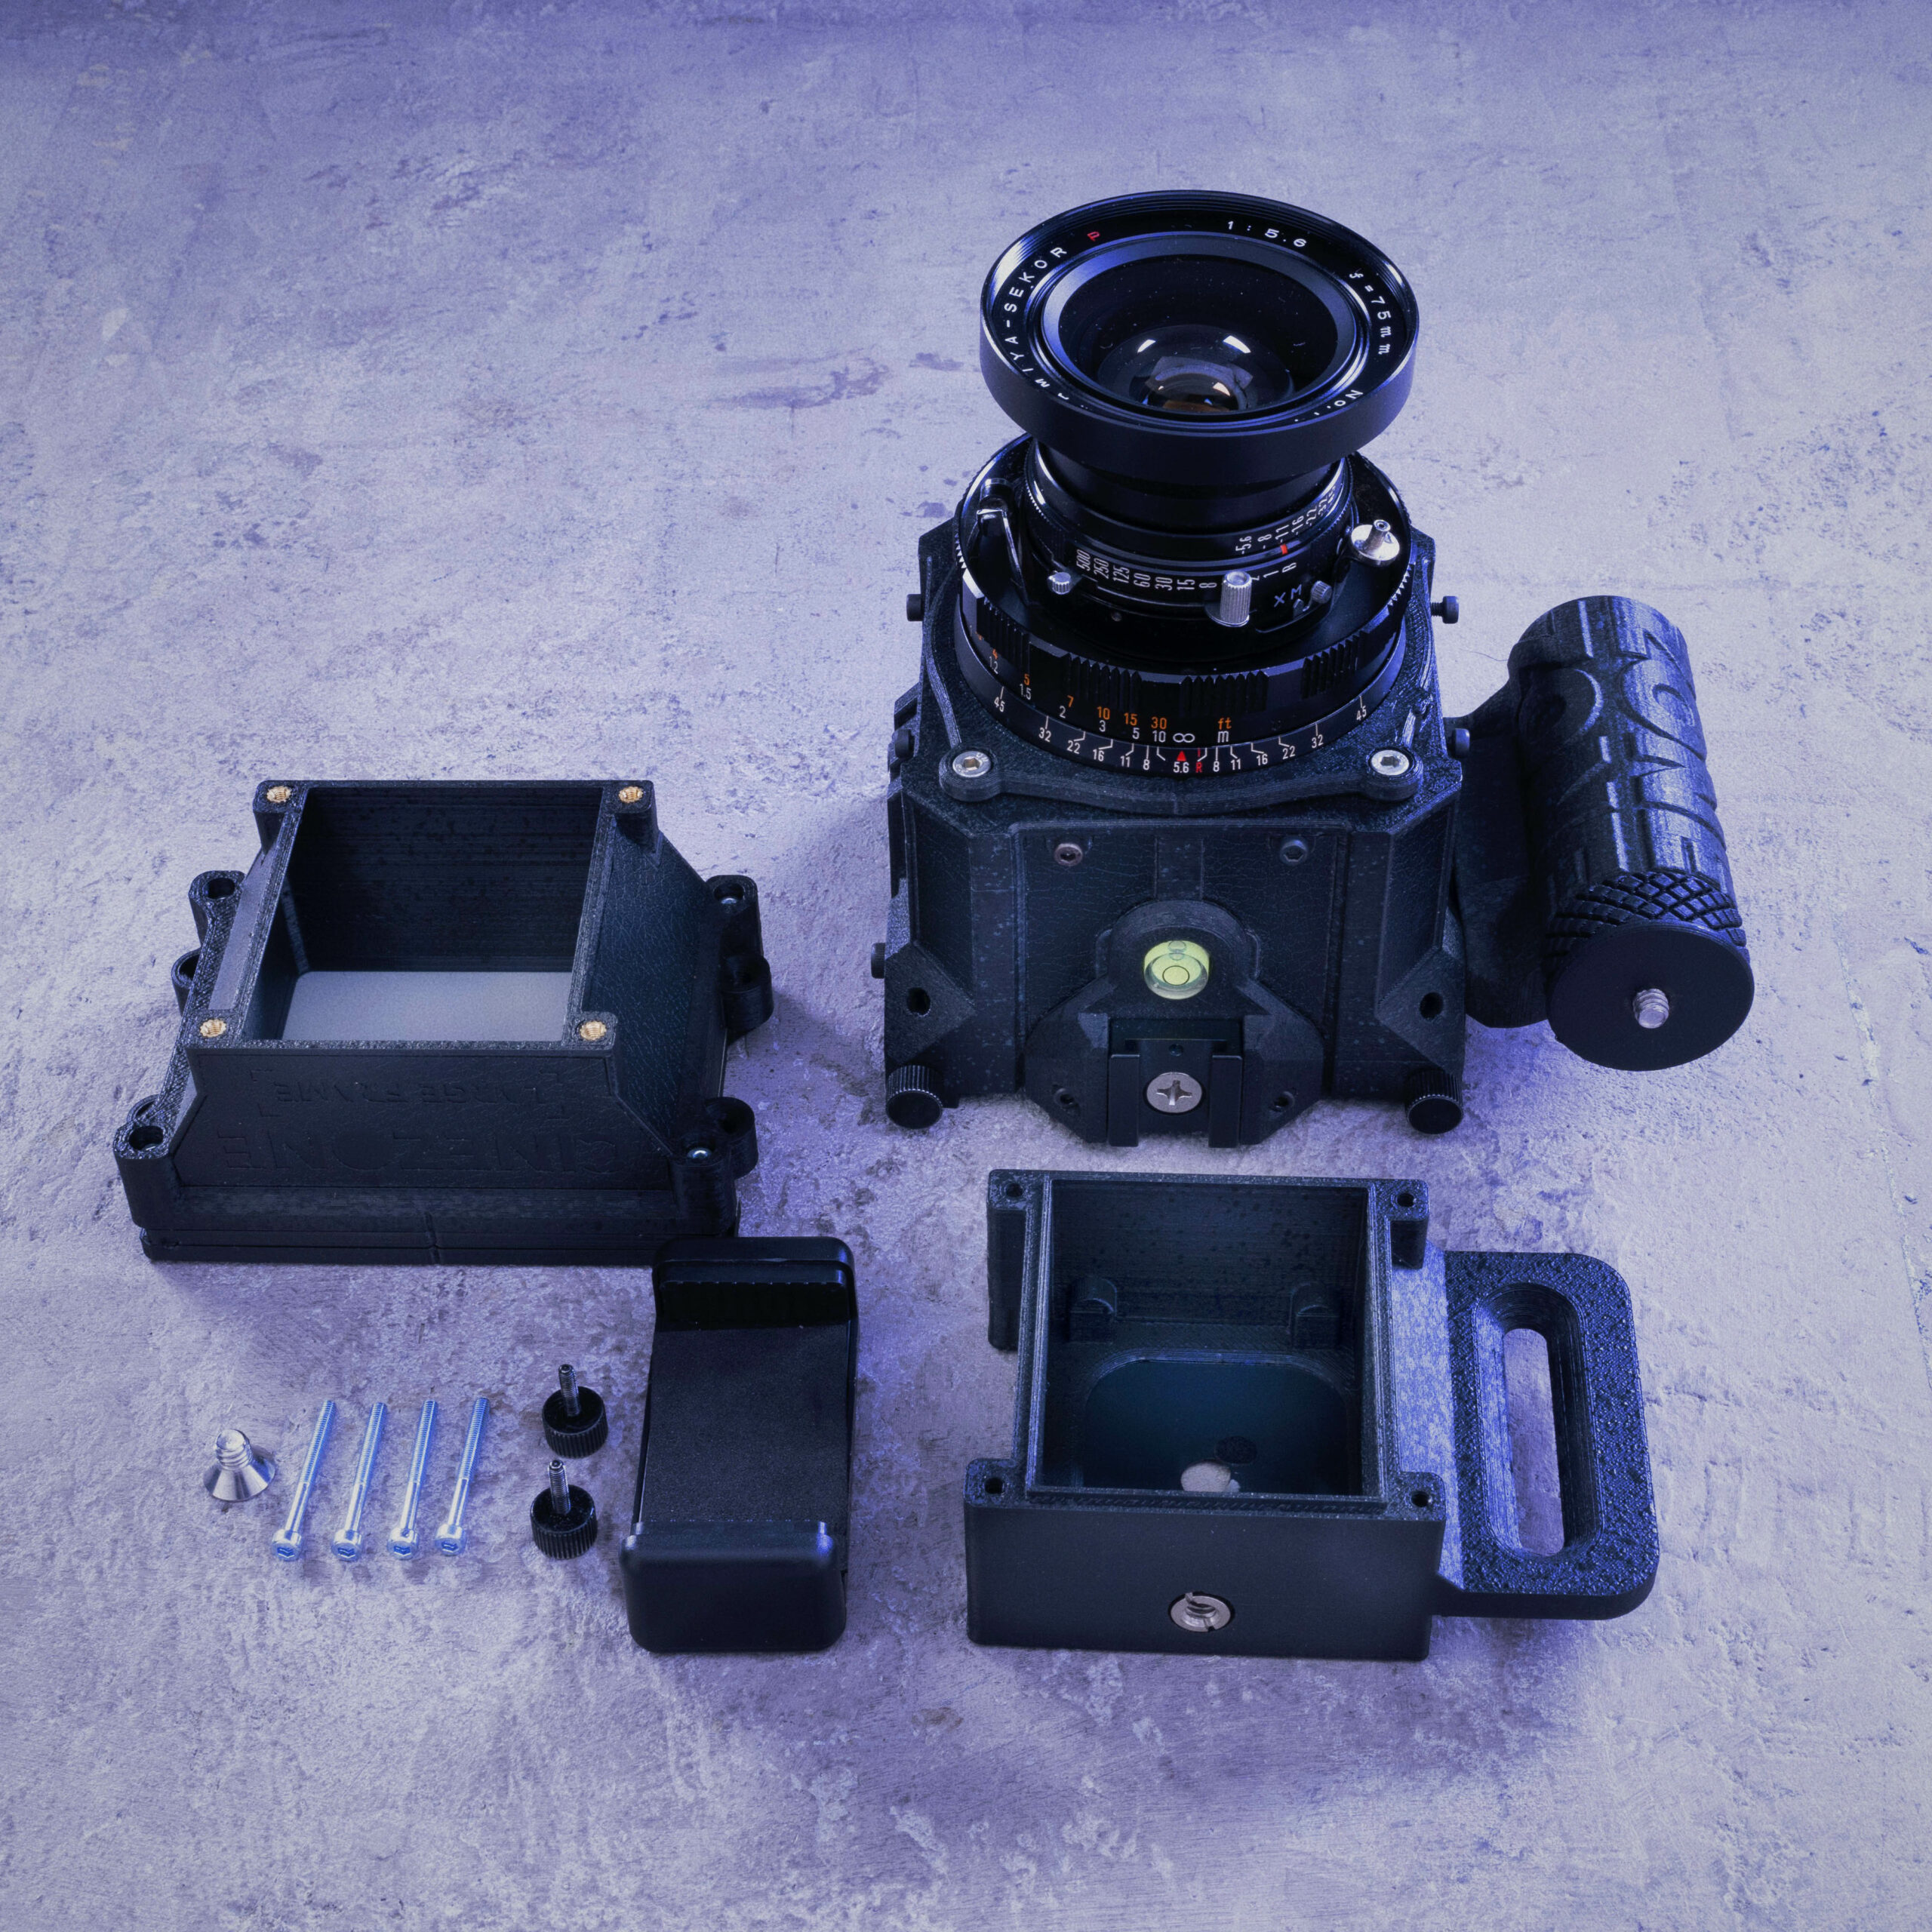
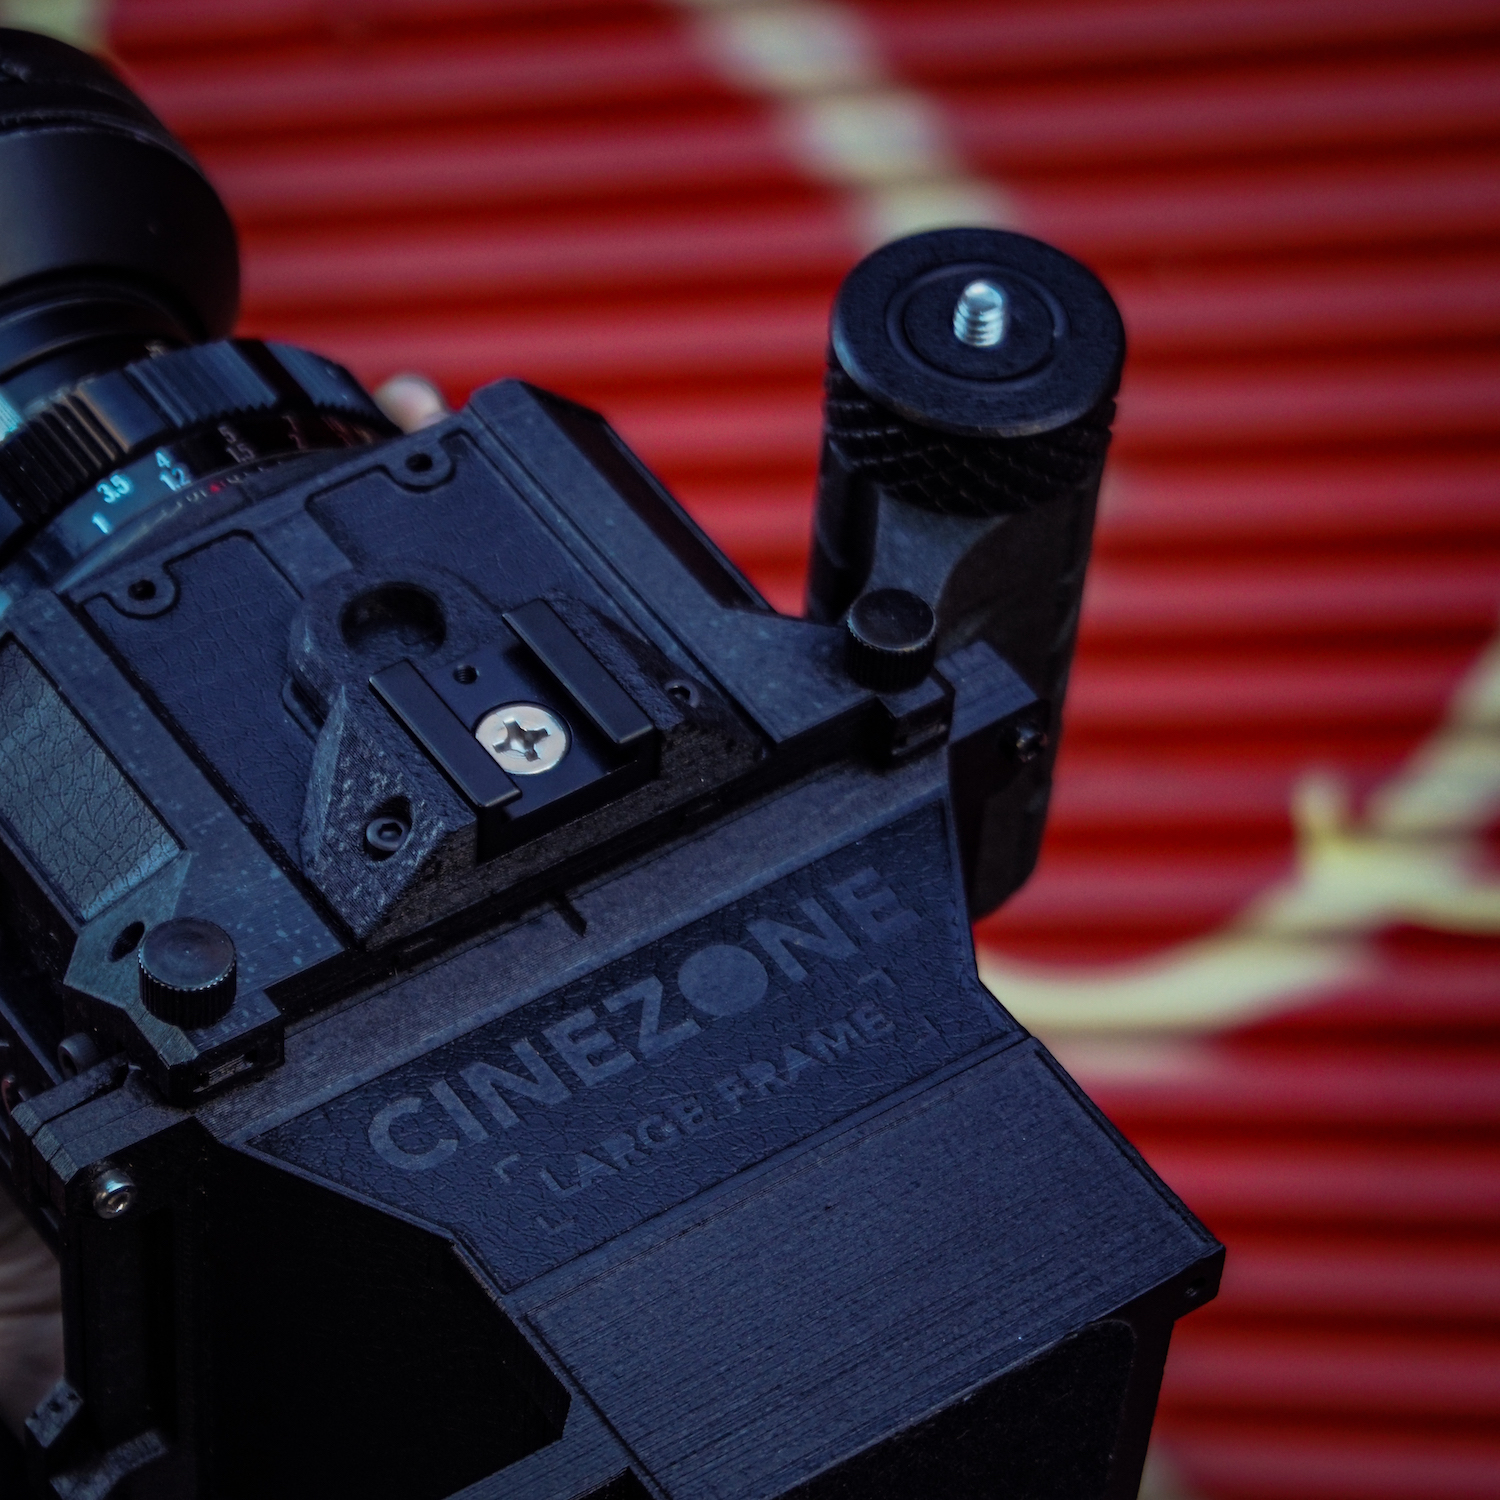
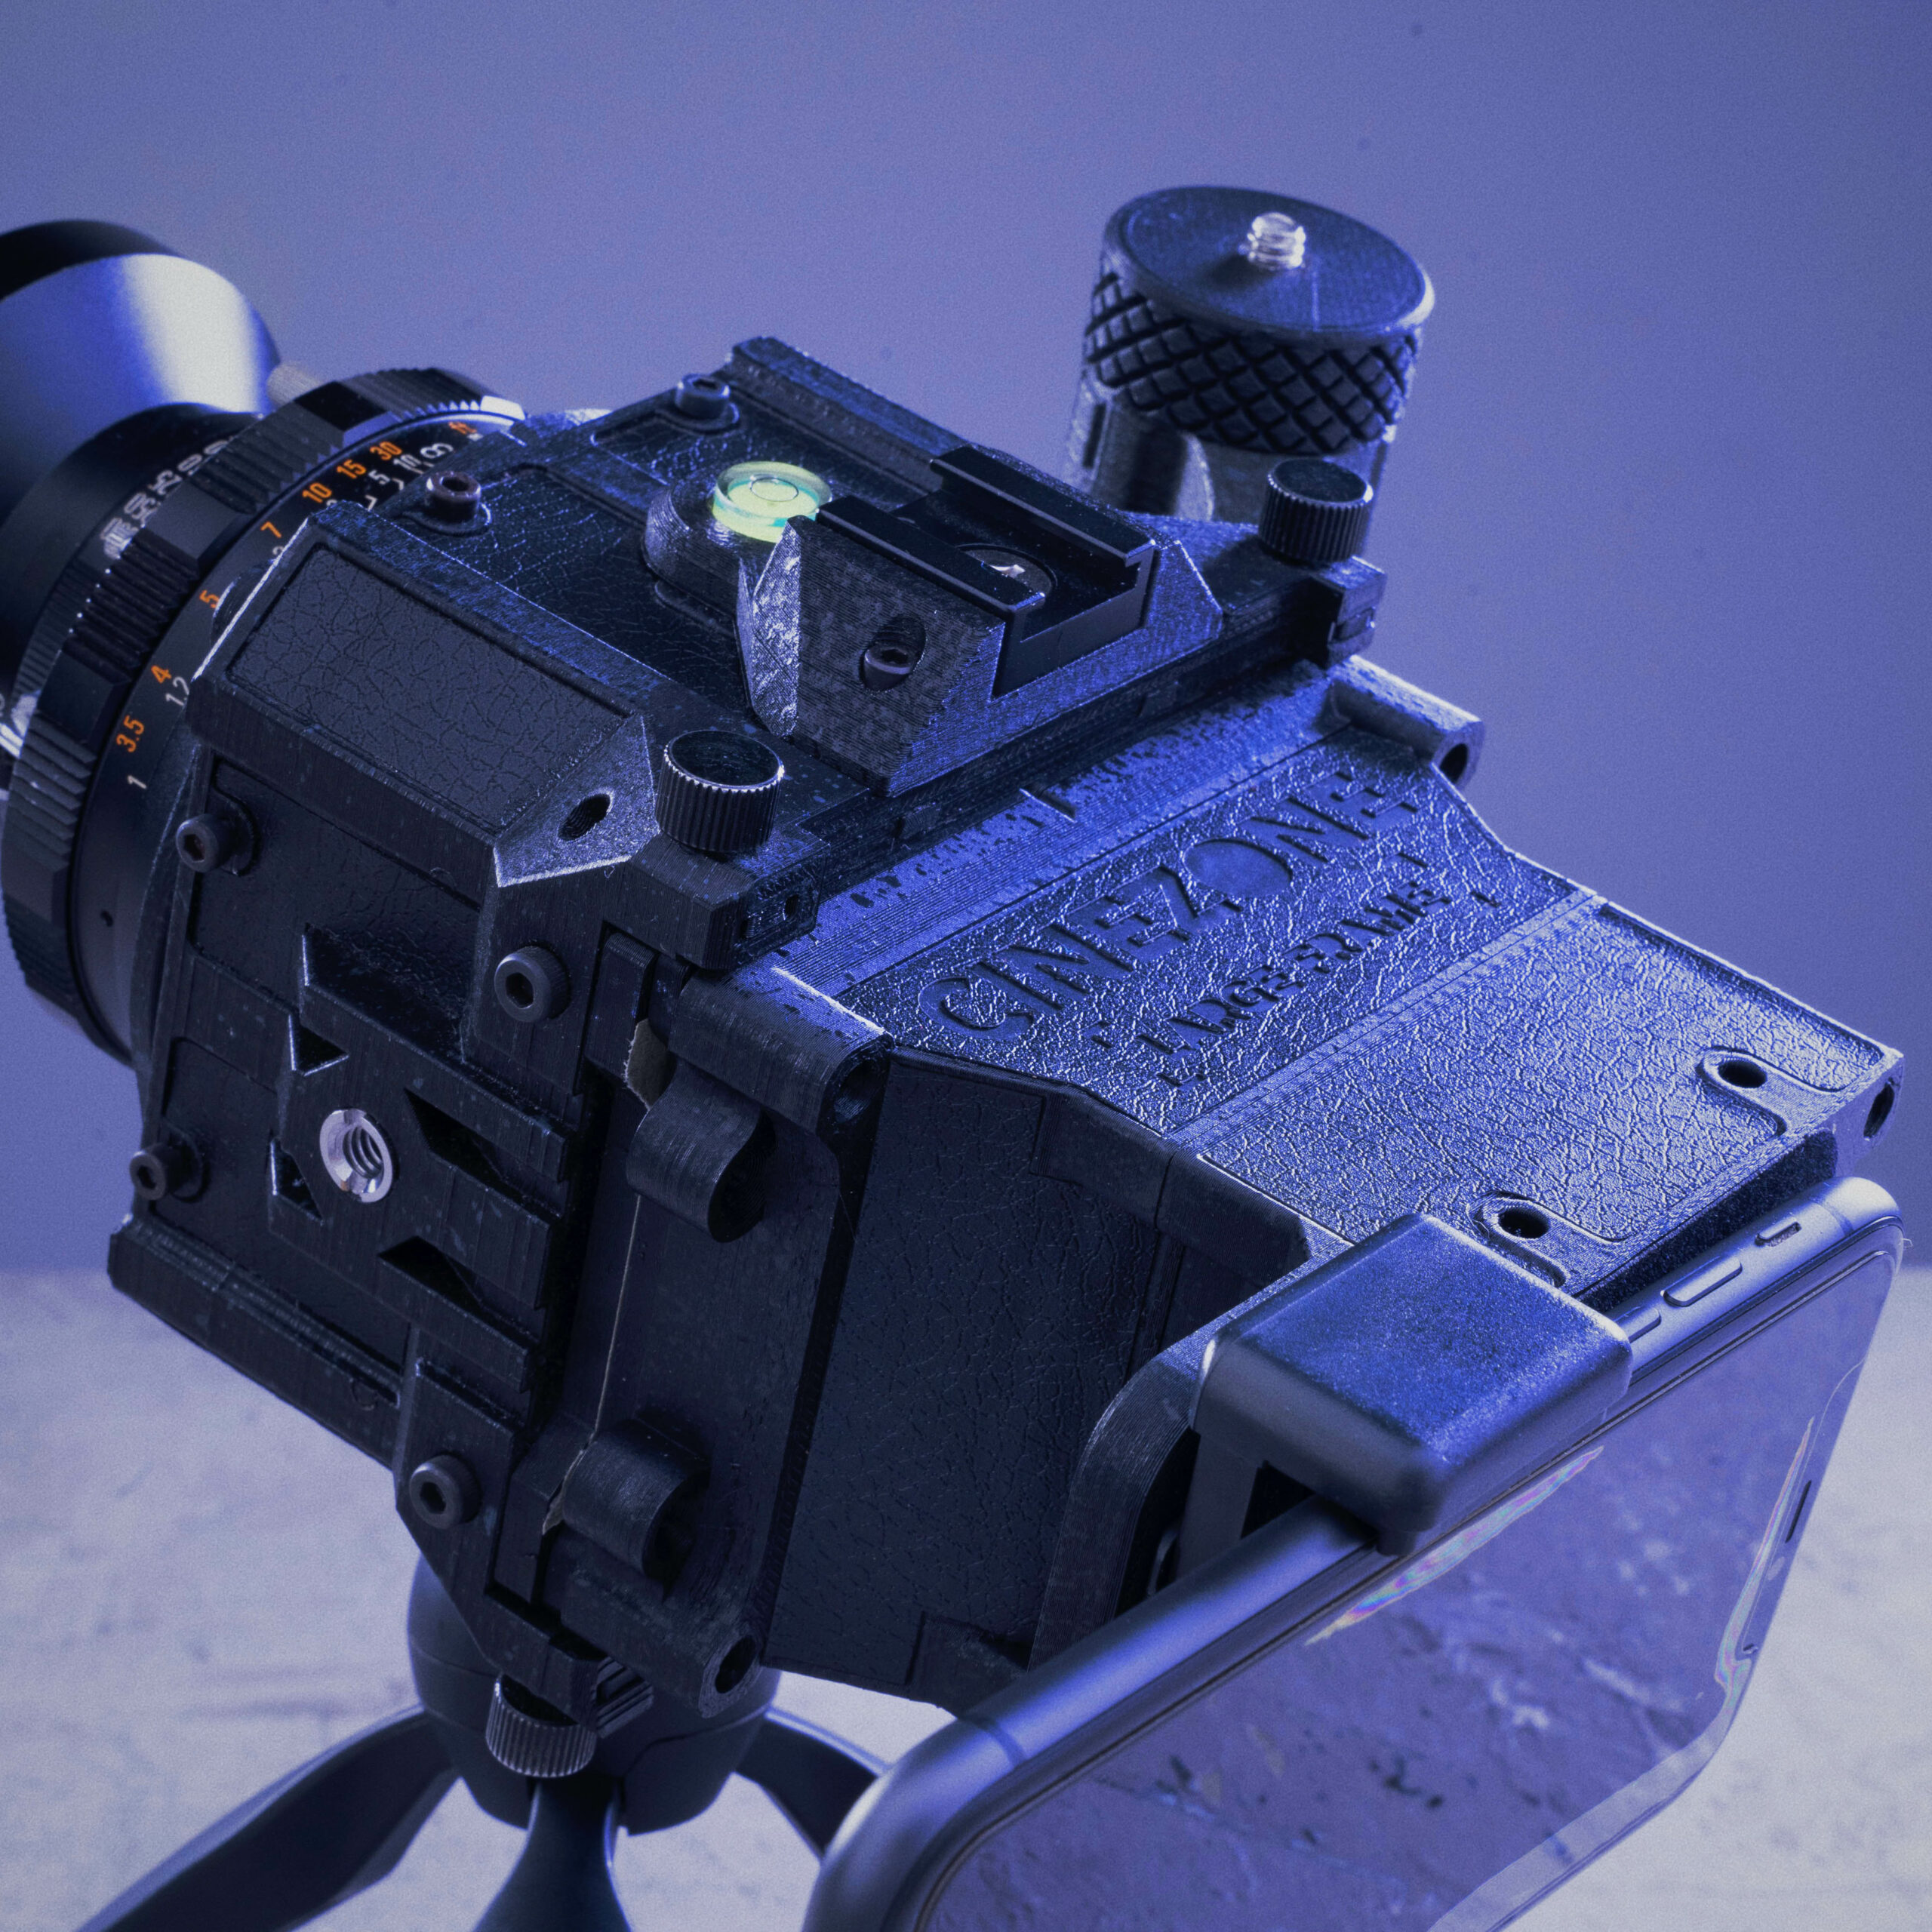
Cinezone Details


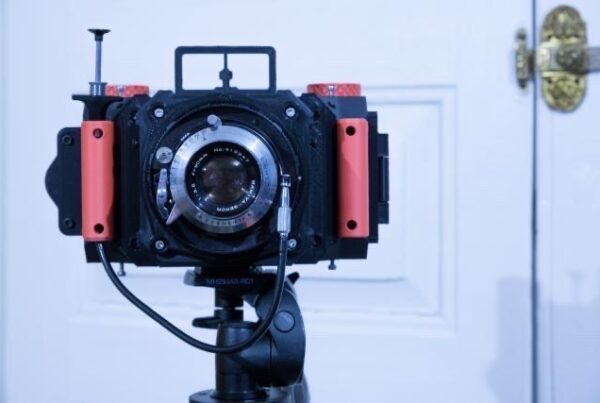
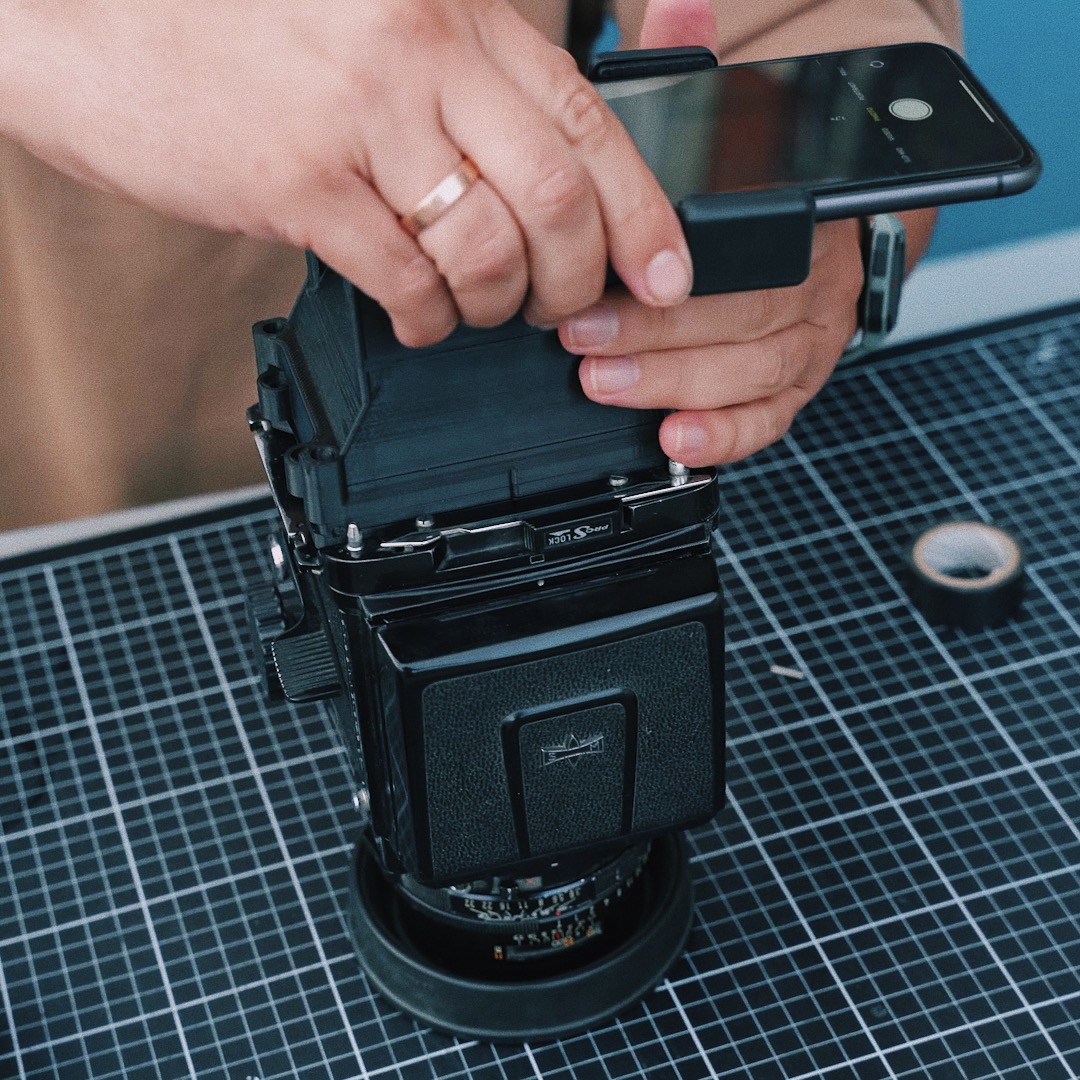
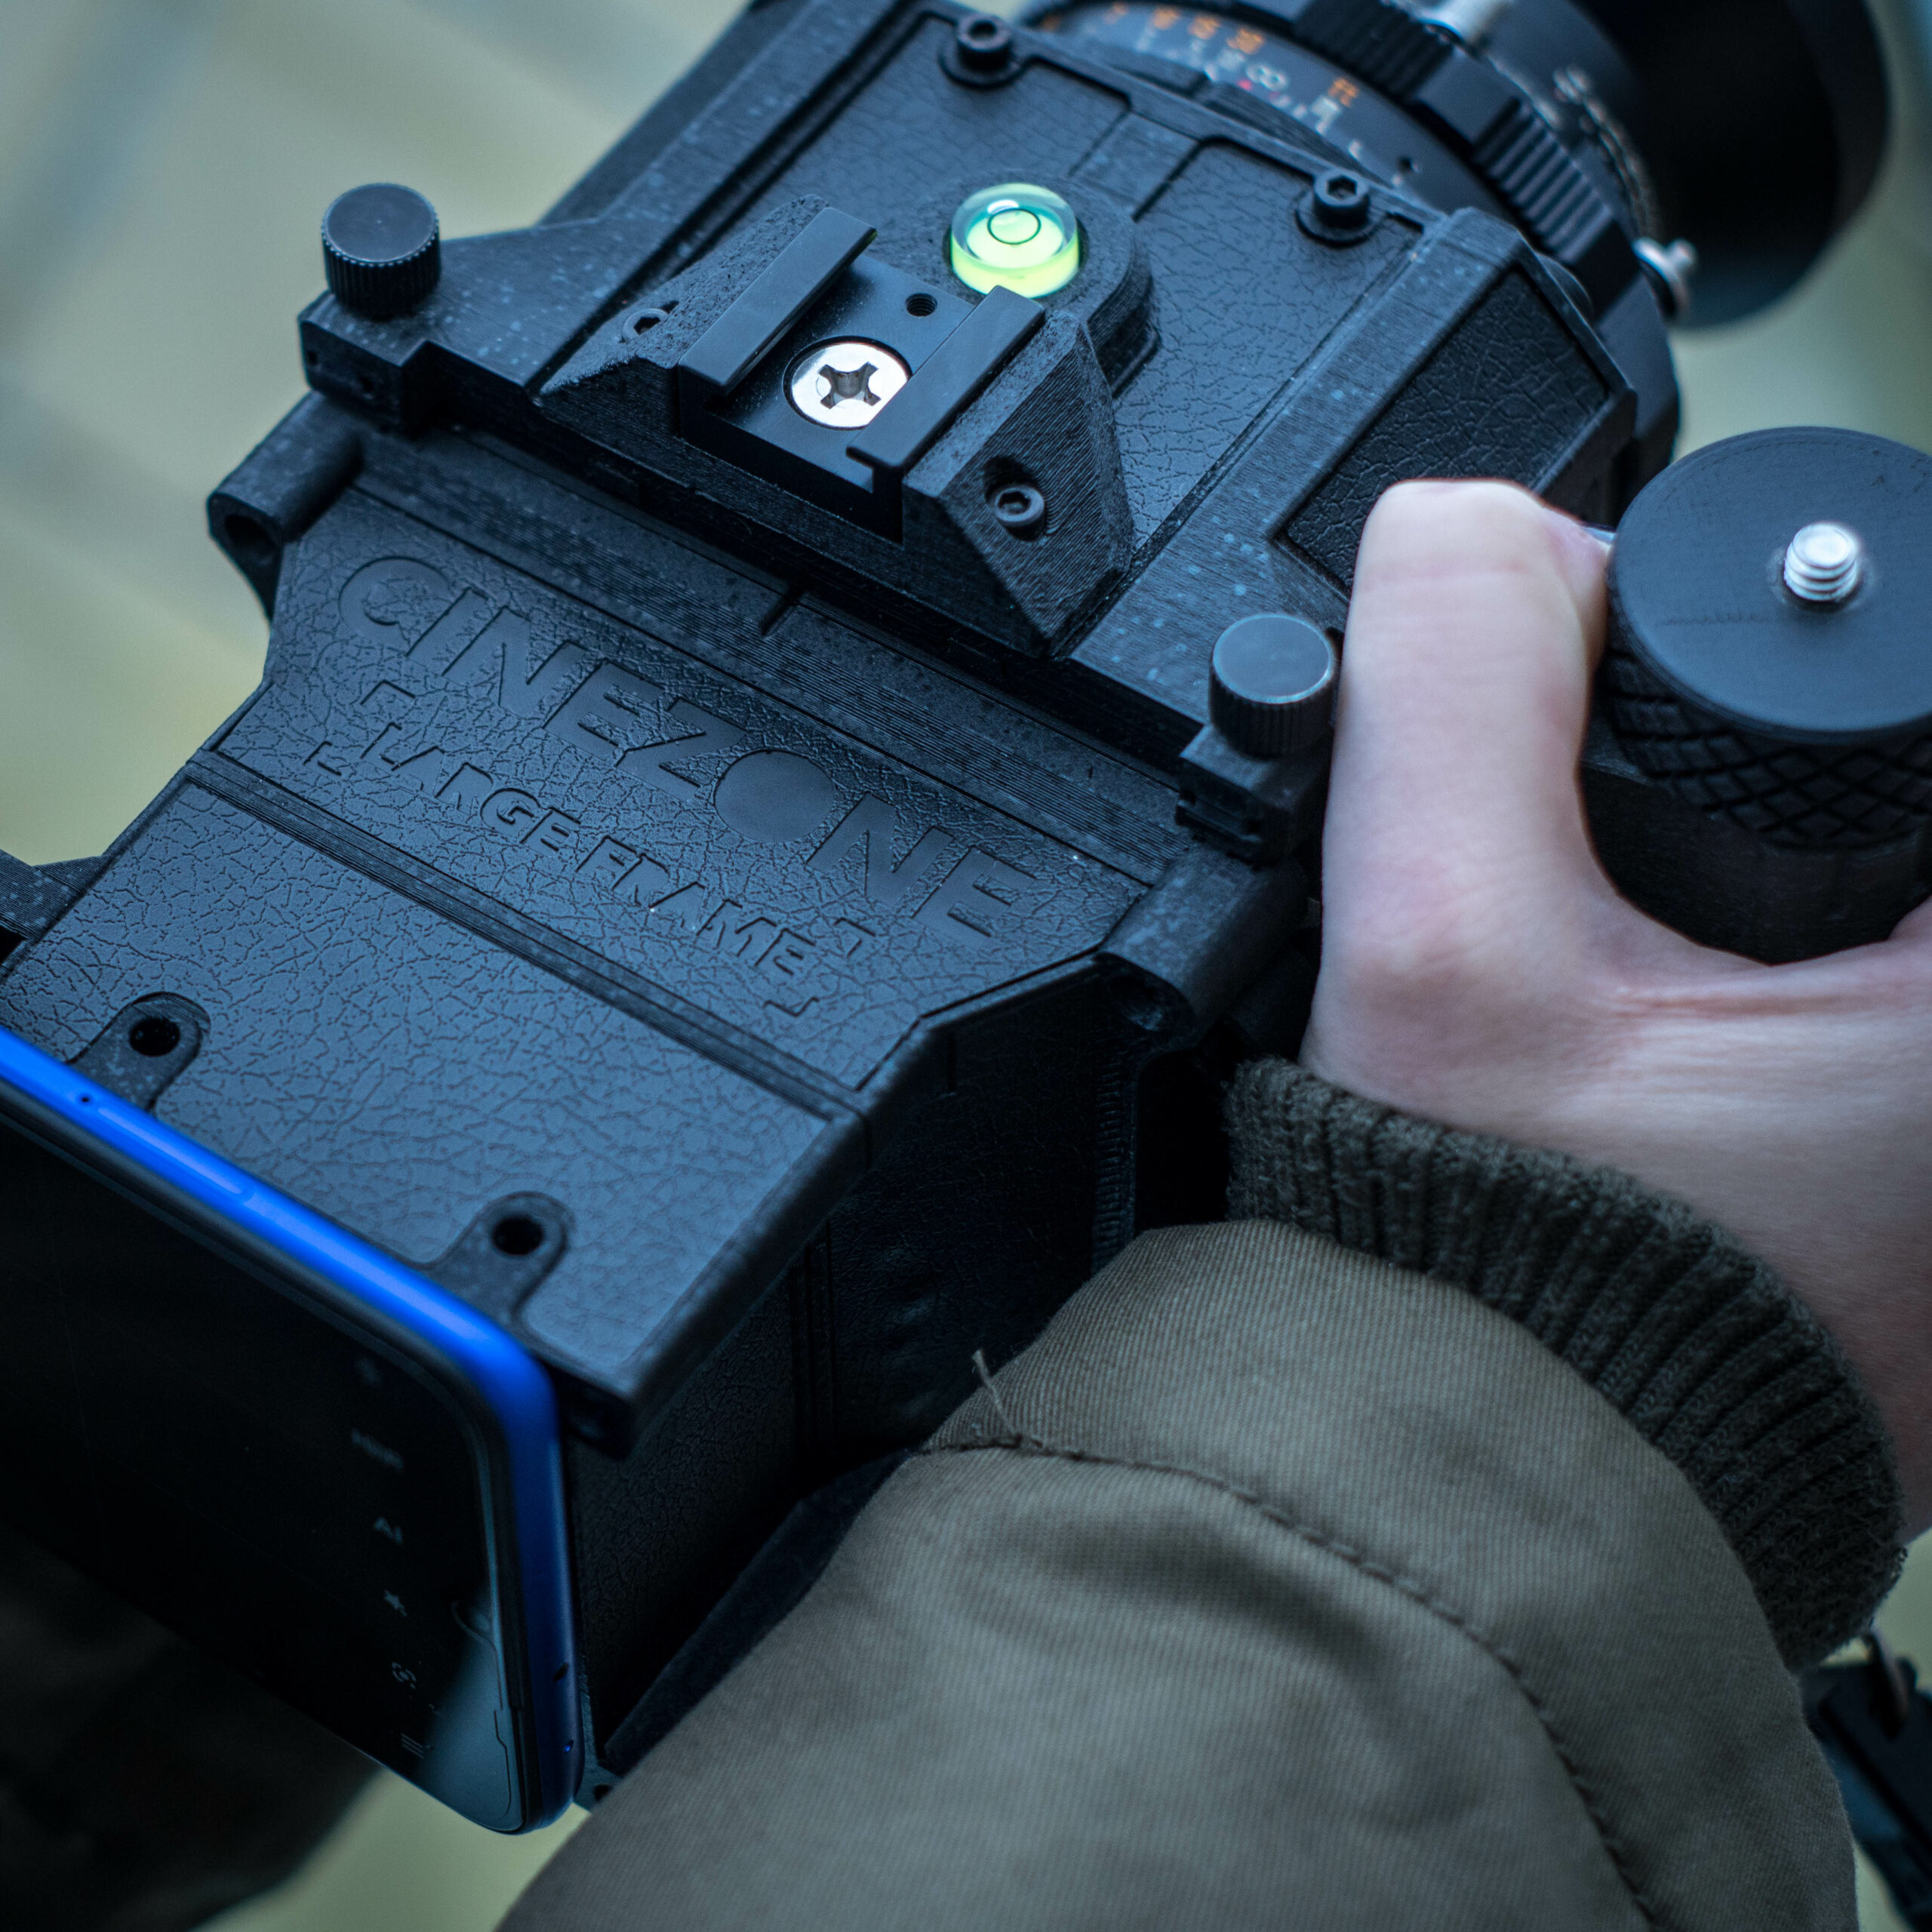
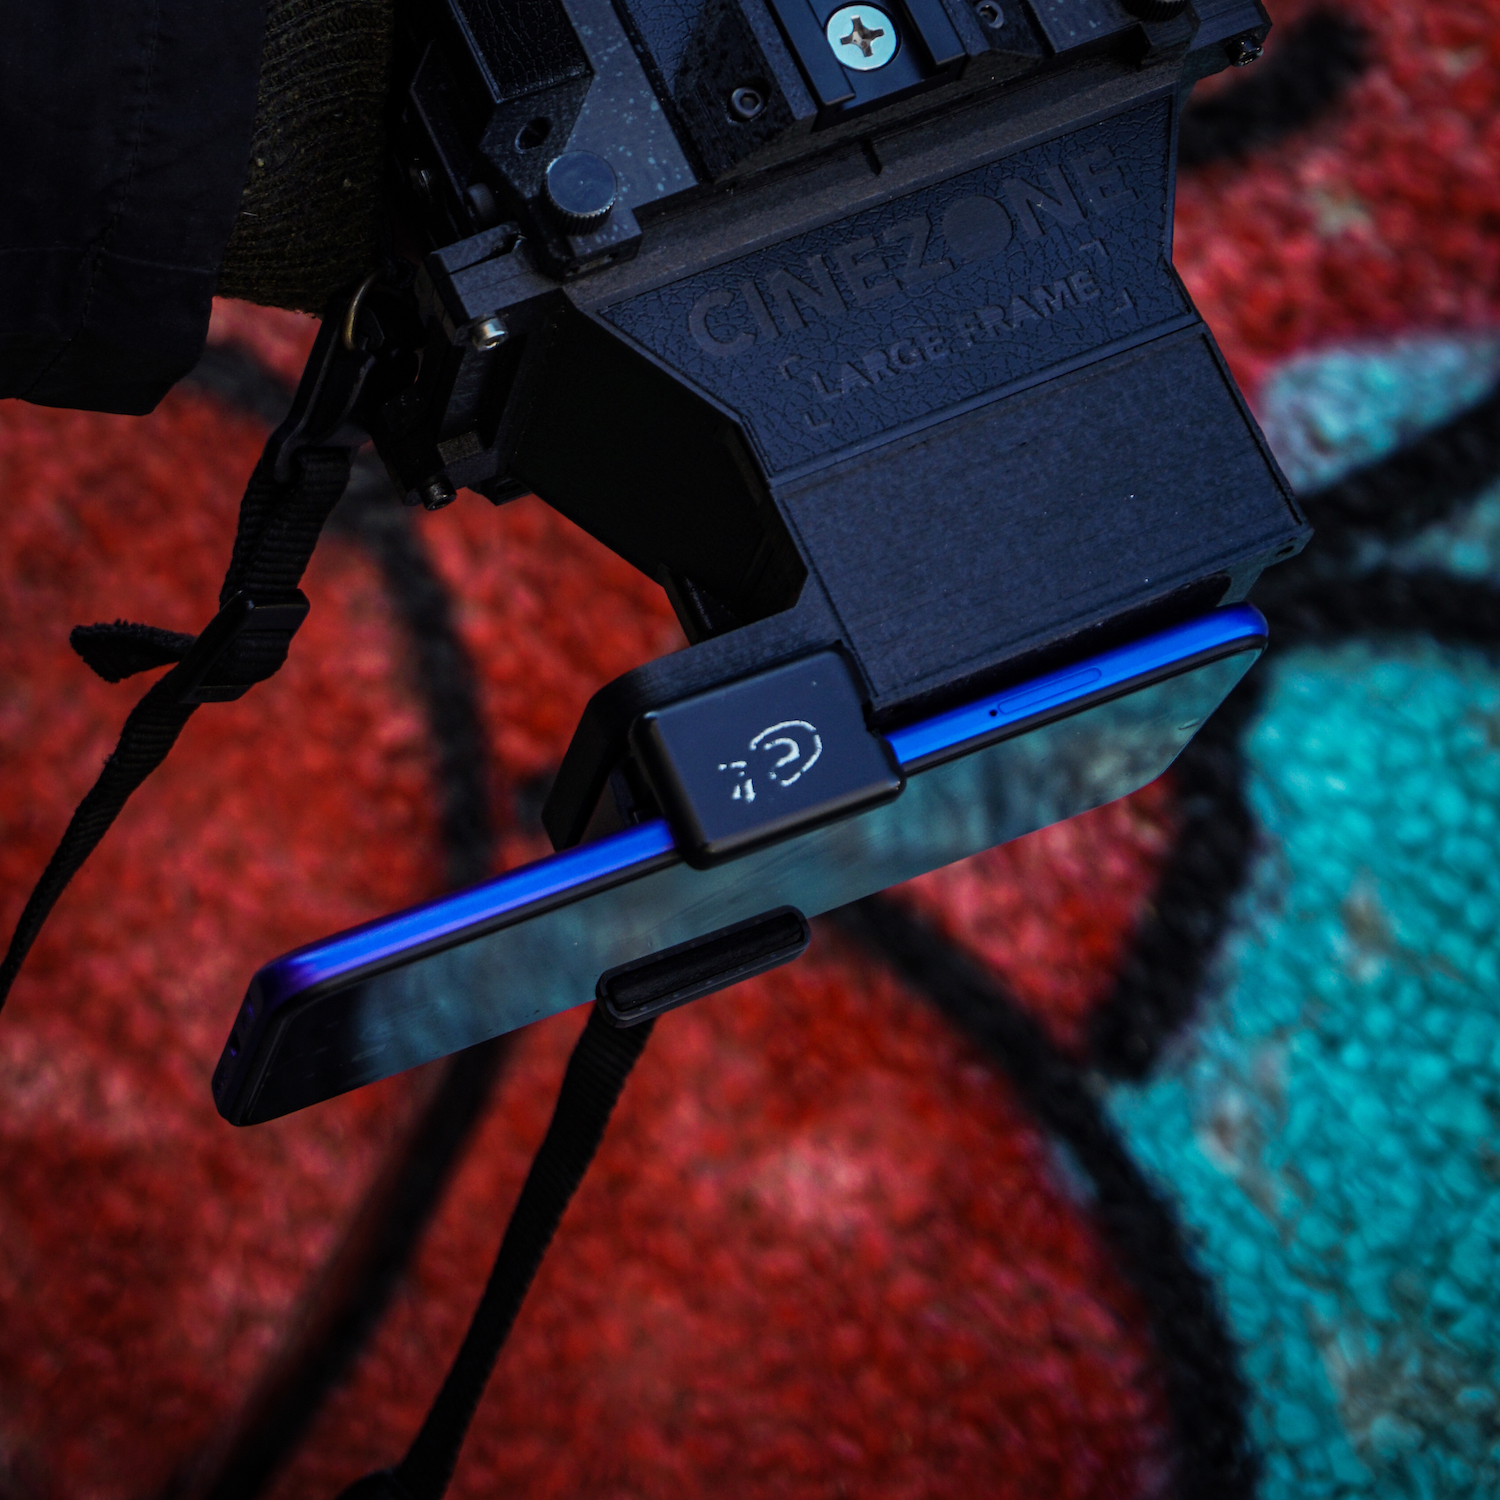
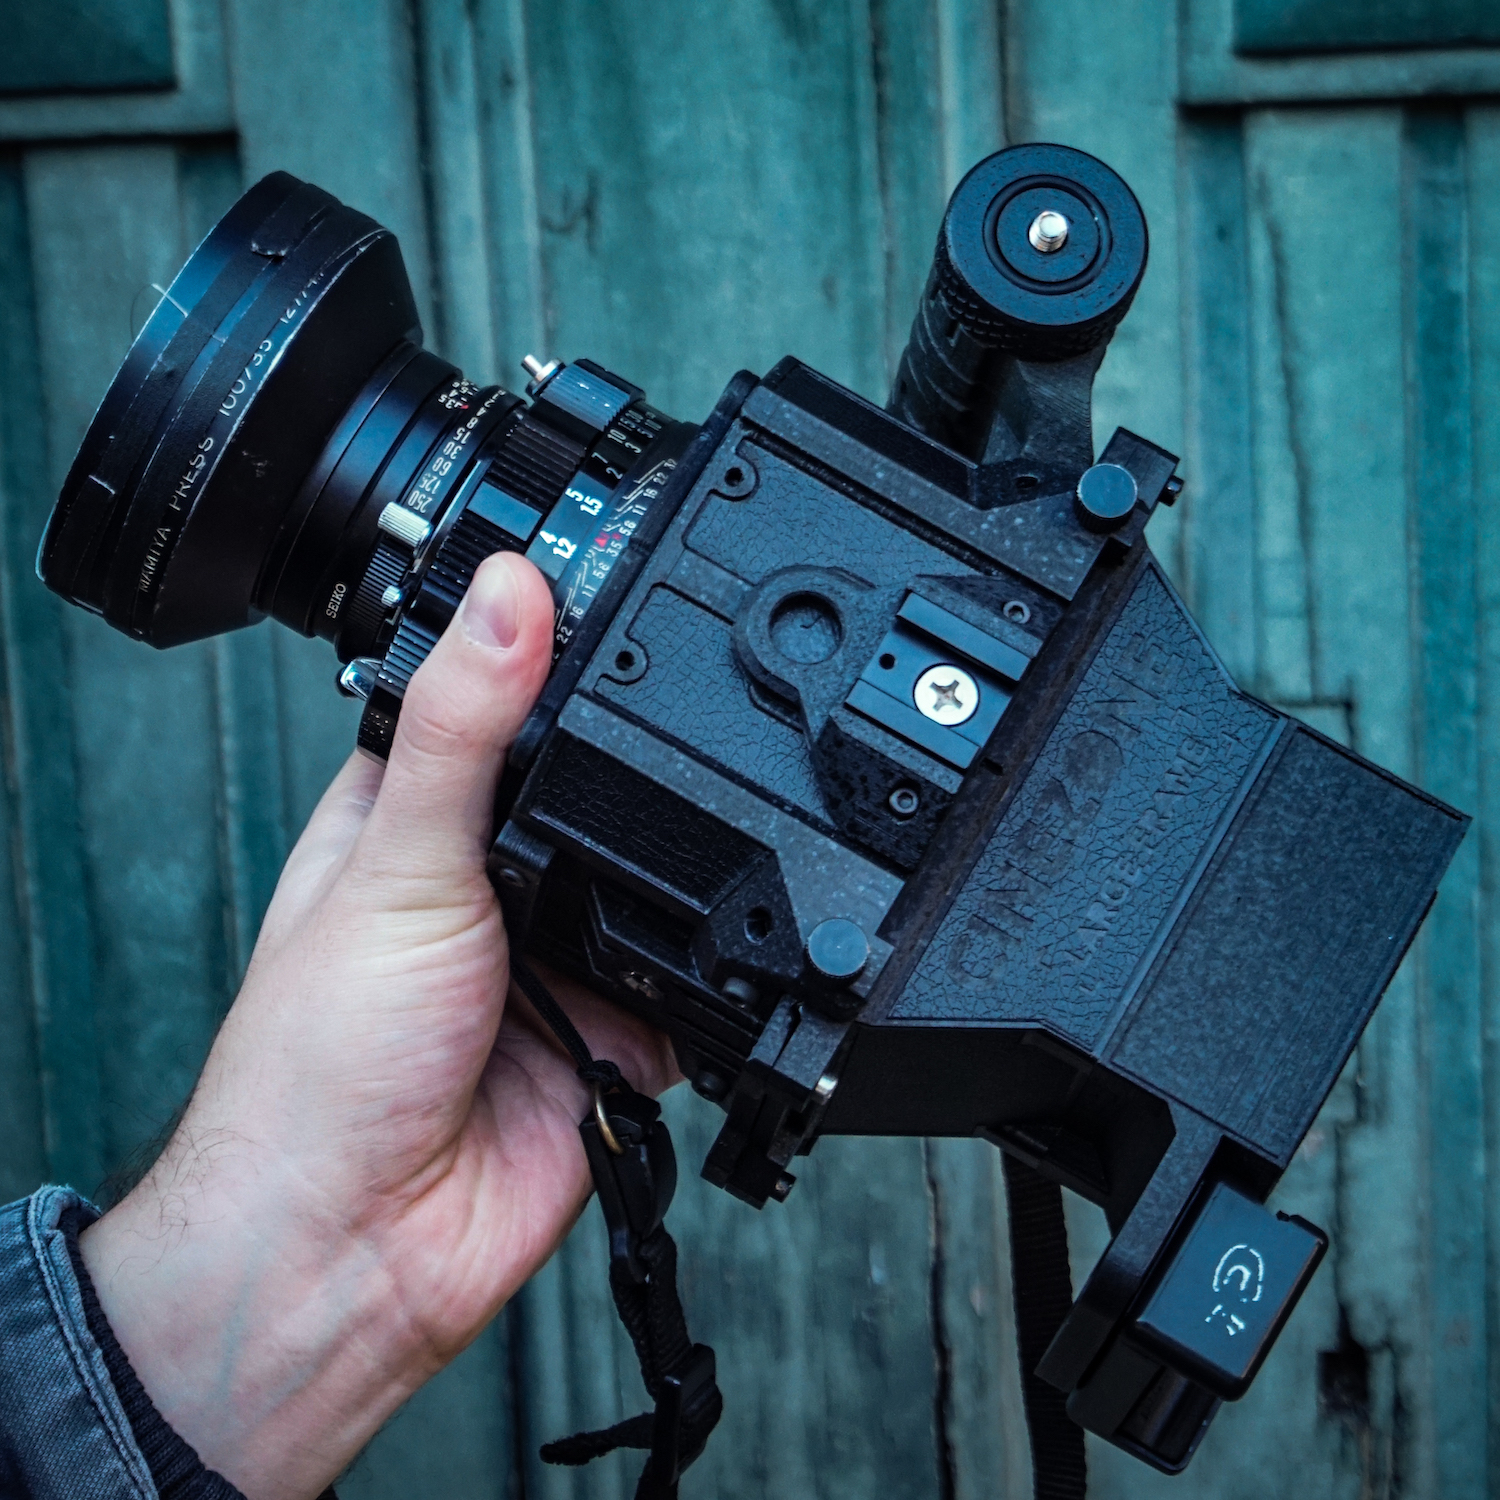
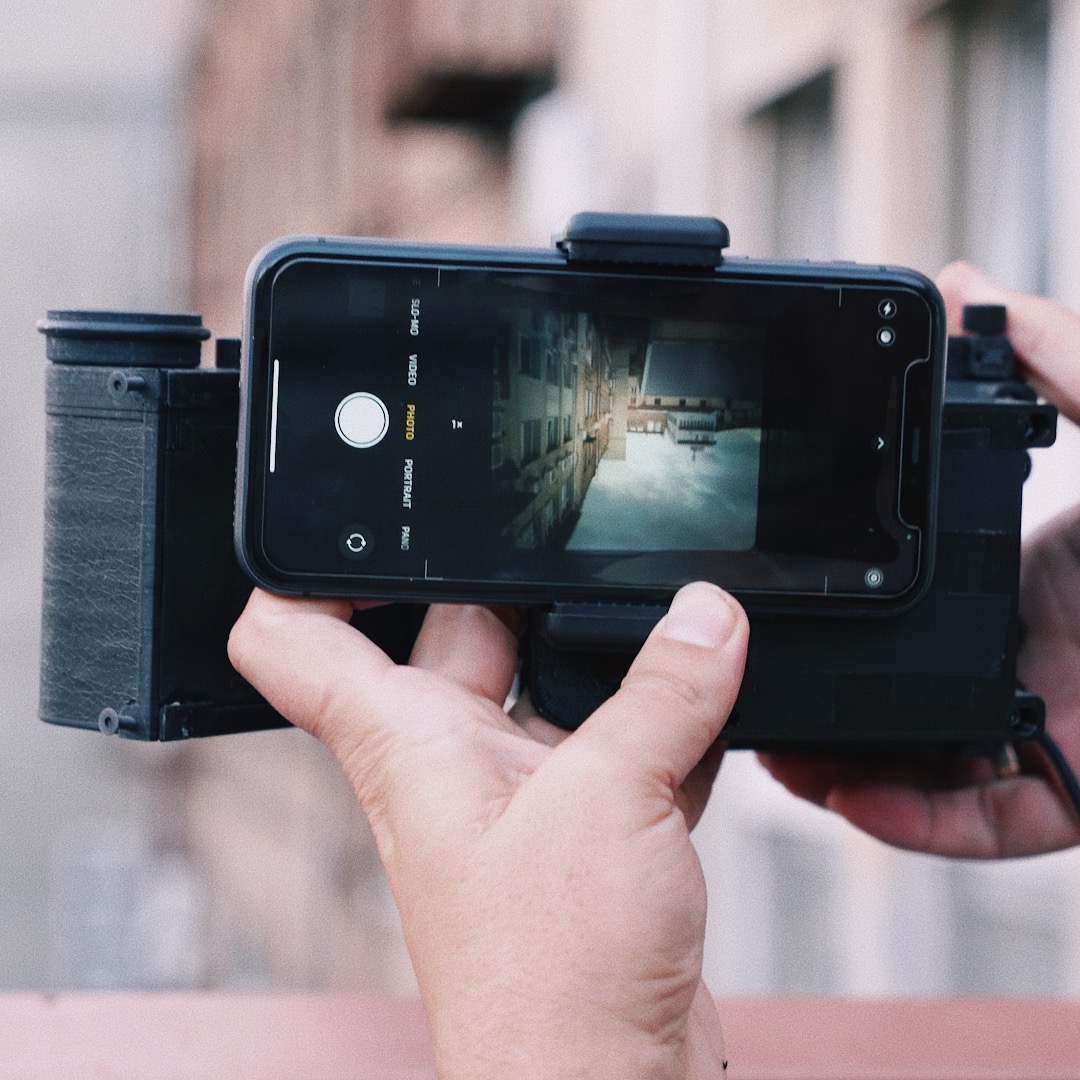
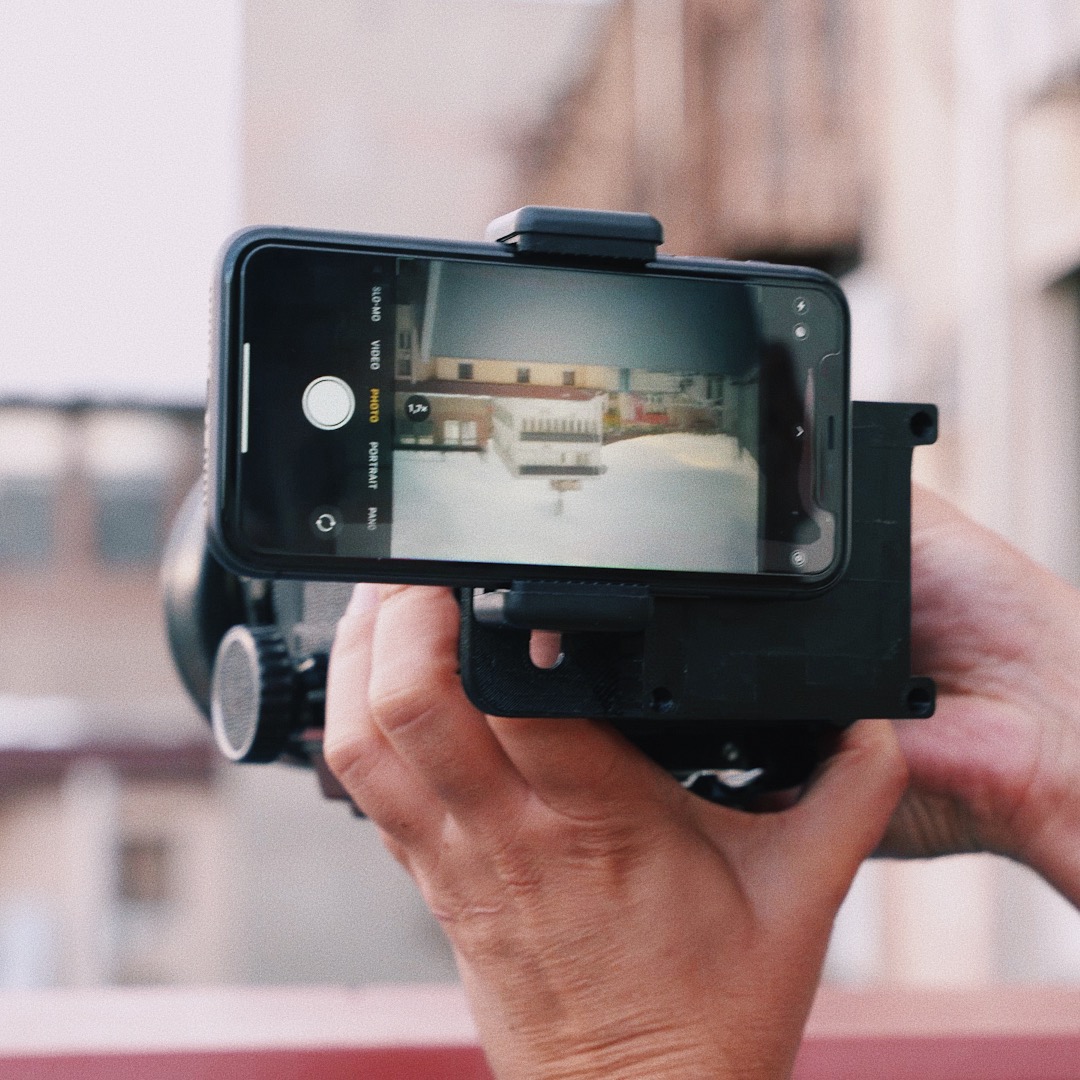
Made from 3D printed plastic, the adapter doesn’t add much weight to your kit, and looks right at home when mounted on the Zone. Subjects are projected onto a matte acetate focusing screen, where your smartphone then focuses and grabs the final image. The phone is held in place by a clamp, and its position is fully adjustable, making the Cinezone compatible with any model of phone. At the moment, it is only available in 6×7 format, but don’t worry, we are currently working on the development of 6×9 and 6×12 versions as well.


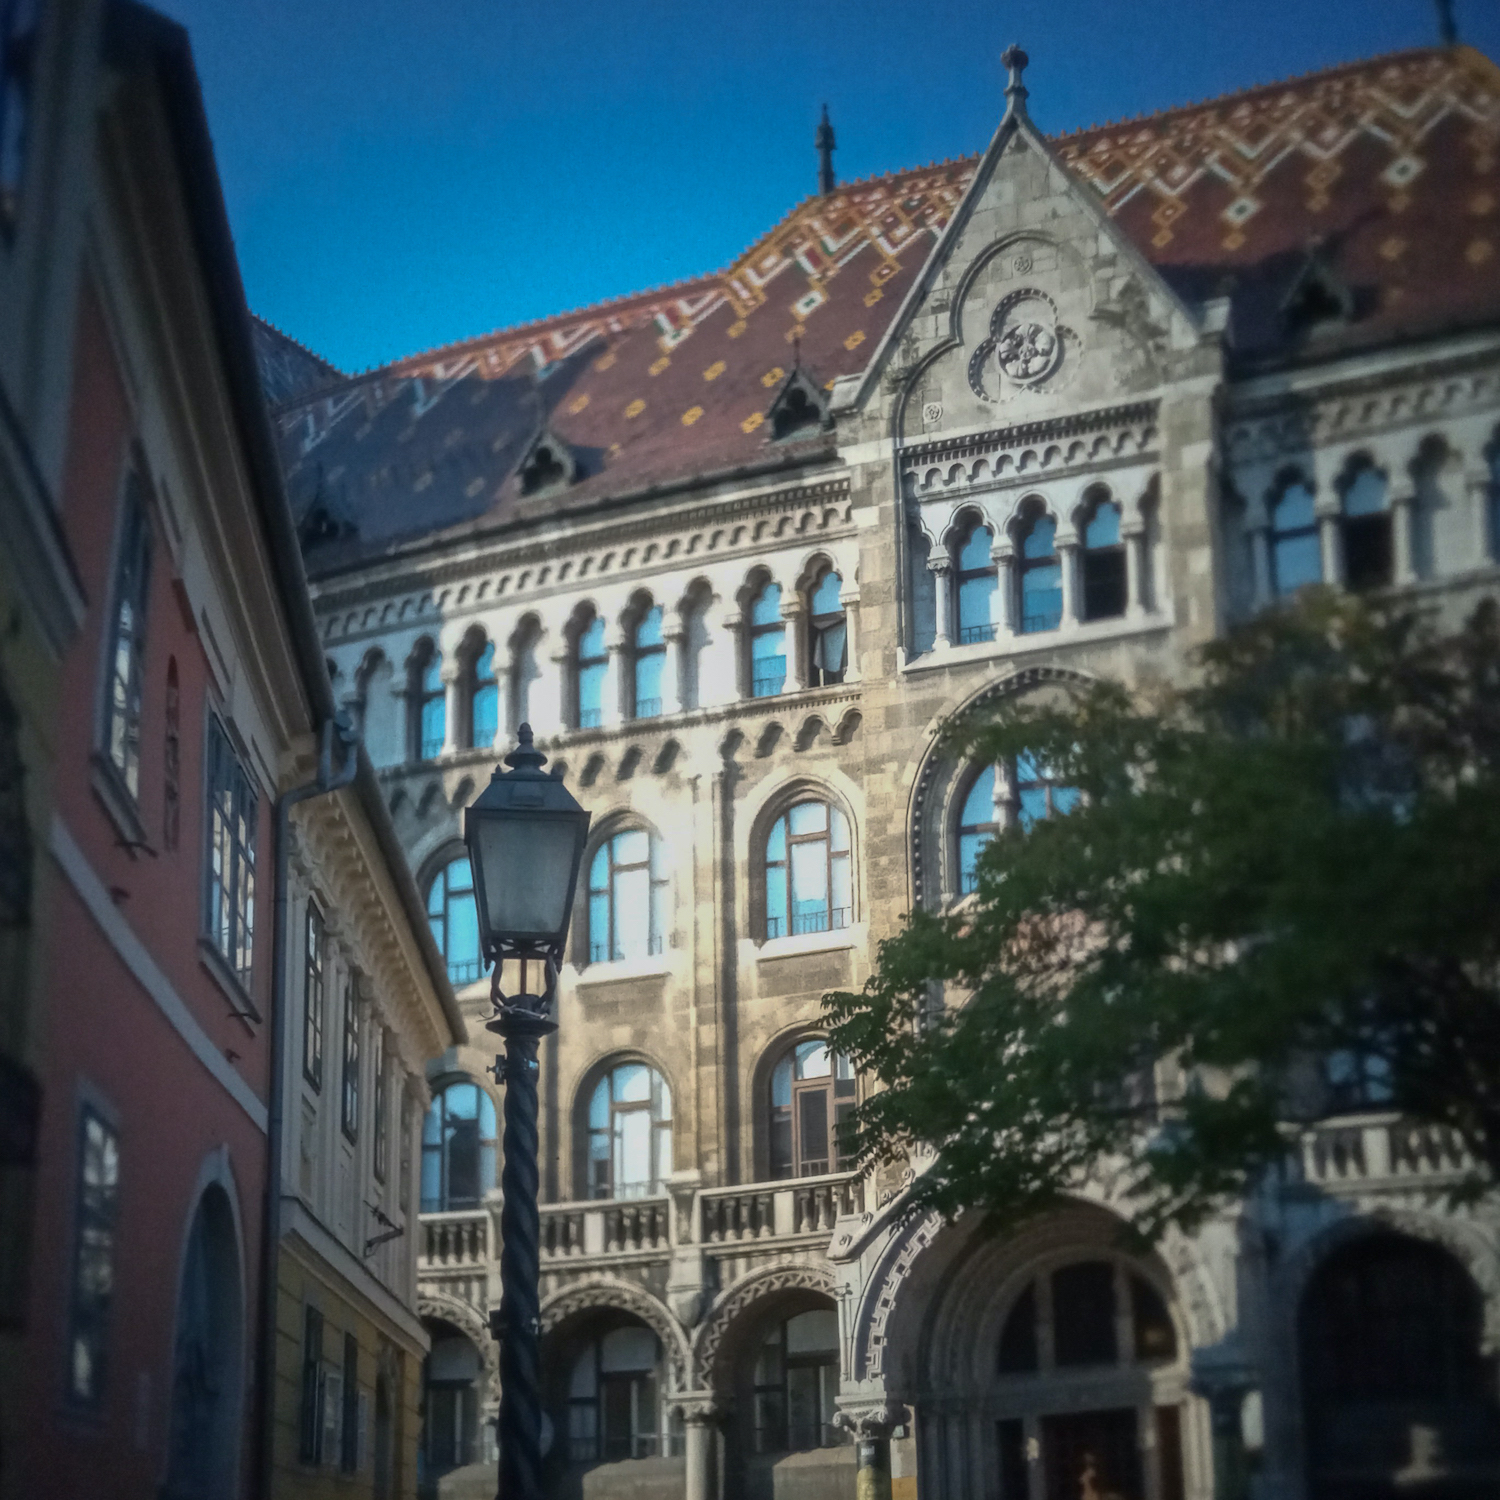
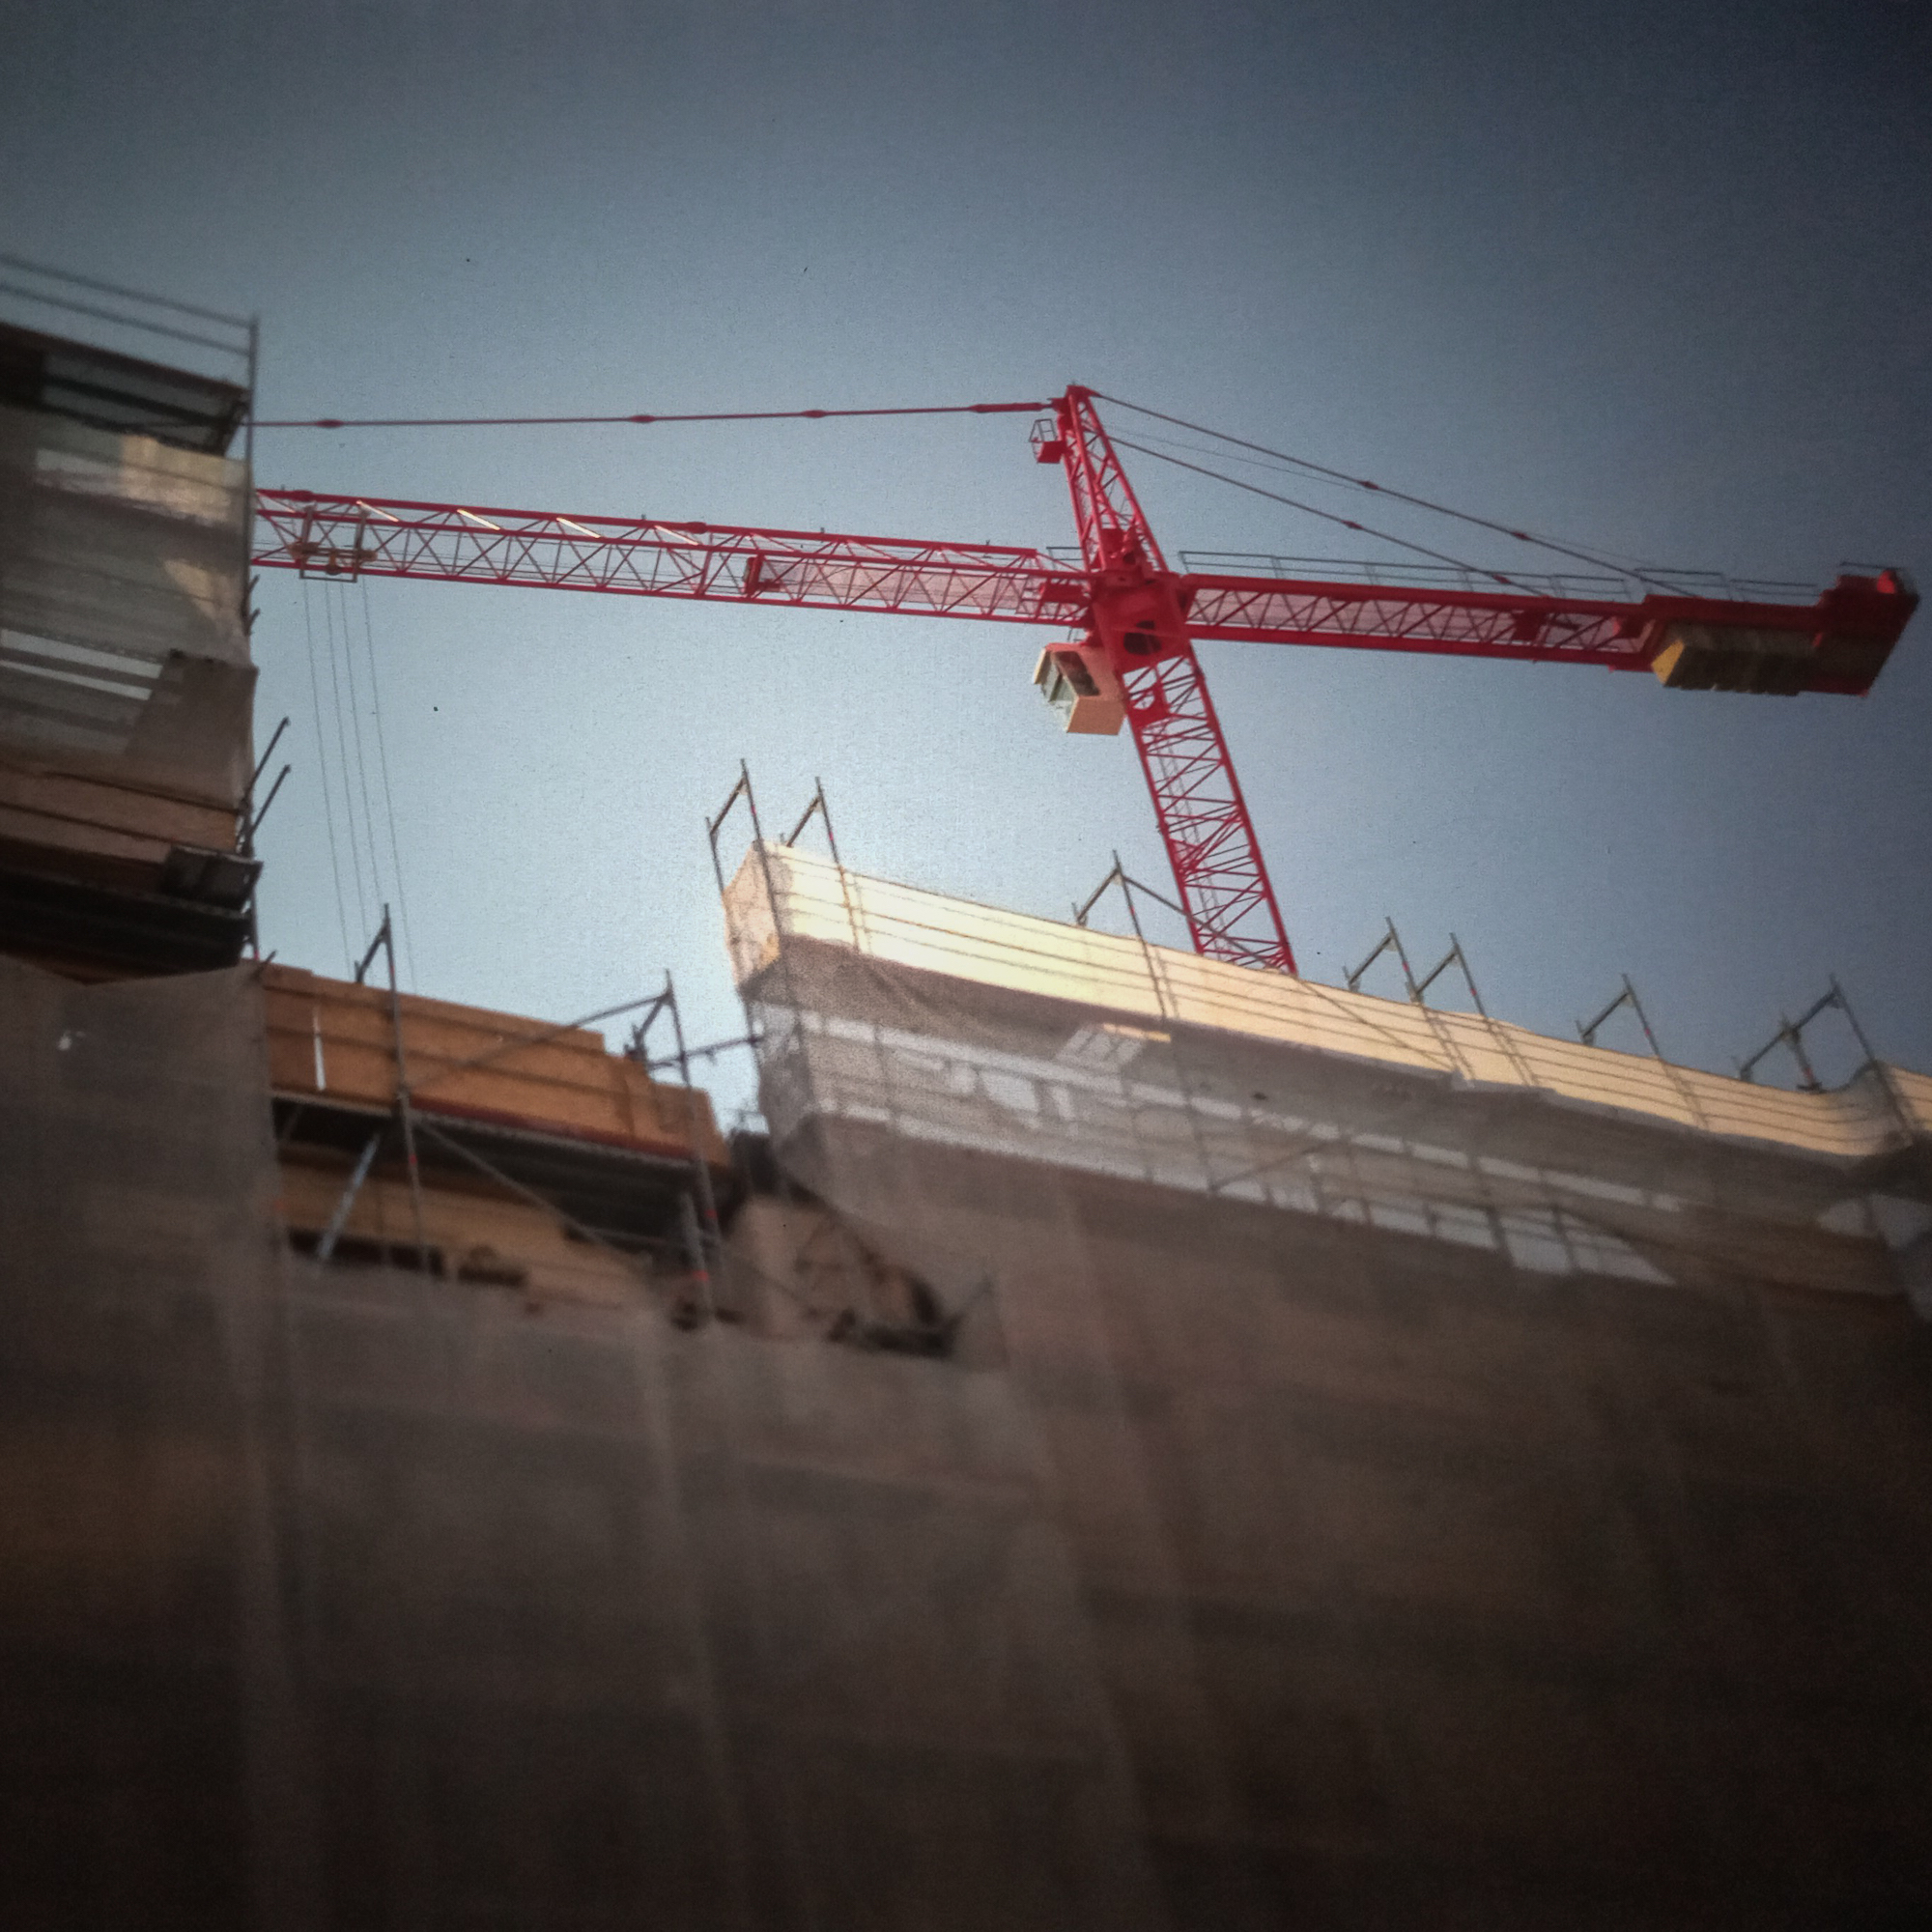
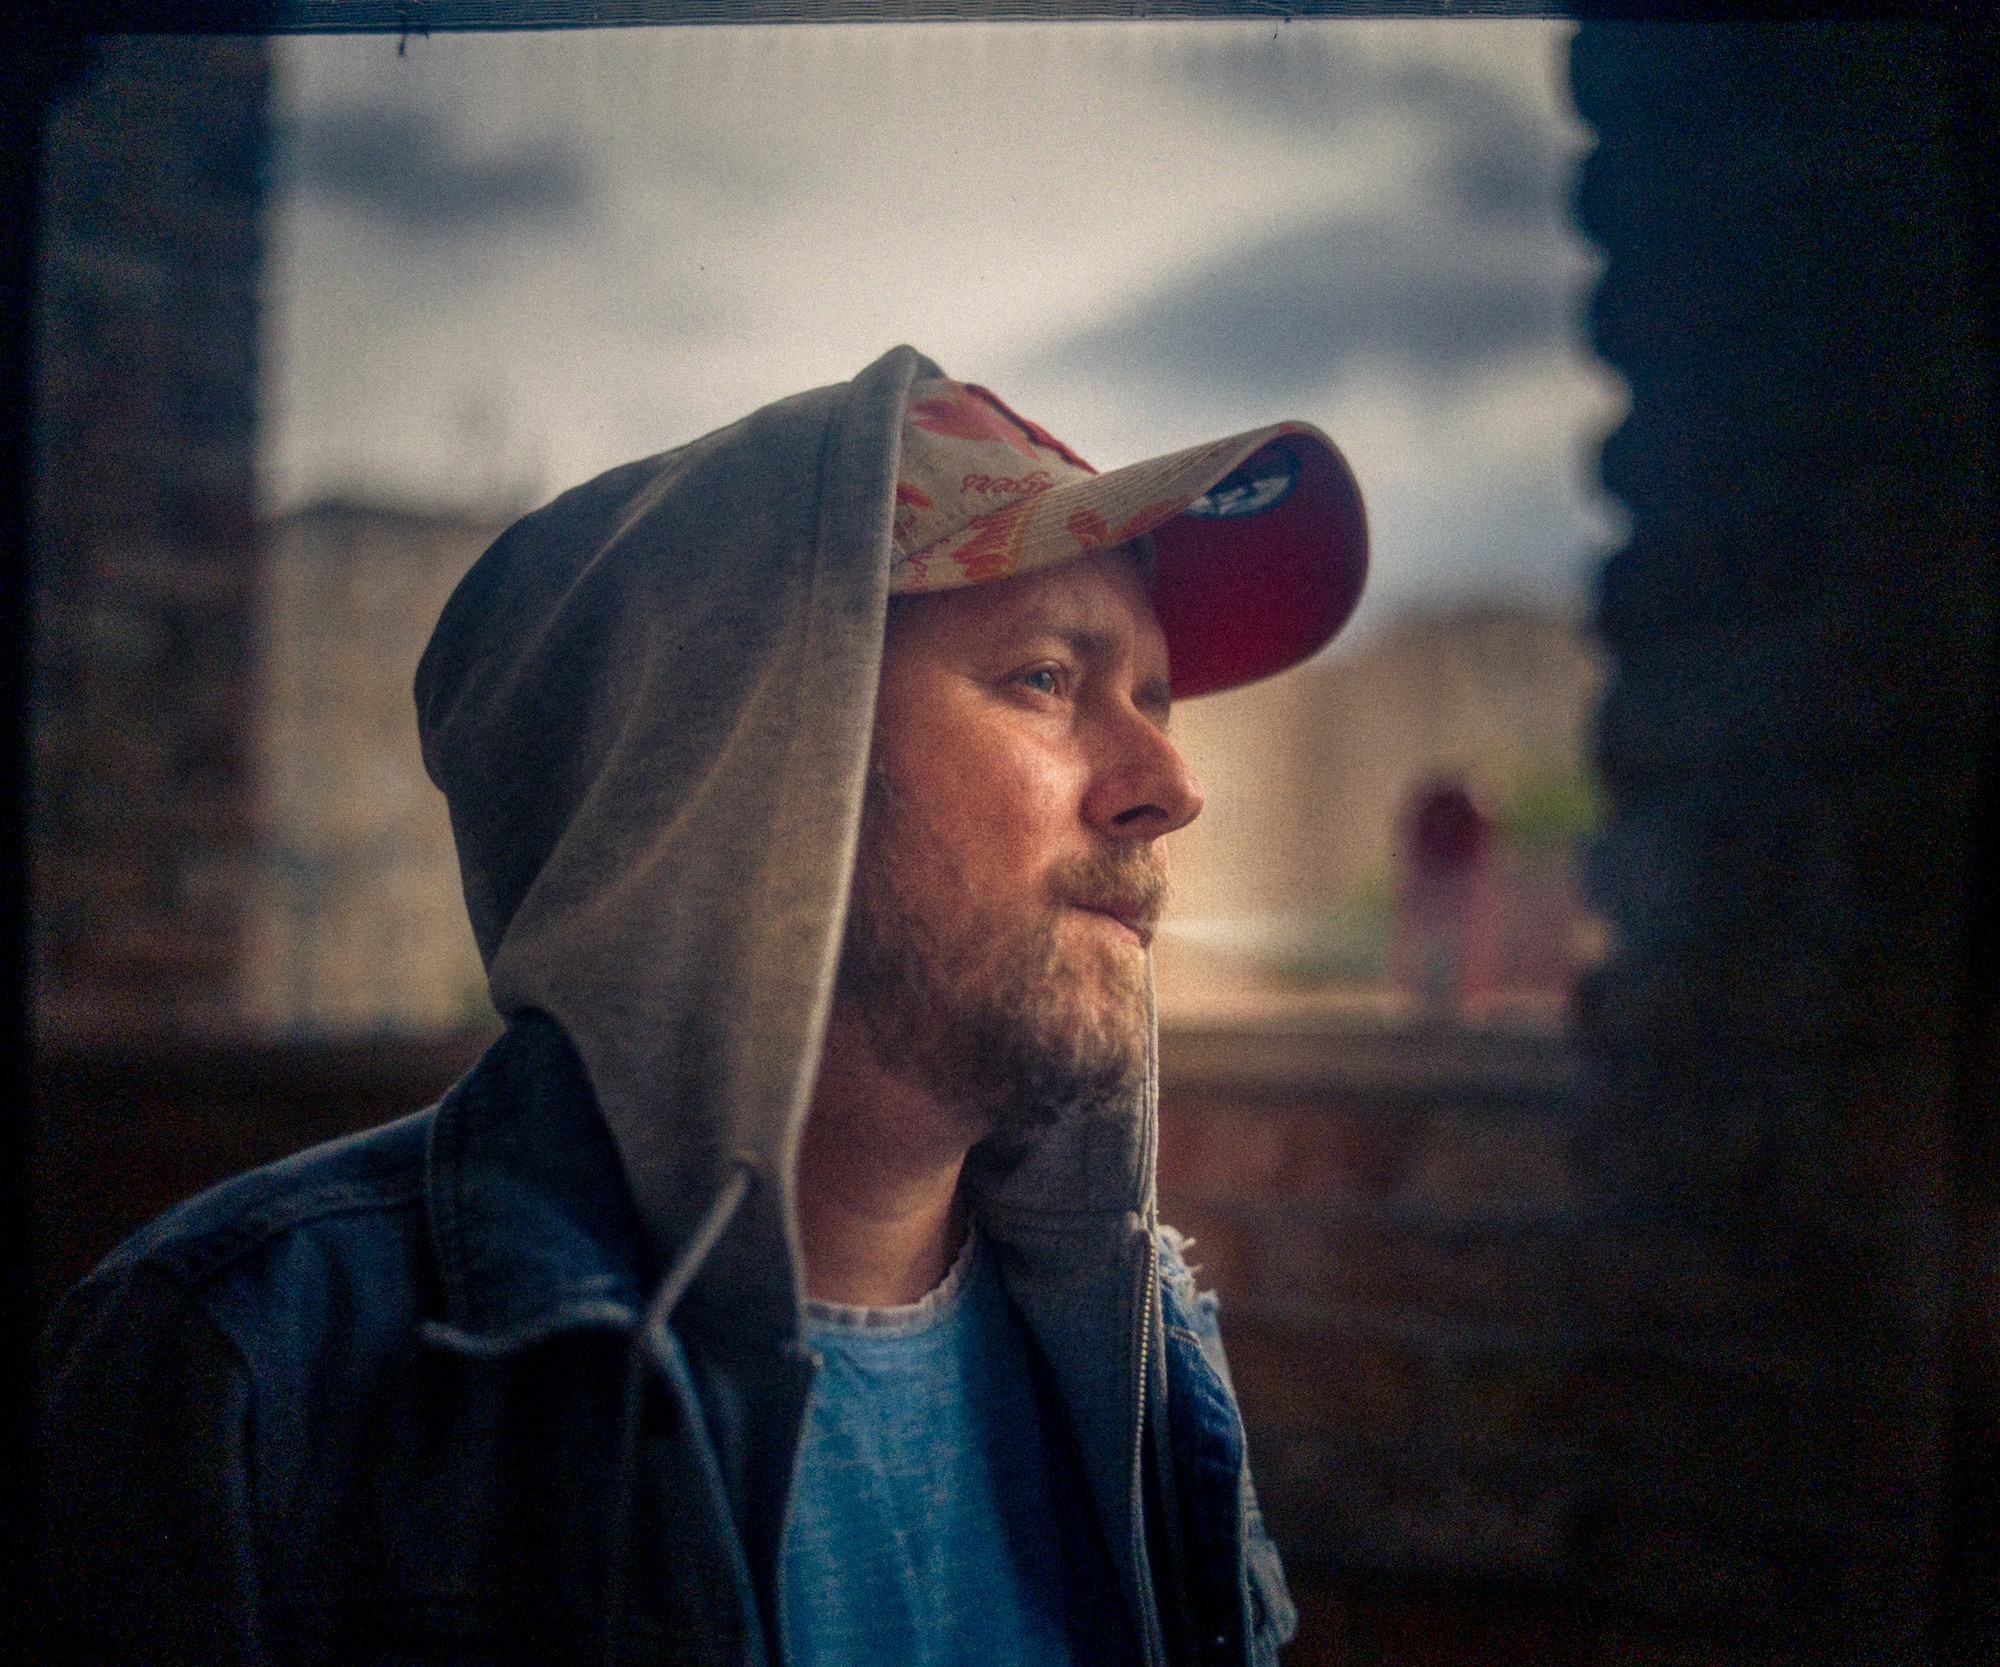
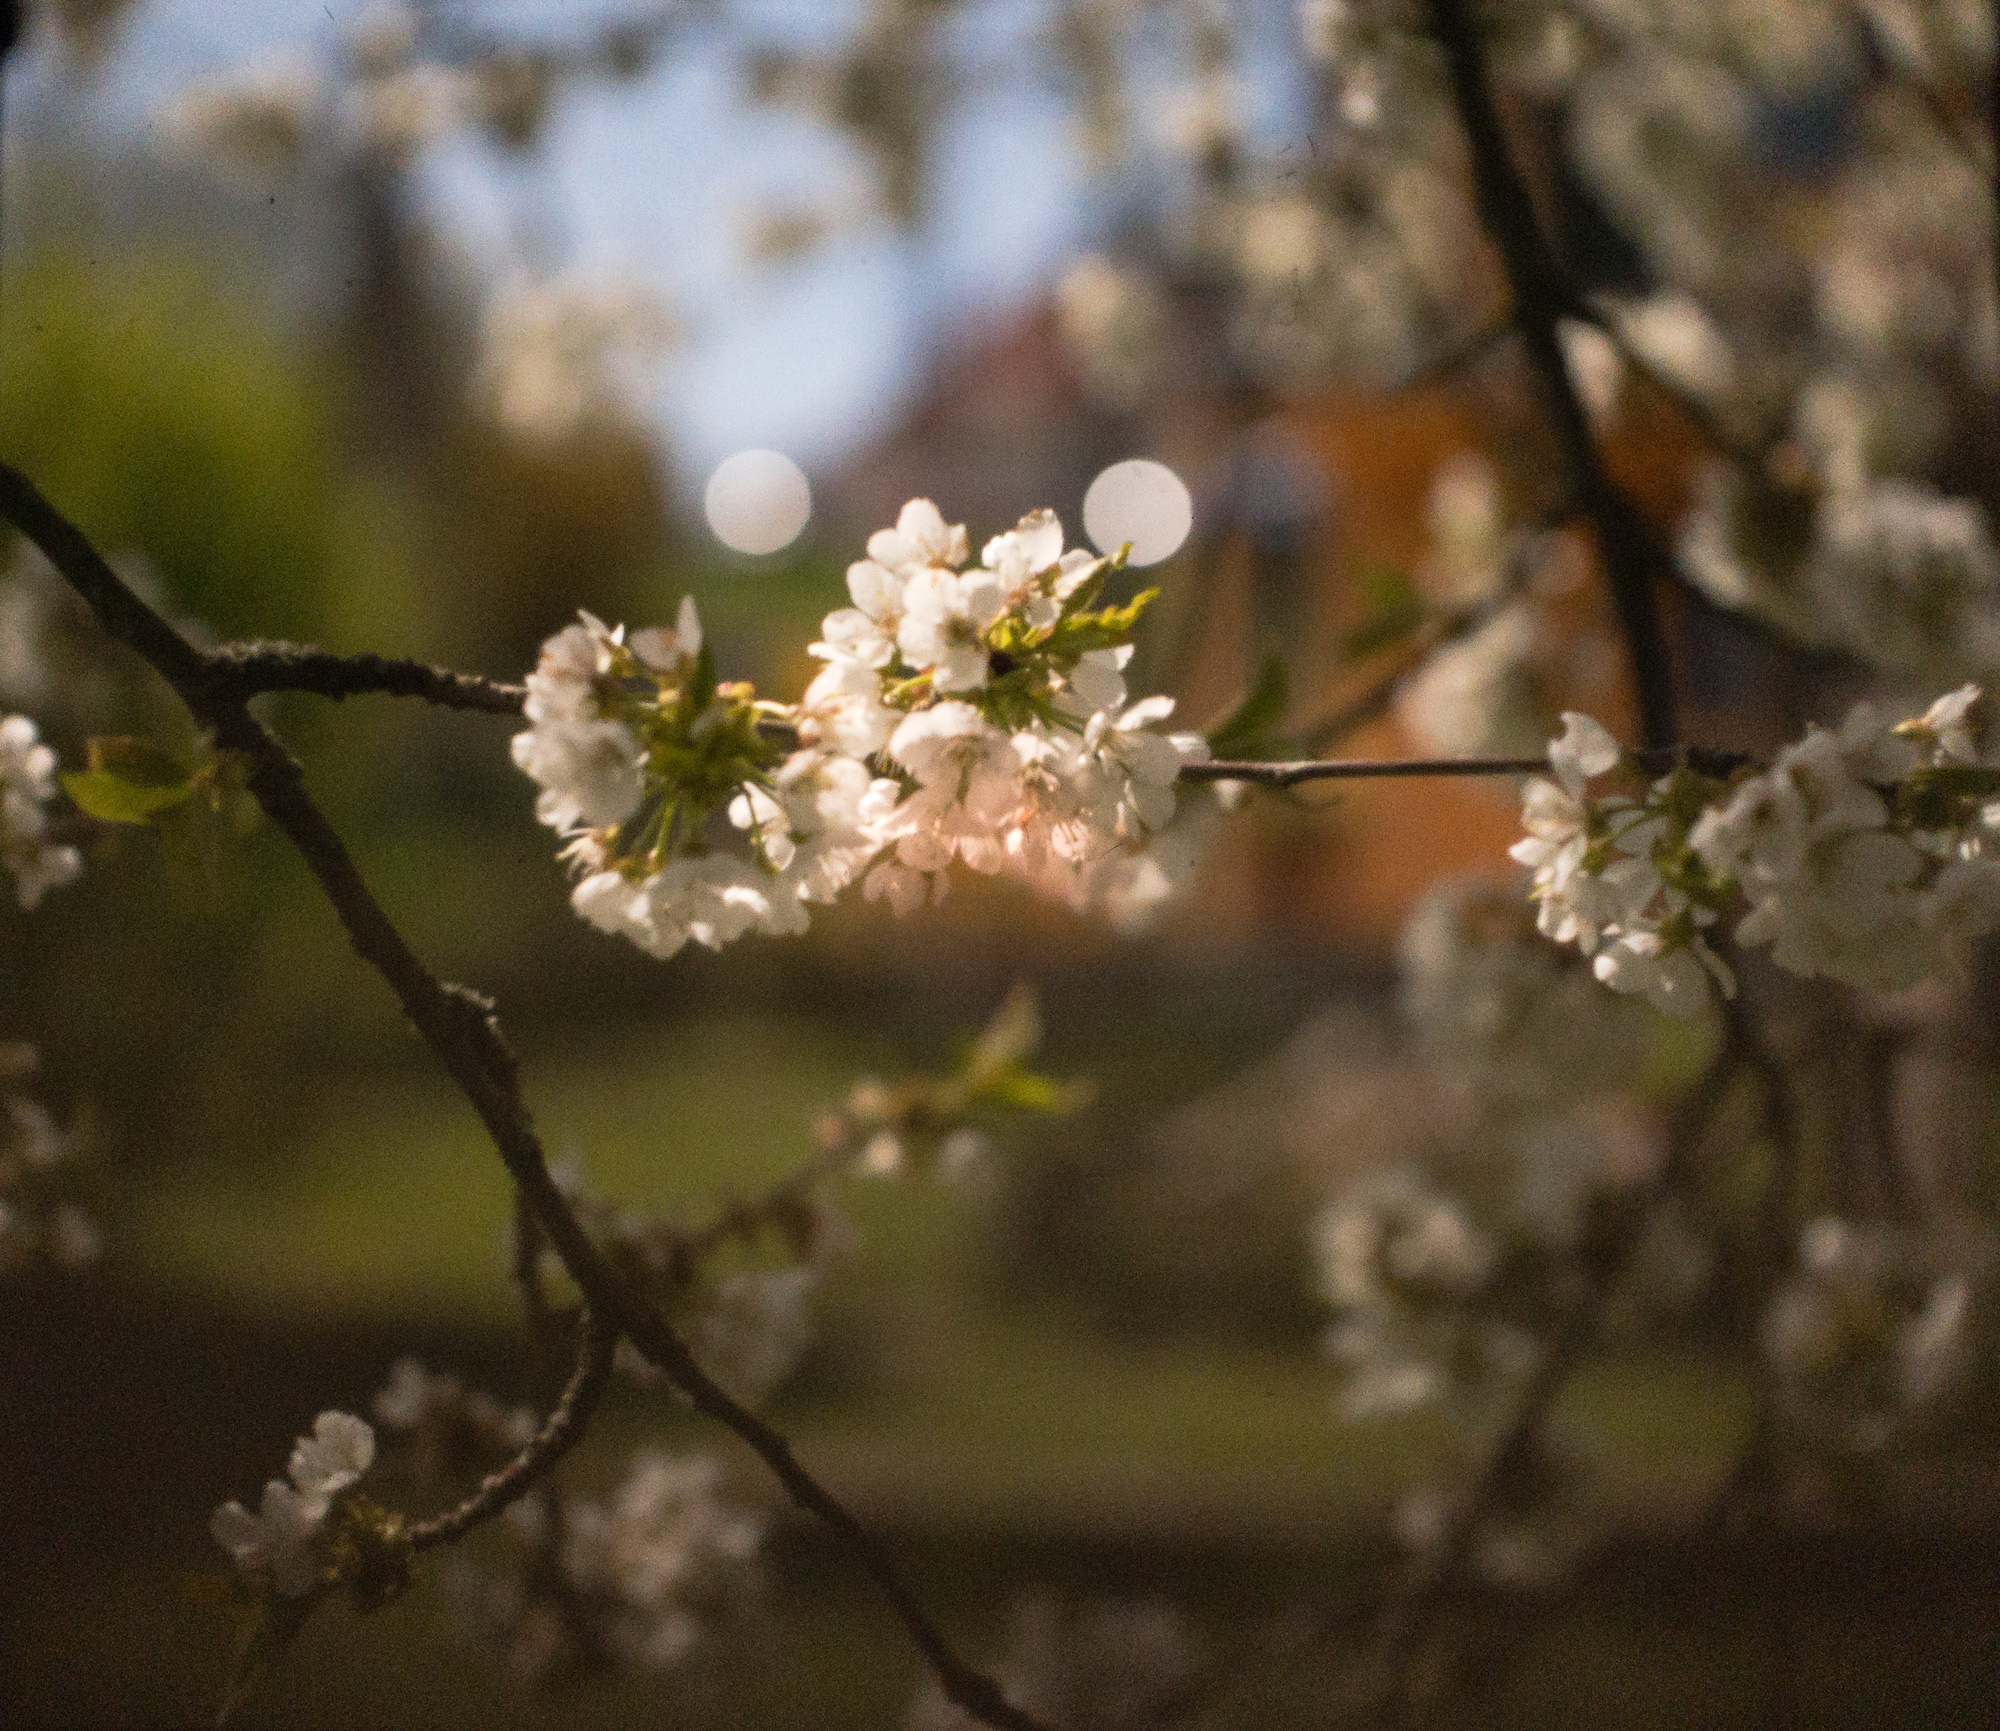
So, because both the Zone and RB67 are compatible with a wide array of lenses, your images will obviously vary according to the focal length and optics of the lens, as well as the quality of the phone sensor, but regardless, there is an undoubtably lovely cinematic vibe to the images and videos. Colors themselves are quite wonderfully poppy and beautifully saturated without being harsh, and while there can be a pretty hard vignette at times, it can be easily balanced out in post.
Getting The Right Setup
To get started you’ll need some apps, so let’s walk through some of our favorites, available on both iOS and Android.


For stills, the winner is hands-down the Lightroom app, especially when shooting in HDR mode which automatically compiles multiple bracketed exposures into one image. As mentioned earlier there is vignetting, but when shooting directly from the app itself Lightroom does an excellent job of automatically balancing out the darks and highlights in the image so that you have less post-processing work to do. While many of us are already used to using the program, you don’t have to be an expert in order to find all your favorite tools to achieve great results.
Another advantage of using the Lightroom app is that you can save your images in RAW, giving you a lot more to work with.
Shooting through the Lightroom app can however be a bit of a challenge to get used to, as the image will appear upside-down on your screen, due to the fact that there is no mirror in the camera. So, if you’re interested in street photography, or capturing fast-moving subjects, this might not be the app for you. However, landscape photographers, or those familiar with shooting on large format cameras, can probably jump right in without missing a beat. Think of it this way; if you’re looking for the large format experience at a fraction of the cost, then this could be right up your alley!


For a more standard experience, and especially when it comes to shooting videos, the Filmic Pro app is fantastic. While it is a little pricey, its features are well worth every penny. Unlike Lightroom, this app allows you to flip the image during recording, avoiding missed shots caused by the confusion of the “left-is-right” and “up-is-down” effects. To further justify the investment, Filmic Pro offers manual focusing and exposure adjustments, giving you much more control than other apps.
It’s great that developers are creating these wonderful apps with photographers and filmmakers in mind and, although these apps are two favorites, there are probably many more that will do the job. The fun of analog photography is experimenting with different films to find the ones we like best, so the same can be said for finding the right apps for your own personal workflow!
4 Tips and Tricks to Help Get You Started
Now that you’ve chosen your apps and you’re ready to start shooting, let’s set you up with a few tips and tricks to get you on your way!
1) Choose your lens(es) wisely:
Okay, so maybe that sounds a little dramatic, but there is truth in it.
I’m, of course, talking about aperture here. You will want to shoot with the lens wide open, as that will allow for the most amount of light to enter the body and make it much easier to focus on your subject. Larger apertures will also help control the vignetting, which will give you a more balanced image to work with.
I’m definitely not suggesting that you should limit yourself to only one lens, but having used the Cinezone with a few different focal lengths, there are a few lenses that outperformed others.
For example, the Mamiya Press 65mm is a notoriously sharp lens with a tiny form factor that makes it look and feel right at home on the Goodman Zone. And although this is a perfect setup for capturing the detail and depth of sprawling landscapes, it lacks in speed. The widest this lens will open up to is f/6.3, and while that might be adequate for general use, when trying to nail focus on a dim ground glass style focusing screen it simply isn’t enough. In this case you might prefer to use faster lenses, like the Mamiya Press 75mm or 100mm which both open up to f/3.5.
If you’re planning on shooting with an RB67, there’s lots of beautiful glass there to choose from, like the classic Sekor C 90mm f/3.8. You can even go ultra-wide angle with a 37mm f/4.5, or get yourself the 127mm f/3.8, a really lovely portrait lens.
Of course, there is no right or wrong answer here, you simply need to figure out which lens(es) will work best for you, and that will vary from person to person. Luckily, Mamiya lenses are easy enough to source in the second-hand market, so don’t feel like you only have one chance to get it right!
2) Use a reliable shutter release cable:
When using the Cinezone, you will not need the shutter in the Mamiya lenses, as your phone has now become both the sensor and the shutter. The lens’ sole purpose, other than setting aperture and focus, is to get light to the Cinezone’s focusing screen. In short: set the shutter speed to bulb.
While some lenses come equipped with a shutter locking mechanism, like the locking ring on the Mamiya Press 50mm, others might require a shutter release cable. Now, chances are if you’ve been hired to film the next Hollywood Saga, or you find yourself face-to-face with Sasquatch himself, this probably wouldn’t be your go-to rig (or would it?!), but how bad would it be if the lens’ shutter closed halfway through the shoot, ruining the video and any chance at international fame?
I don’t know about you, but nothing gets me more flustered than technical malfunctions, so using reliable equipment helps limit these frustrations and lets me concentrate on the project at hand. Trust me, this tip is coming from first-hand experience!
3) Help get yourself out of a creative rut:
Let’s face it, they happen to the best of us. We find ourselves zapped of motivation and ideas, unable to get off the couch, let alone be creative. While a creative rut can sometimes be a good thing as it allows ourselves to take a step back, it eventually gets to a point where enough is enough, and what better way to help get your mojo back by trying something completely new!
Let’s say you’re a wedding photographer, but you’re getting a little bored with the usual formula. You’ve just found a couple who are looking for something different, a new way to record their precious memories. With the Cinezone you can actually do it all: film a special video, capture some unique digital stills, even get some beautiful film shots in, and still have room in your bag for a more traditional wedding setup.
Or maybe you’re a portrait photographer. Now family portraits or headshots can have a special cinematic look to them, something that people will appreciate because they are so out of the ordinary.
You can even put a twist on your landscape work!
The list can go on and on, but I think you get my point. The Cinezone is the perfect tool to have in your kit to help you push the creative reset button when needed.
4) Catch people’s attention with something different:
Continually growing in popularity, Instagram Stories and YouTube Shorts are powerful tools that, when used right, can be used to form a more personal connection with your audience.Whether it’s promoting an upcoming event, sharing some behind-the-scenes content, or just letting people know what you’re up to, it’s difficult to stand out.
So why not try something completely different? Set your phone on slow-motion and let the lens do the talking. Or get moody vibes by stopping down the aperture on your lens to embrace the vignette. Play with the light and capture some of those gorgeous flares from the multi-coated Mamiya glass. Don’t be scared to experiment, your audience will thank you!
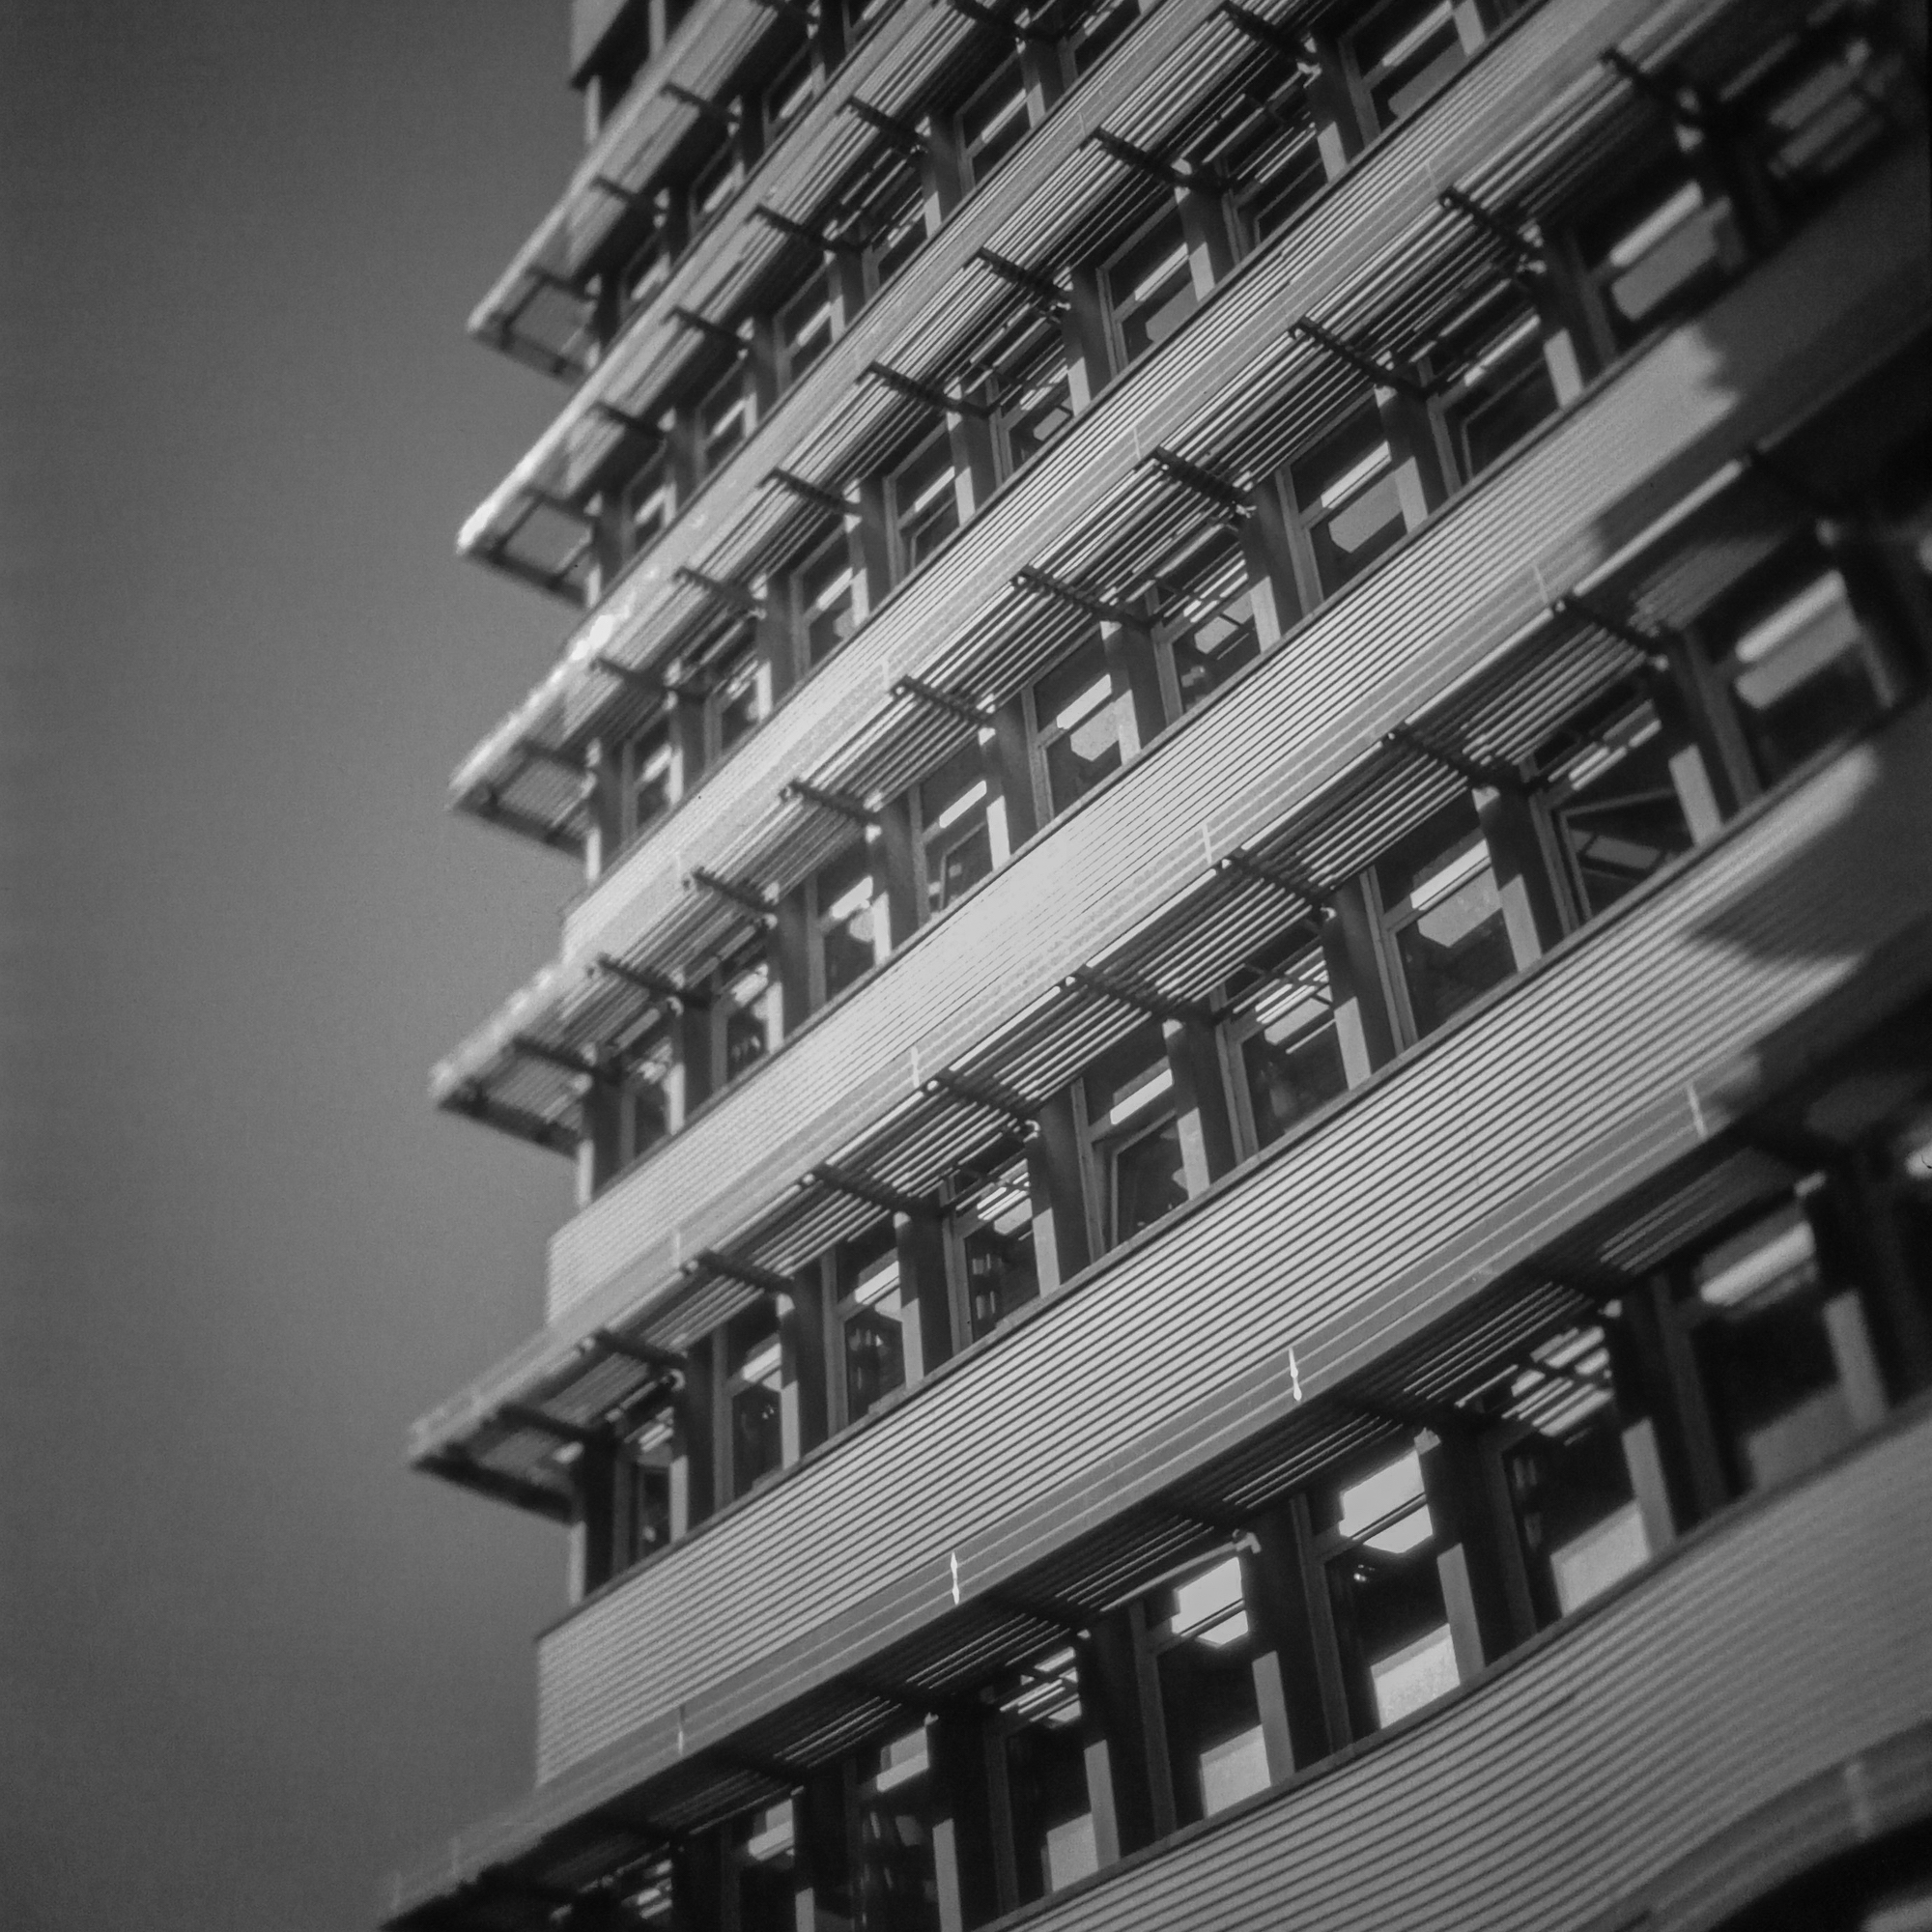
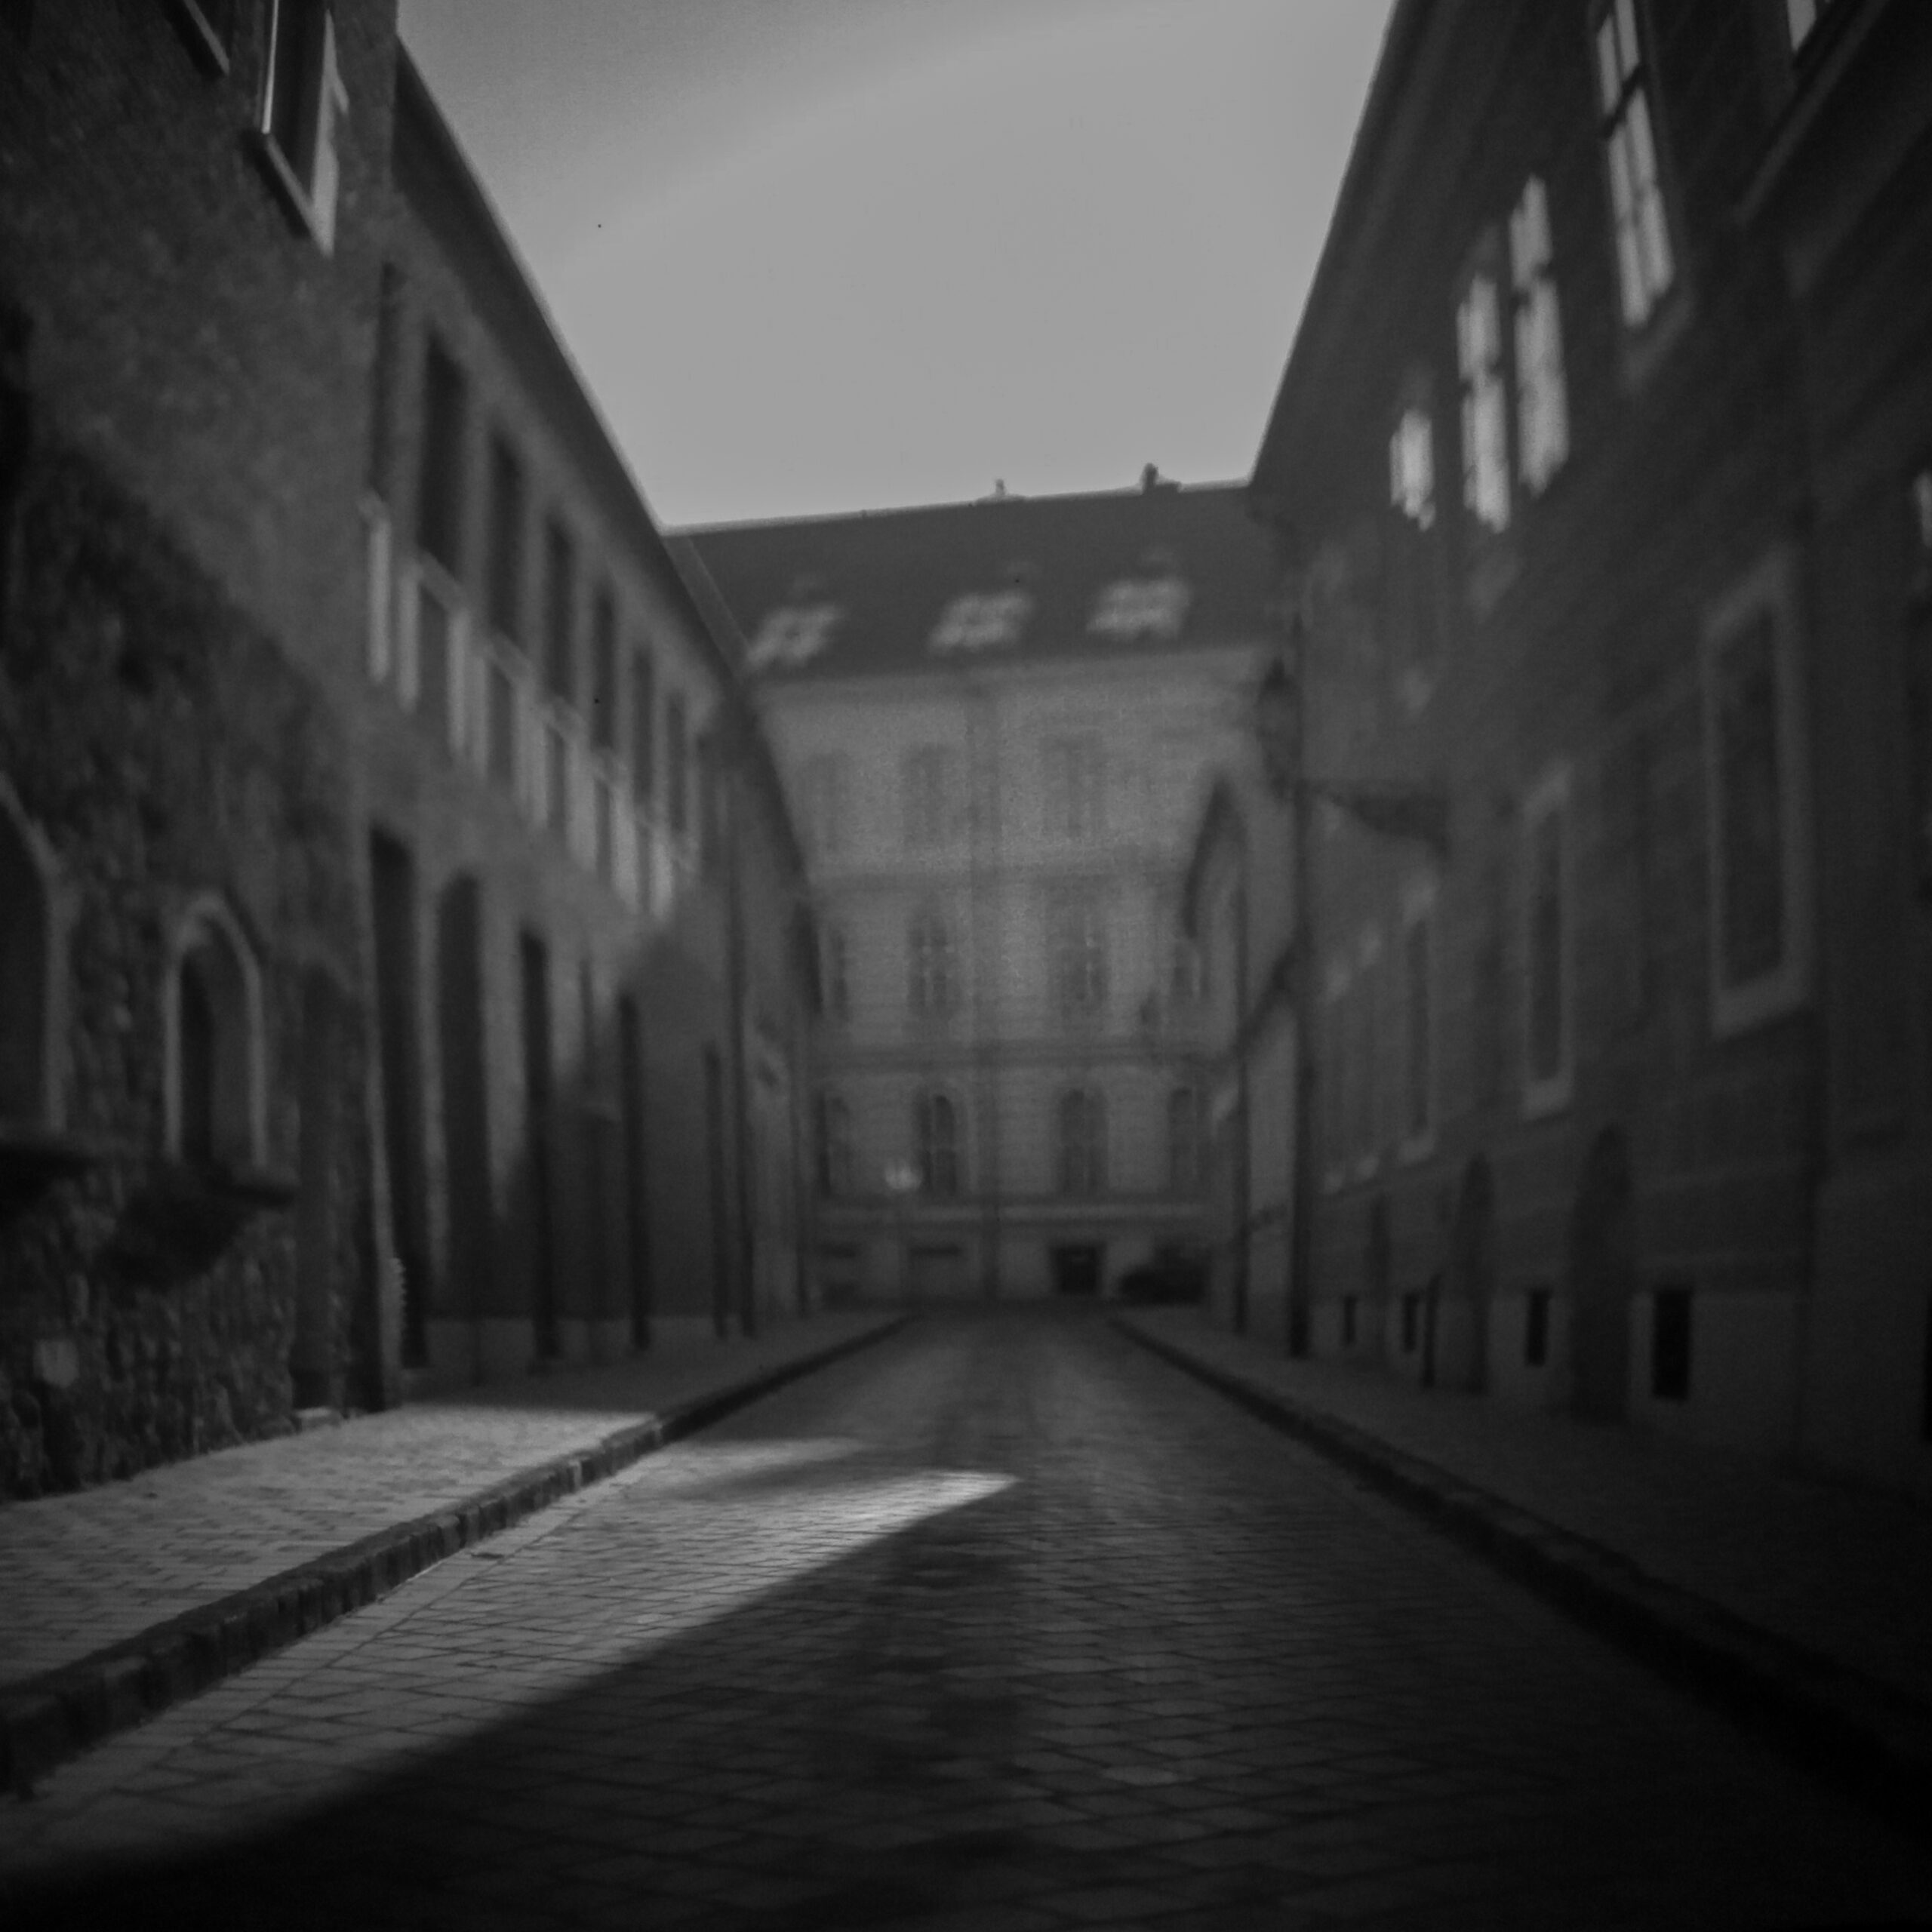
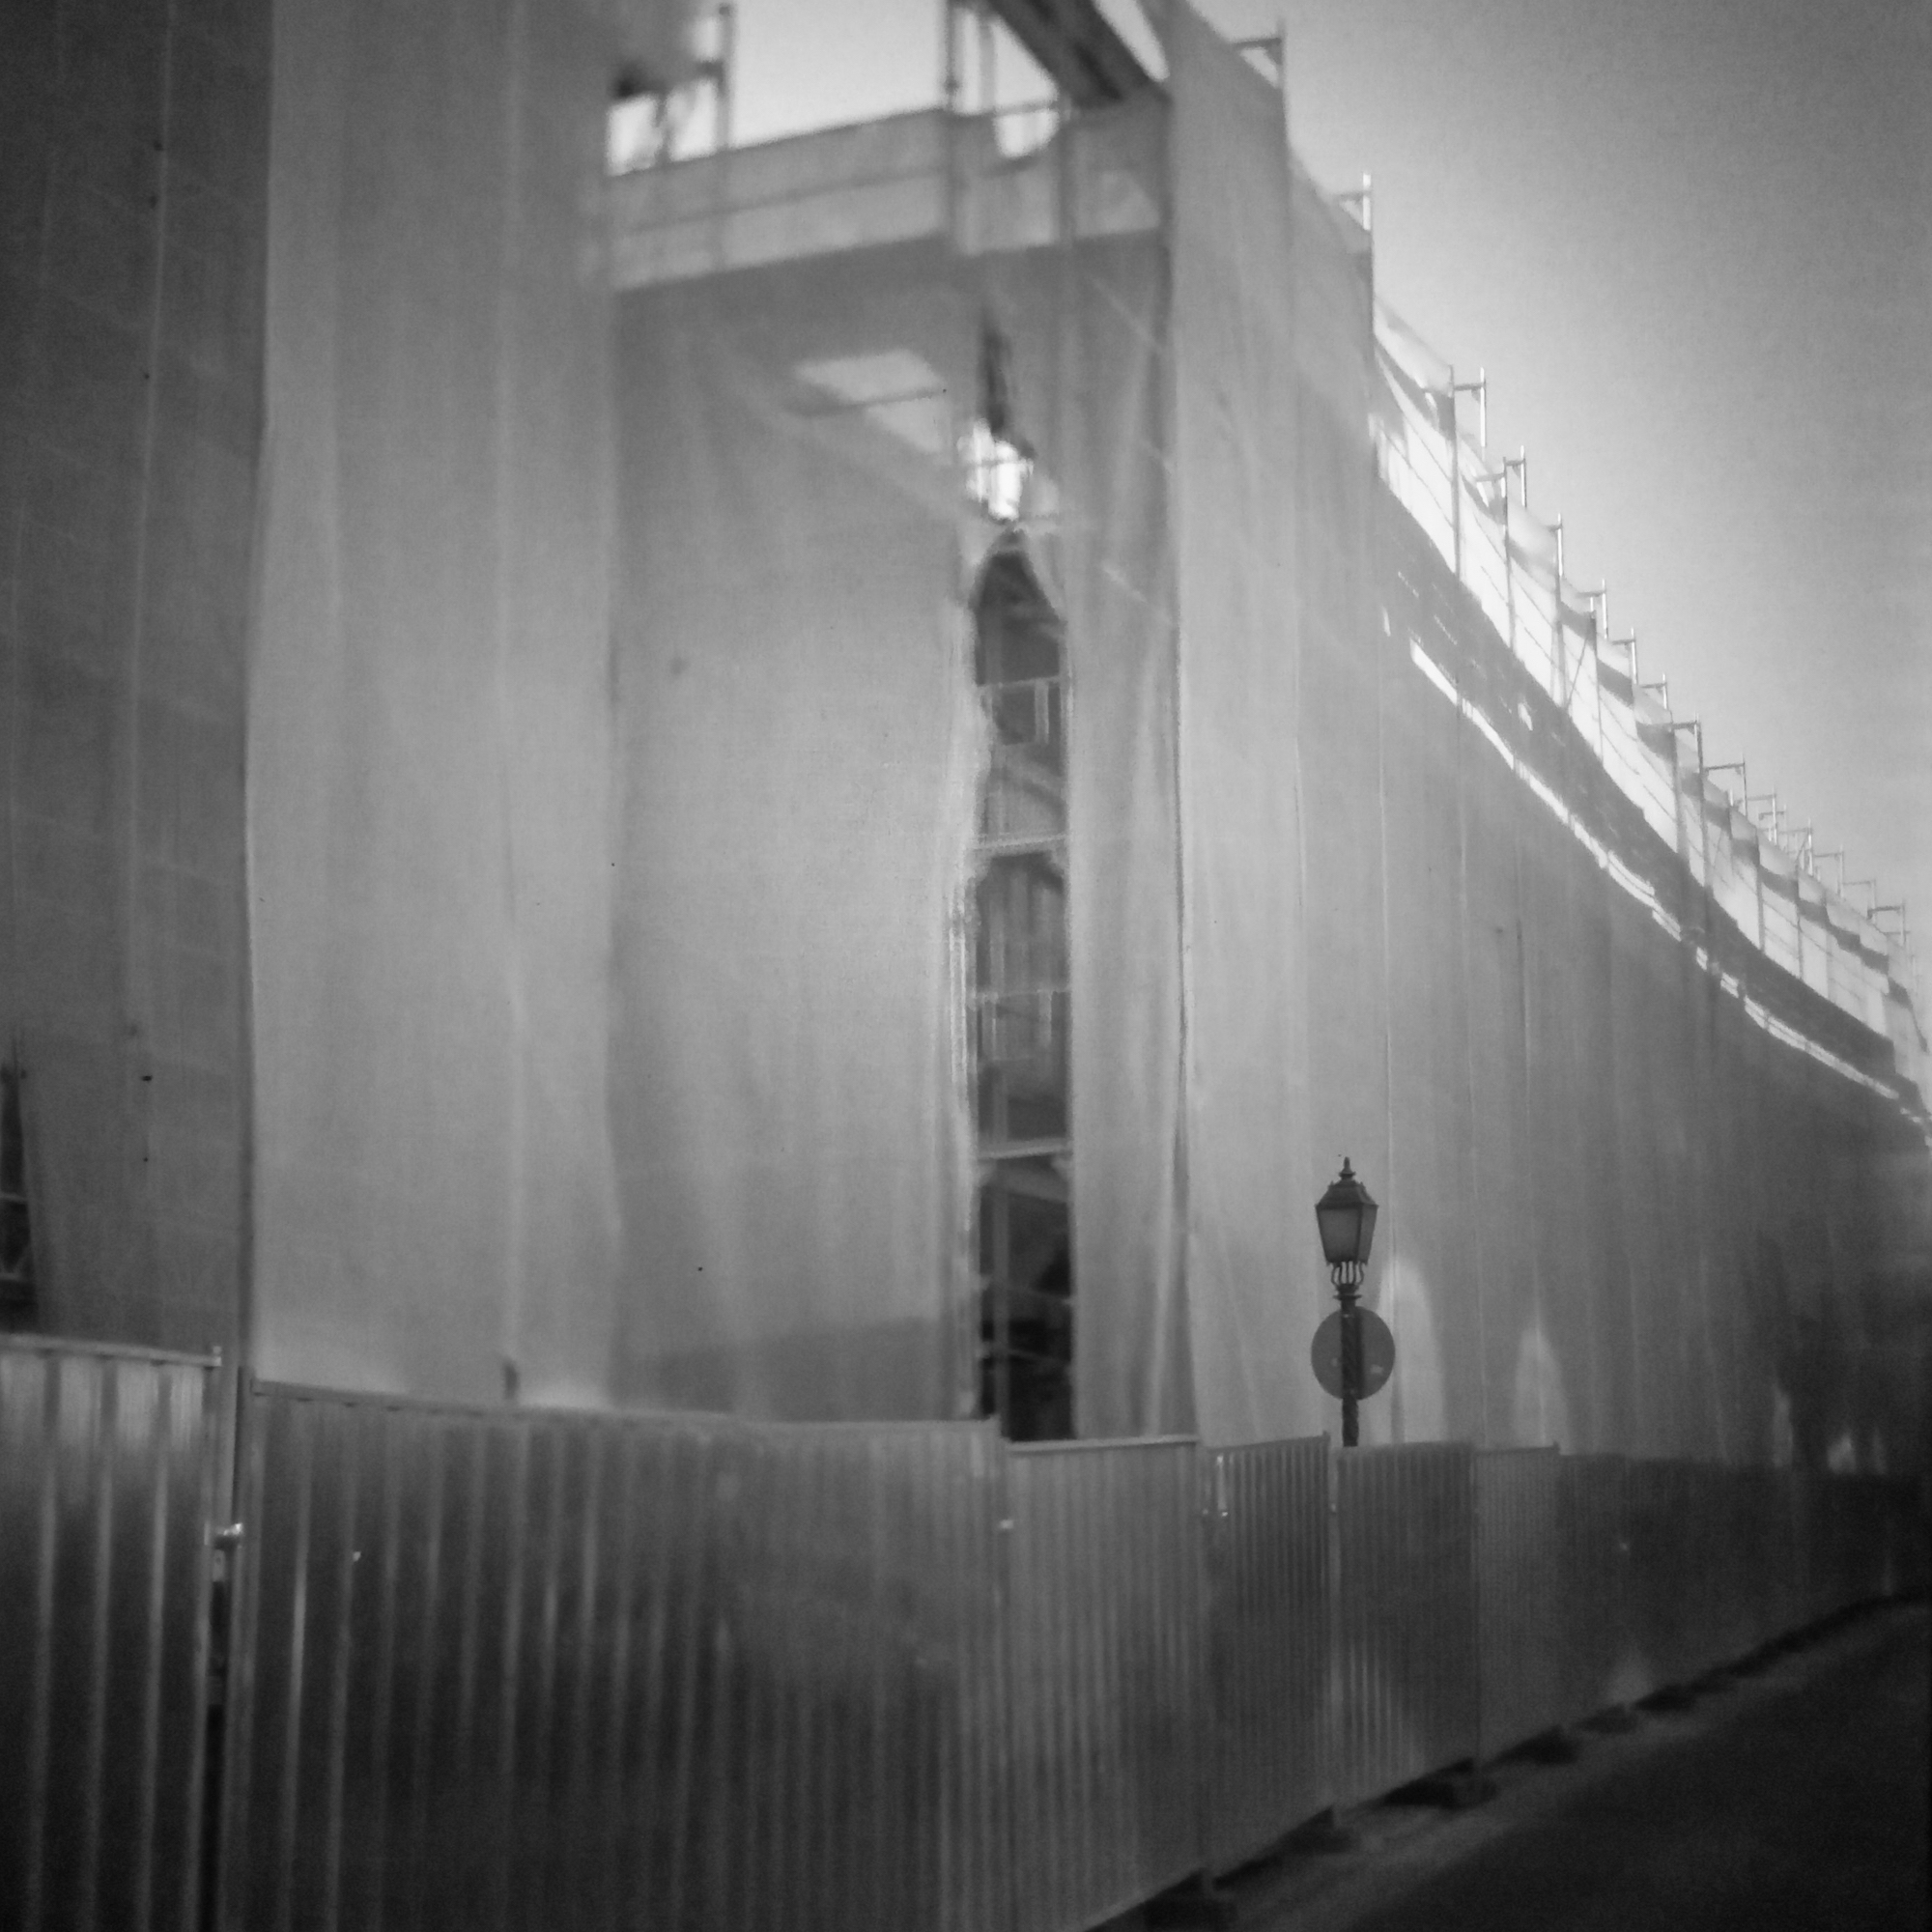
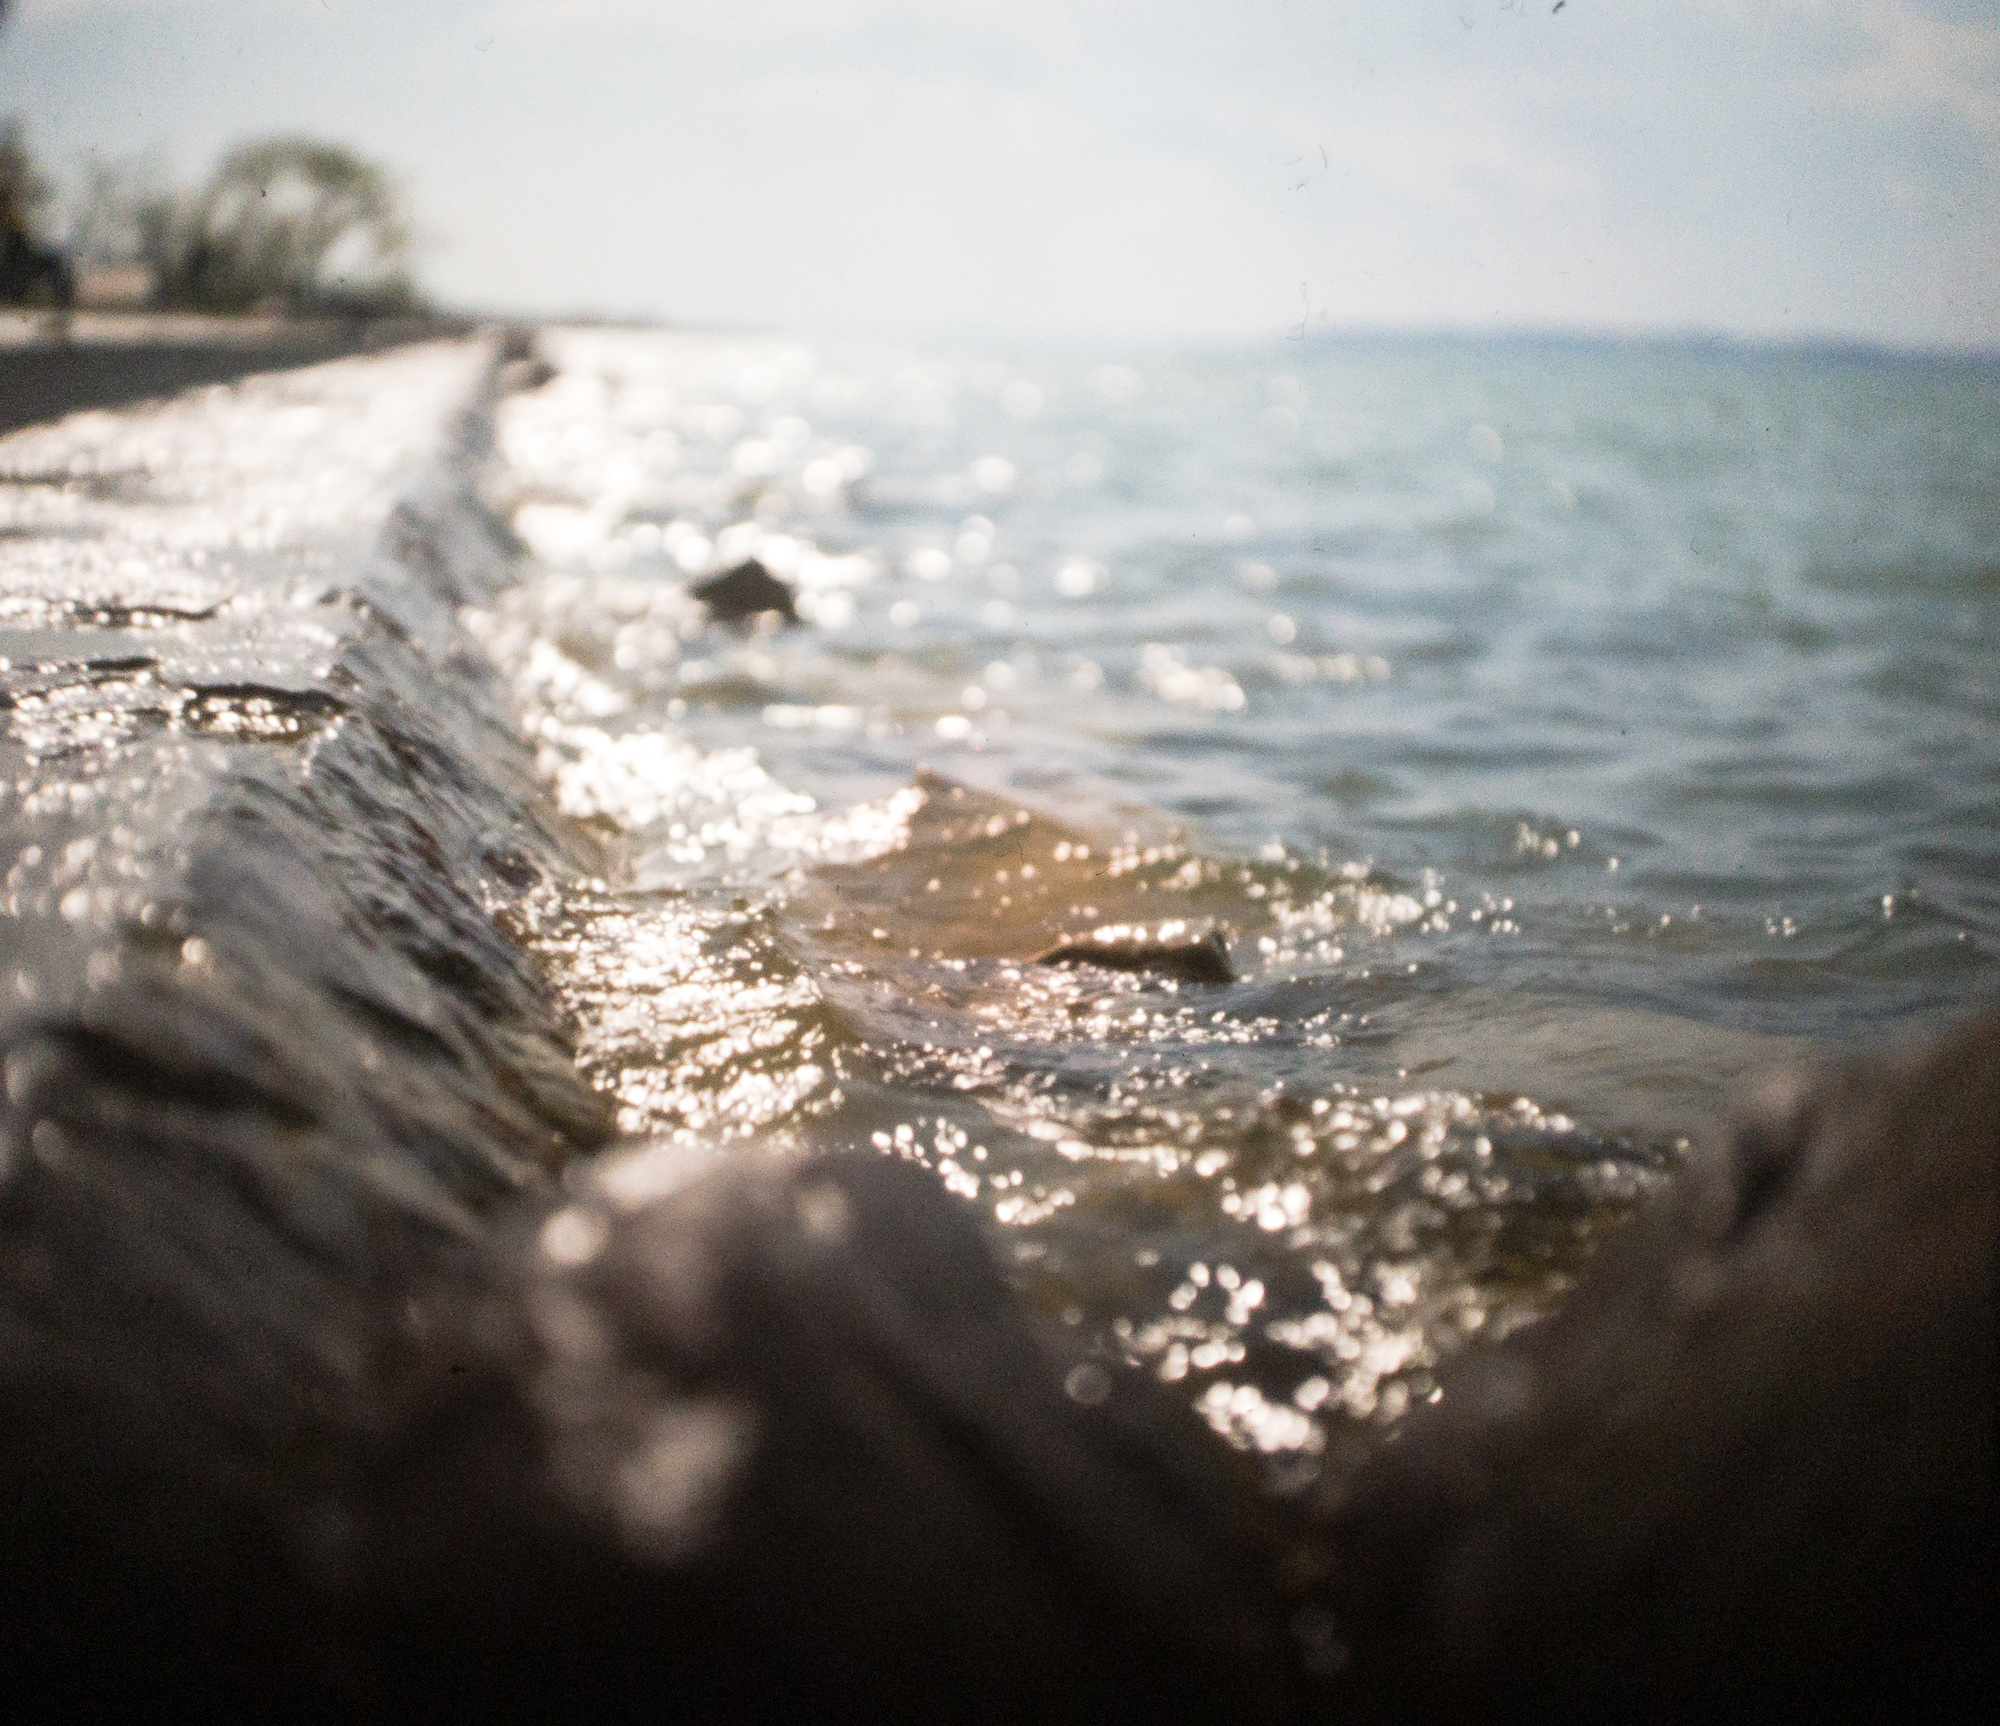
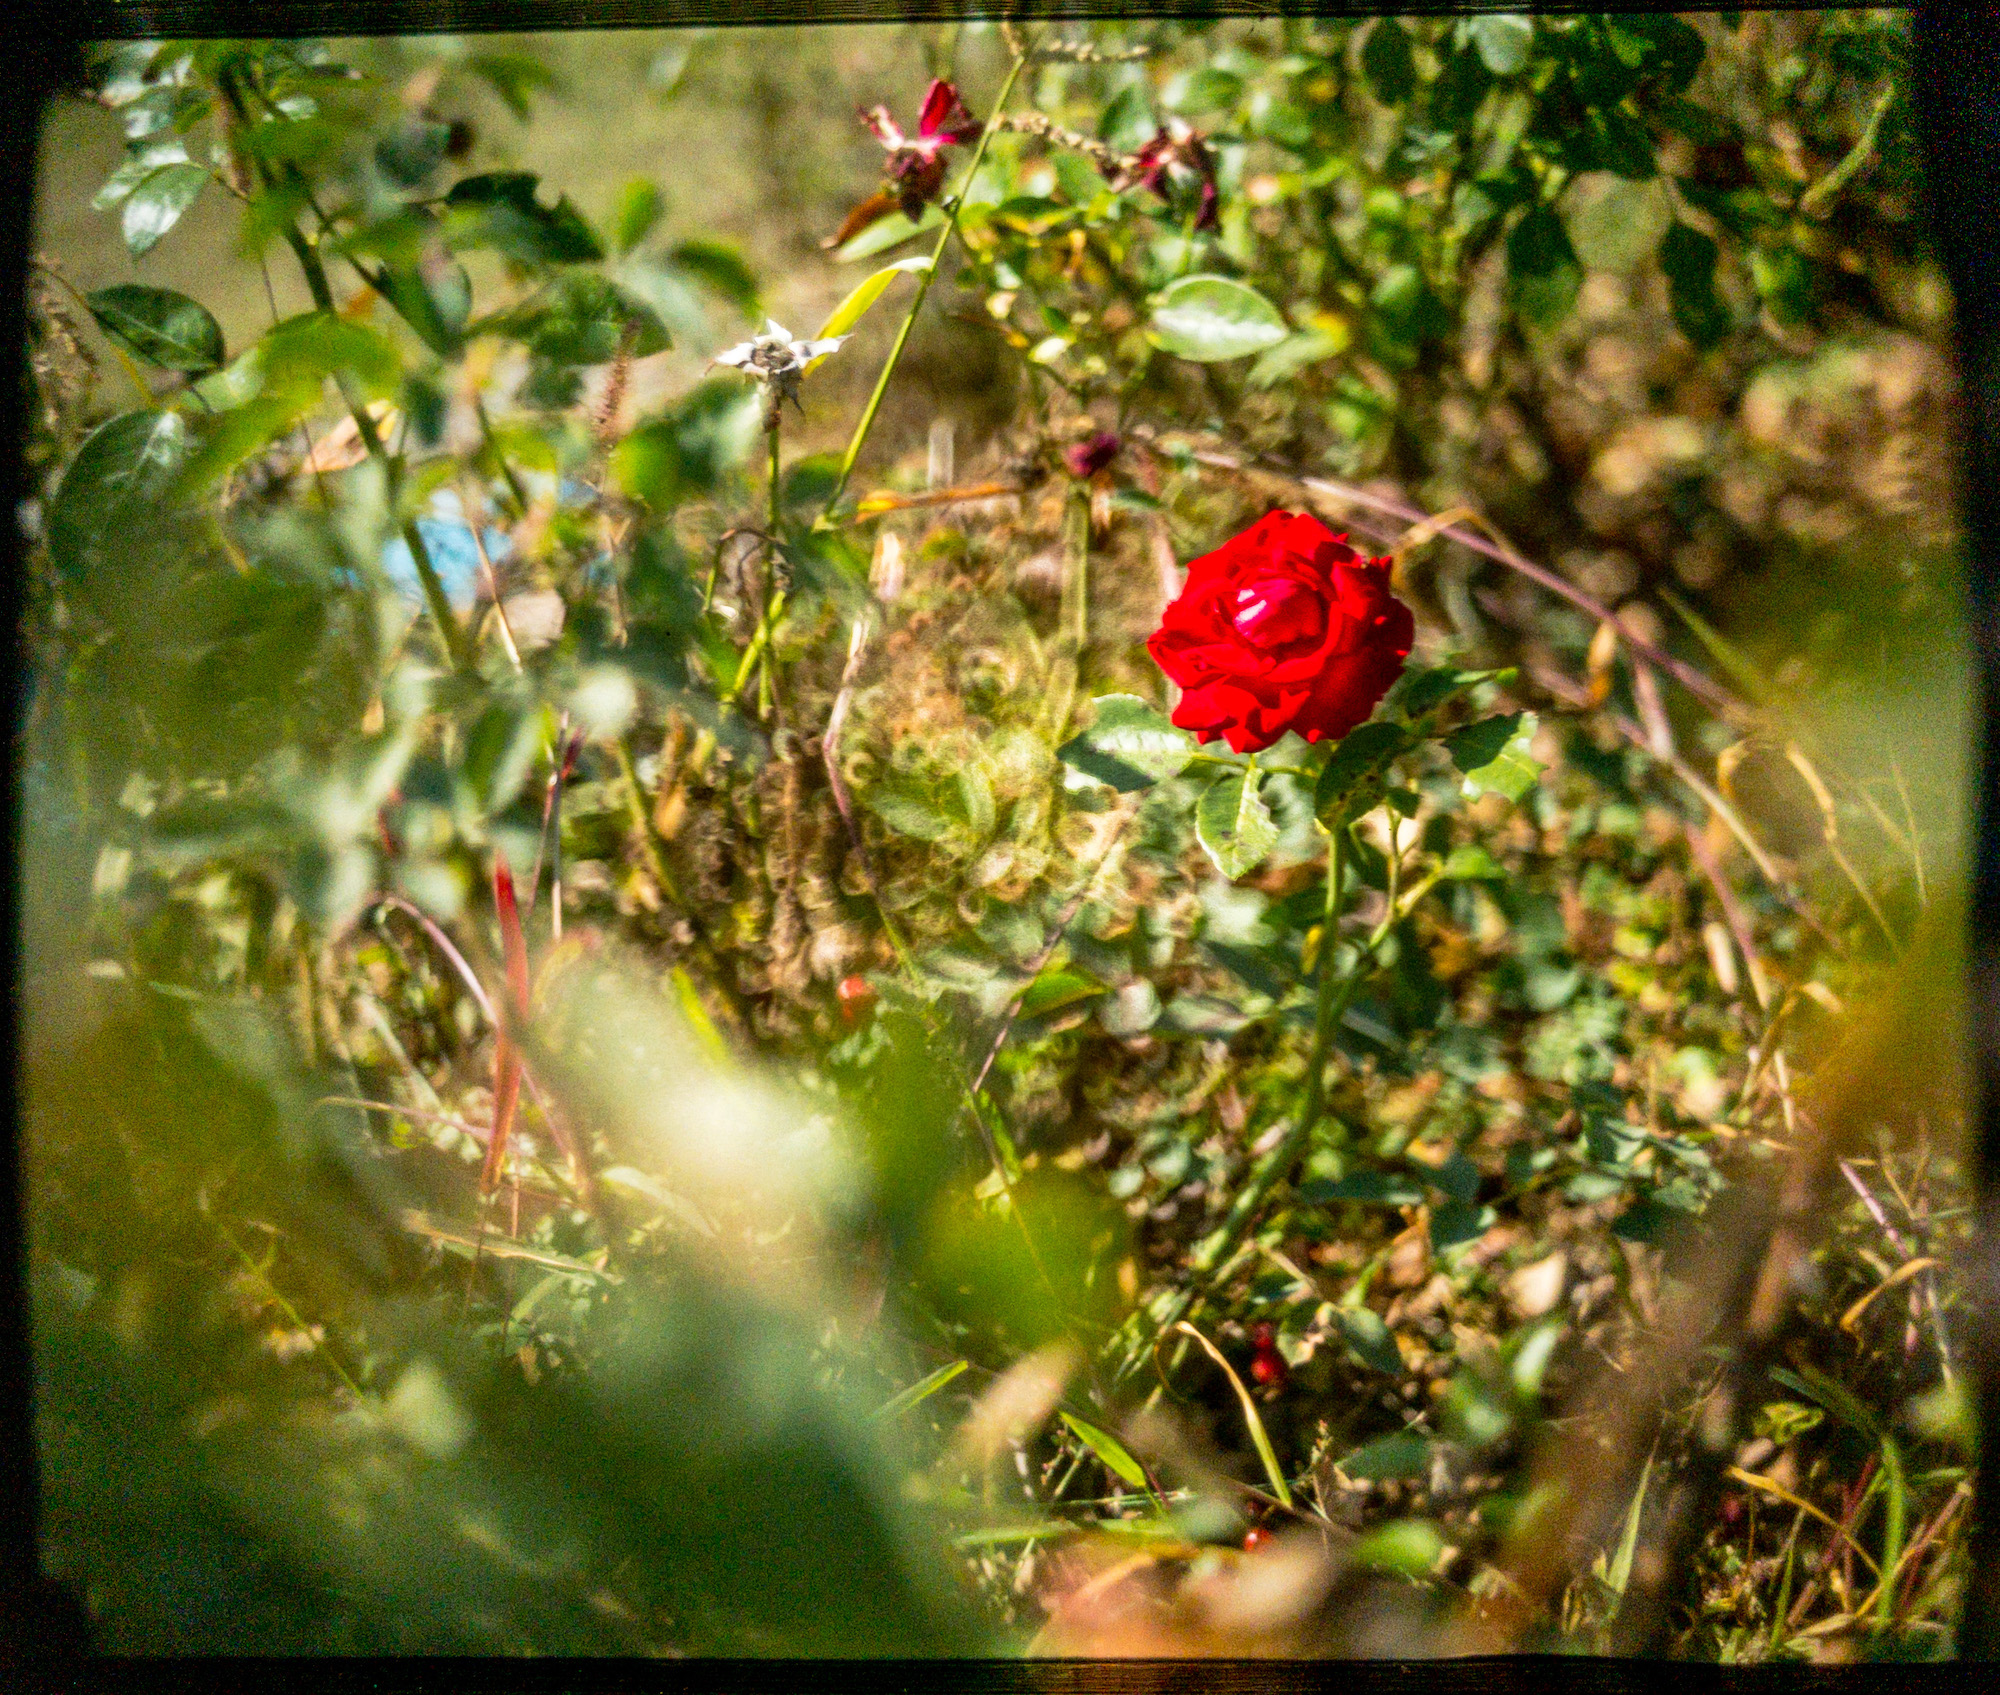
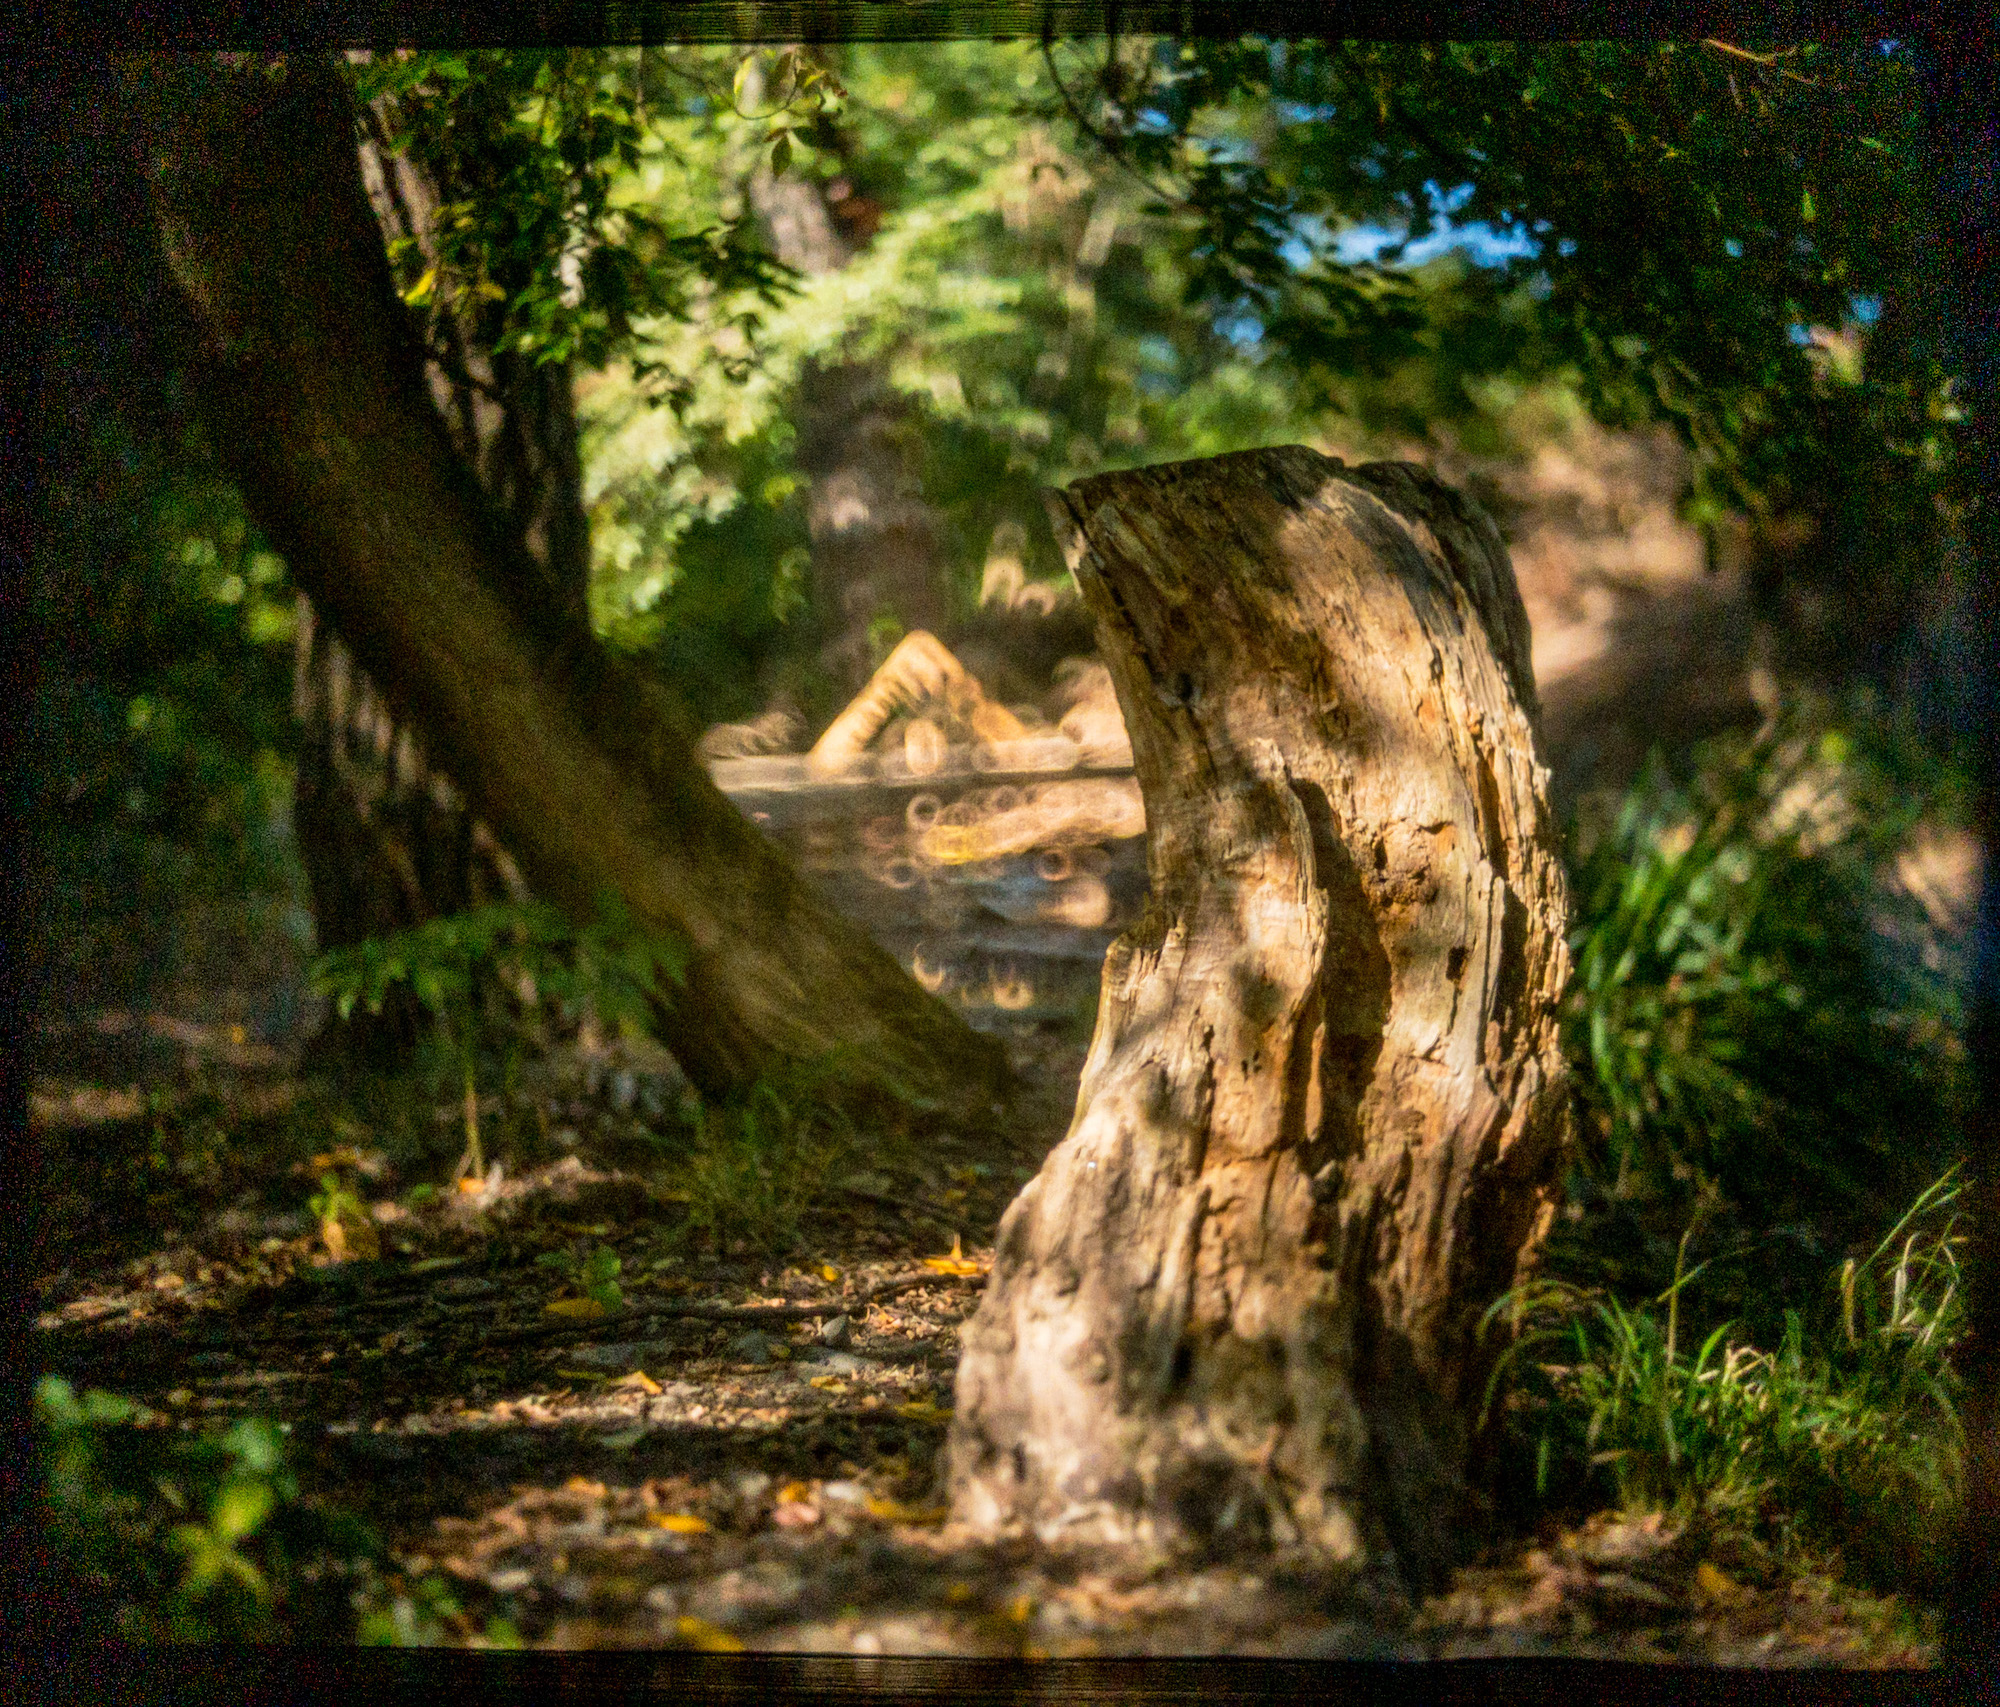
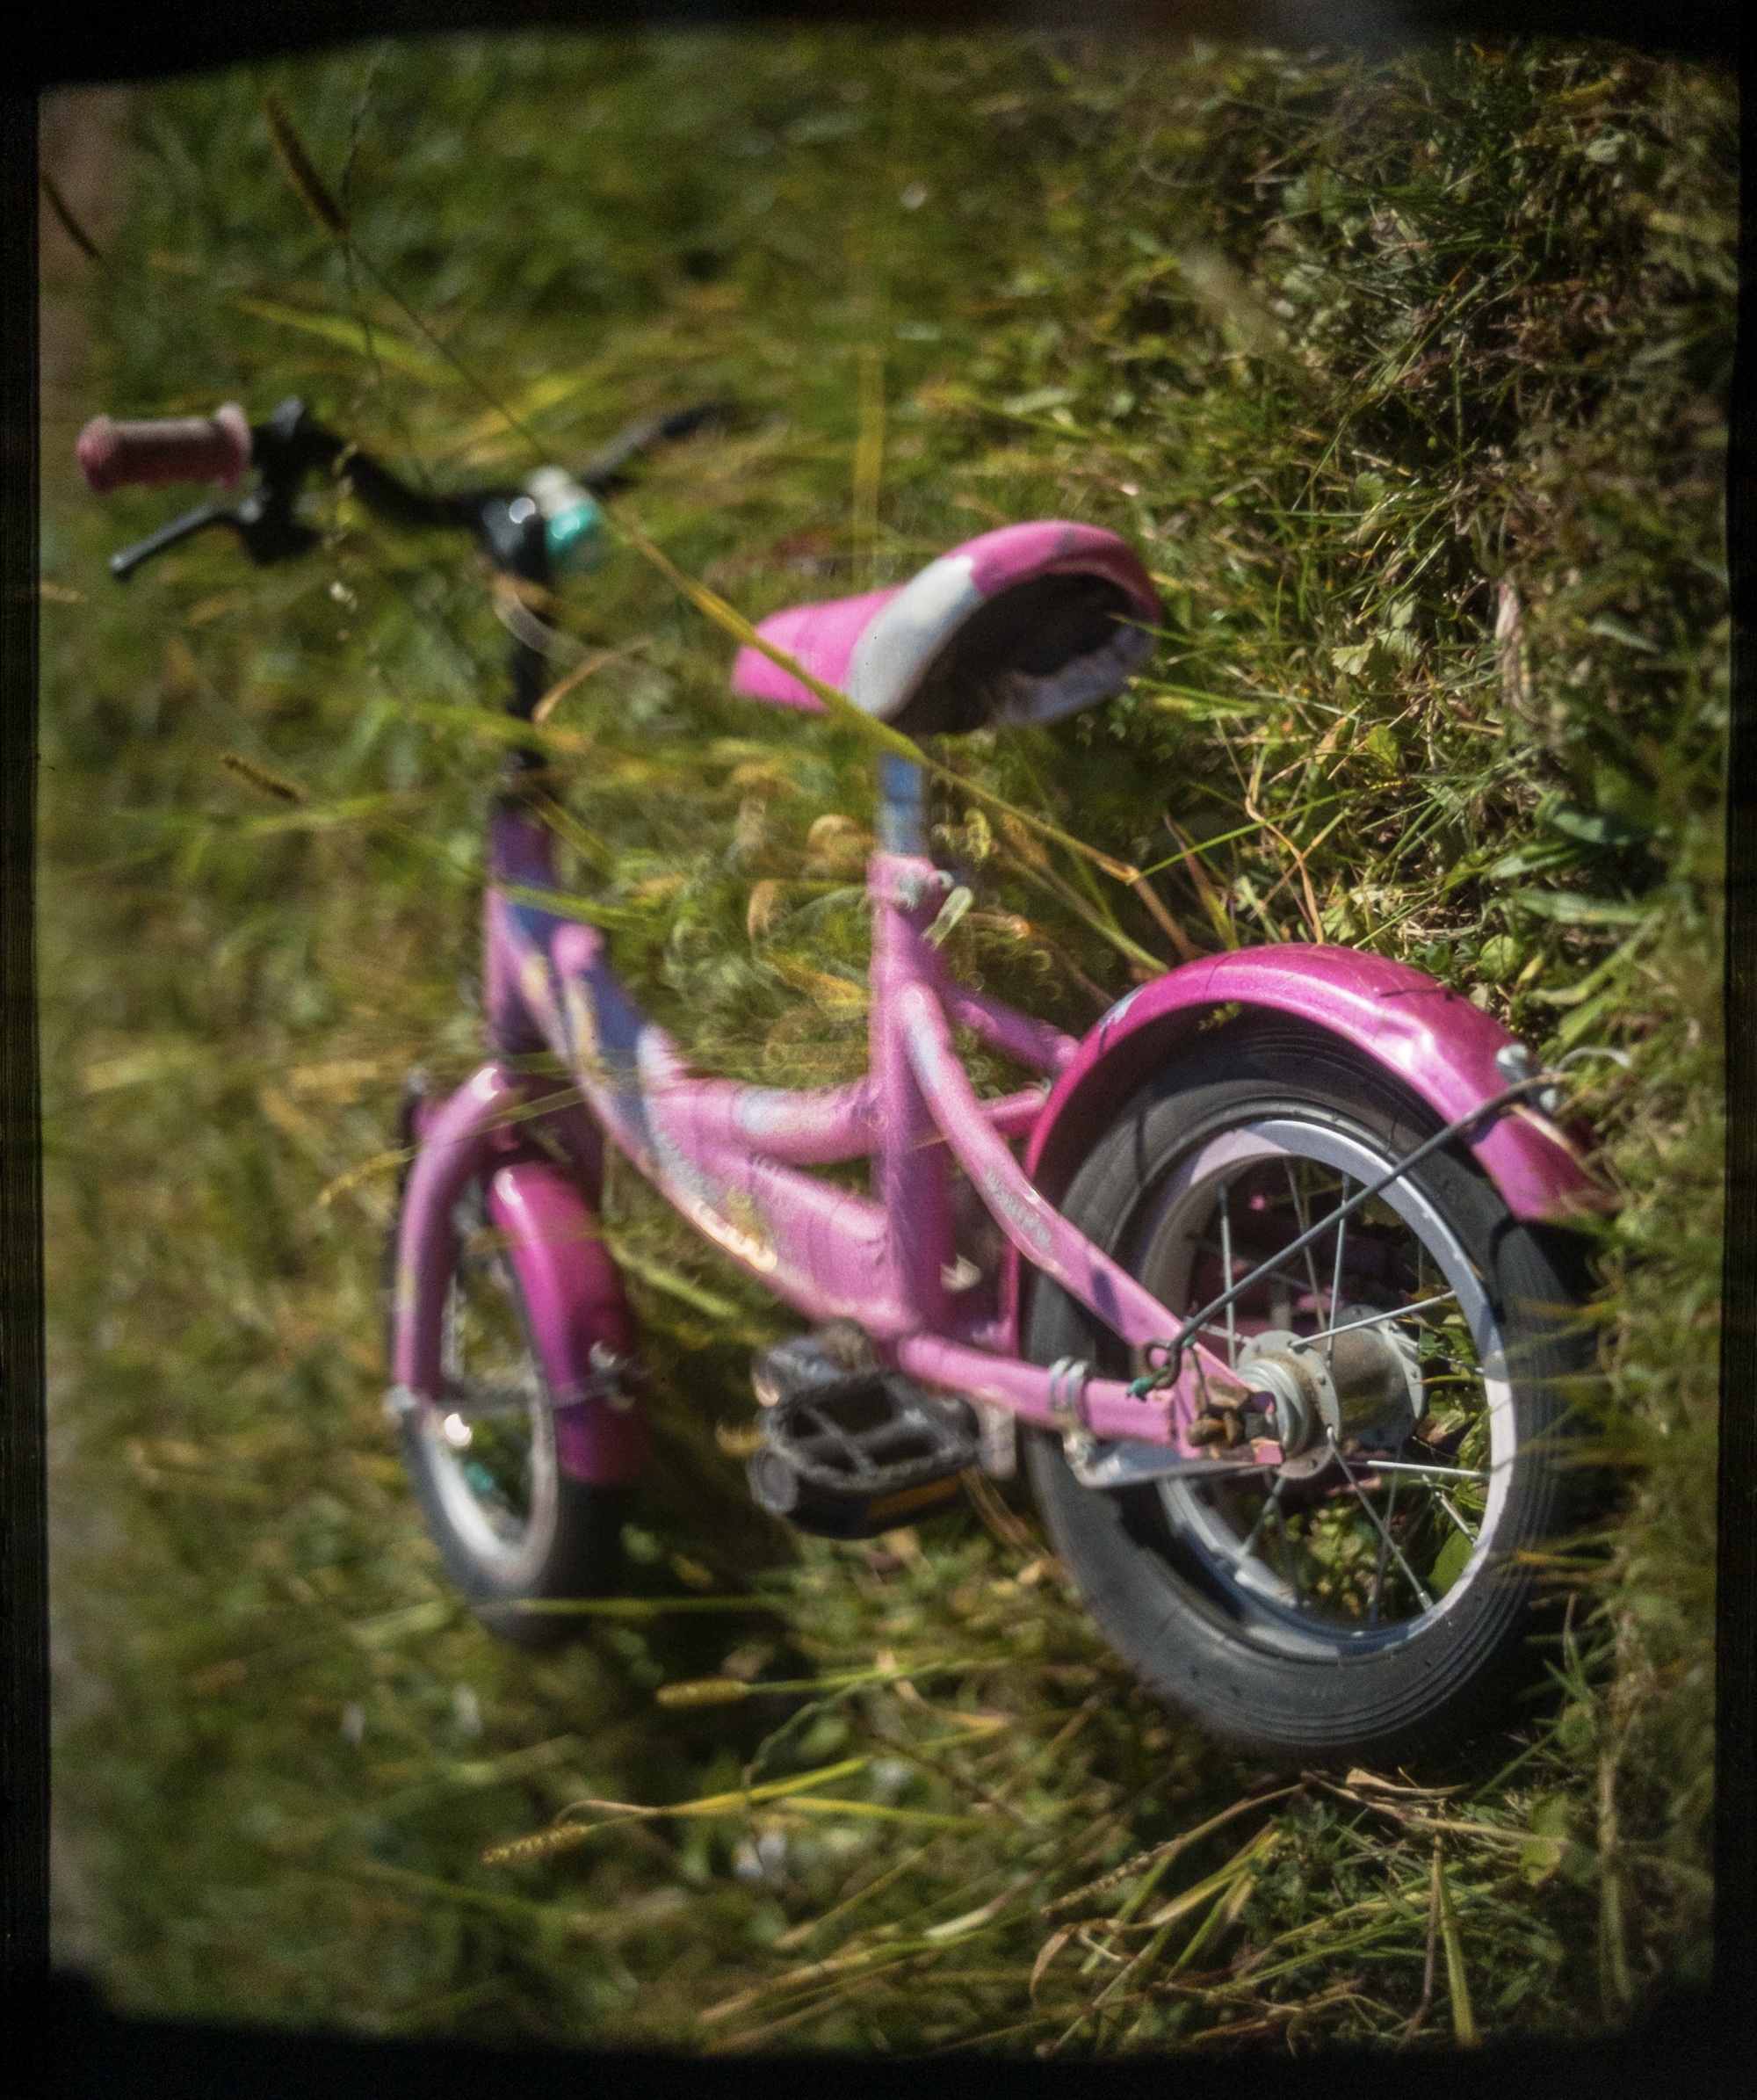
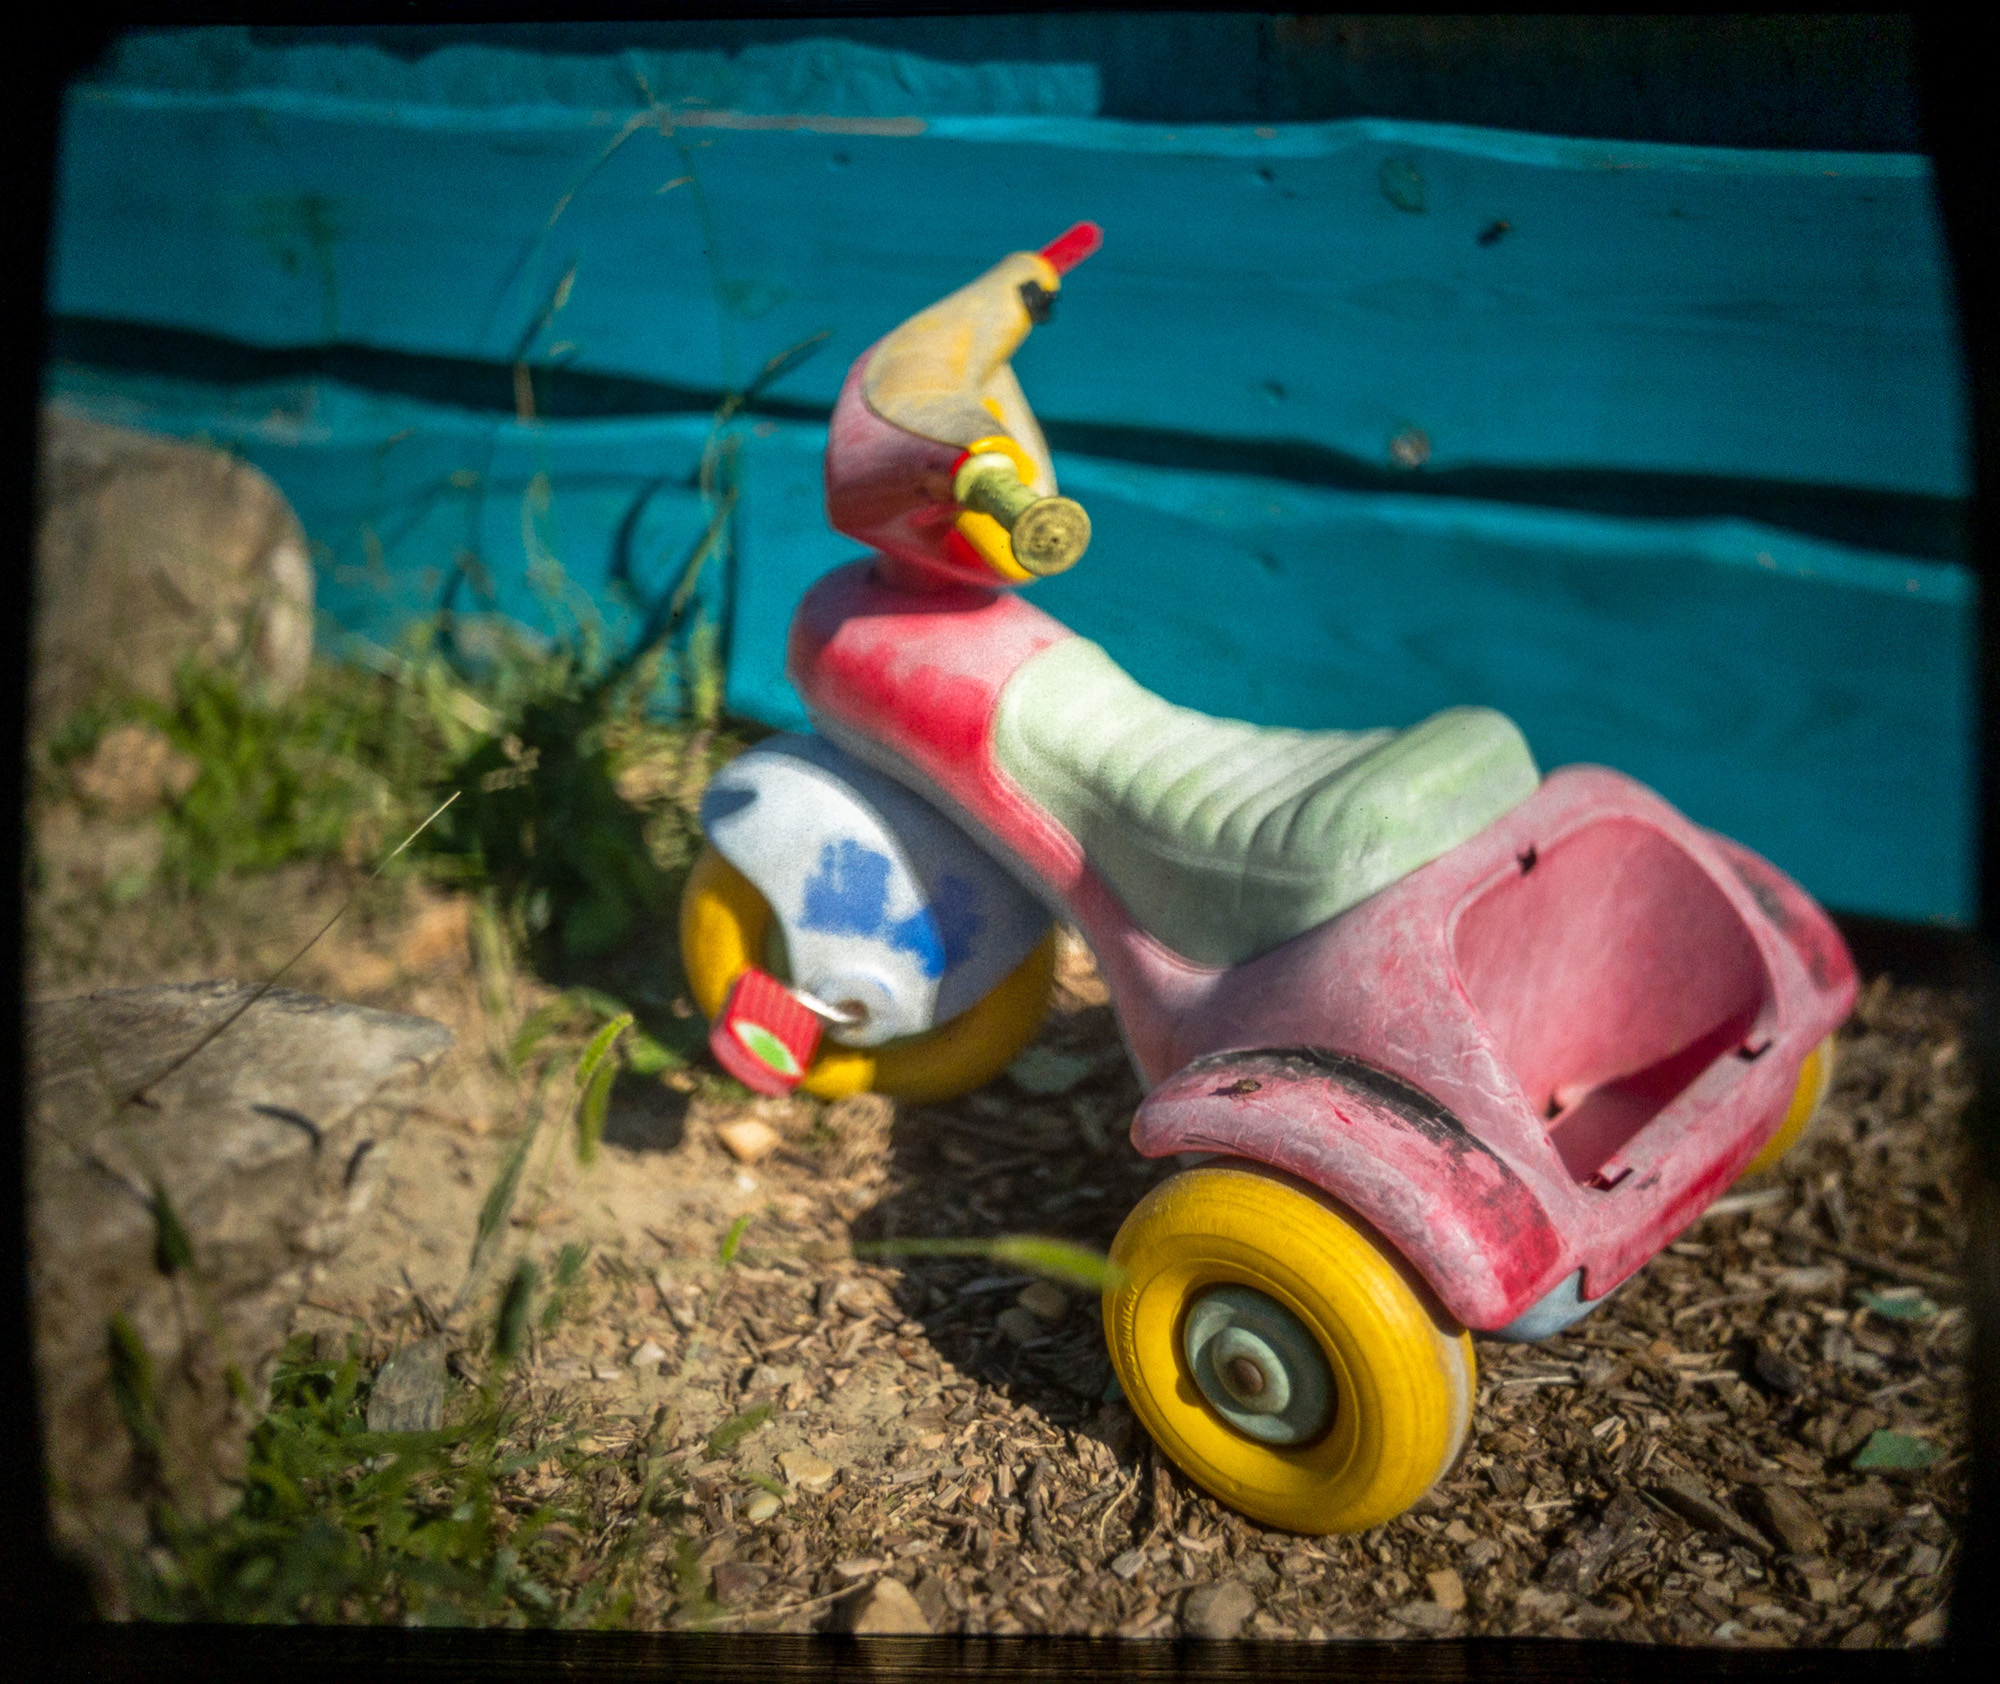
Cinezone In Action
I’m sure by now you are very excited to see what can be done with the Cinezone Adapter. Here are some of our videos and photos we did. The results speak for themselves! 🙂


")


So, if you’re looking for a new experience, want to explore your artistic side, or simply enjoy having a hybrid film/digital workflow, the Cinezone might be right up your alley! Having one affordable camera that can do it all doesn’t happen often, and the fun in photography is taking the time to try out new things and see where your creativity will take you. But don’t take my word for it; head on over to our shop and check it out for yourself!

